Advertisement
Table of Contents
Installation and Assembly:
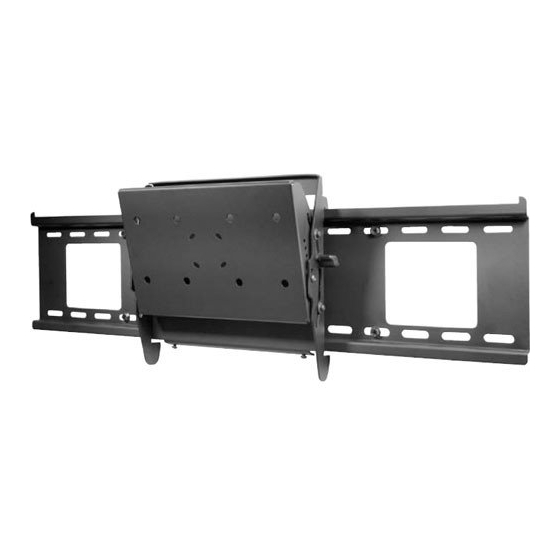
Dedicated Flat Wall Mount for Flat Panel Screens
Model: SF 24D
Features:
•
Ultra-slim design holds the screen flat against the wall
• Integrated security features provide effective theft deterrence
Max. Load Capacity: 200 lb (90.7 kg)
3215 W. North Ave. • Melrose Park, IL 60160 • (800) 729-0307 or (708) 865-8870 • Fax: (708) 865-2941 • www.peerlessmounts.com
ISSUED: 10-31-05 SHEET #: 202-9011-2 01-29-07
Advertisement
Table of Contents

Related Manuals for PEERLESS SF 24D


Summary of Contents for PEERLESS SF 24D
- Page 1 Installation and Assembly: Dedicated Flat Wall Mount for Flat Panel Screens Model: SF 24D Features: • Ultra-slim design holds the screen flat against the wall • Integrated security features provide effective theft deterrence Max. Load Capacity: 200 lb (90.7 kg) 3215 W.
- Page 2 Note: Read entire instruction sheet before you start installation and assembly. WARNING • Do not begin to install your Peerless product until you have read and understood the instructions and warnings contained in this Installation Sheet. If you have any questions regarding any of the instructions or warnings, please call Peerless customer care at 1-800-729-0307.
- Page 3 Parts List Description Qty Part AA wall plate 200-1796 BB interface plate 200-0860 CC #14 x 2.5" wood screw 5S1-015-C03 DD Alligator® anchor 590-0097 EE M10 x 1.5 x 15 mm socket head screw 520-9262 FF 4 mm security allen wrench 560-1146 3 of 8 ISSUED: 10-31-05 SHEET #: 202-9011-2 01-29-07...
- Page 4 Installation to Wood Stud Wall WARNING • Make sure that the supporting surface will safely support the combined load of the equipment and all attached hardware and components. Using a stud finder, locate the edges of the wood studs used in mounting this product. Use of an edge-to-edge stud finder is highly recommended.
- Page 5 WARNING • When installing Peerless wall mounts on cinder block, verify that you have a minimum of 1-3/8" of actual concrete thickness in the hole to be used for the concrete anchors. Do not drill into mortar joints! Be sure to mount in a solid part of the block, generally 1"...
- Page 6 Installing Interface Bracket To prevent scratching the screen, set a cloth on a flat, level surface that will support the weight of the screen. Place screen face side down. Attach the interface bracket (BB) to the PLP adapter plate (sold separately) using four M10 x 15 mm socket head screws (EE) as shown in figures 2.1 (portrait) or 2.2 (landscape).
- Page 7 Installing Interface Bracket to LC Adapter Plate To prevent scratching the screen, set a cloth on a flat, level surface that will support the weight of the screen. Place screen face side down. Attach the interface bracket (BB) to the LC adapter plate (sold separately) using four M5 screws provided with plate as shown in figures 2.3 (portrait) or 2.4 (landscape).
- Page 8 ISSUED: 10-31-05 SHEET #: 202-9011-2 01-29-07 © 2005 Peerless Industries, Inc. All rights reserved. Peerless is a registered trademark and Smart mount is a trademark of Peerless Industries, Inc. All other brand and product names are trademarks or registered trademarks of their respective owners.
Need help?
Do you have a question about the SF 24D and is the answer not in the manual?
Questions and answers