Advertisement
Quick Links
Installation instructions
Details the various product and cabinetry dimensions of your rangehood and everything else you need to need to know
prior to installing your rangehood.
Contents of packaging
Installation instructions User guide manual
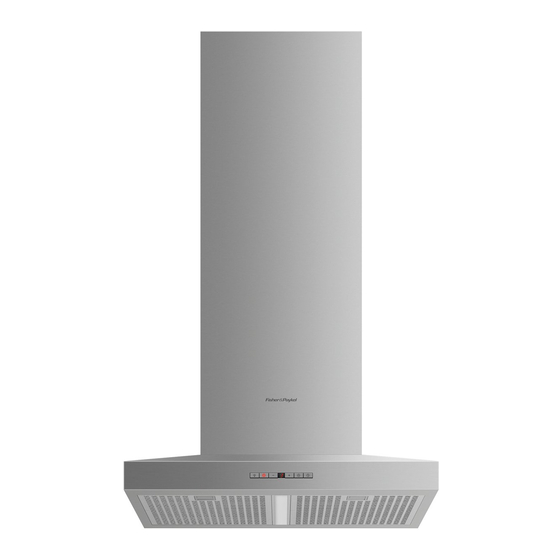
Rangehood hood (1)
(1)
https://producthelp.fisherpaykel.com/au/Cook/Rangehoods/Canopy/HC60PHTX1/User_Guide_HC60PHTX1/03_Installation_i...
Updated: Fri, 03 Apr 2020 01:59:14 GMT
Powered by
1
Advertisement

Summary of Contents for Fisher & Paykel HC60PHTX1
- Page 1 Details the various product and cabinetry dimensions of your rangehood and everything else you need to need to know prior to installing your rangehood. Contents of packaging Installation instructions User guide manual Rangehood hood (1) https://producthelp.fisherpaykel.com/au/Cook/Rangehoods/Canopy/HC60PHTX1/User_Guide_HC60PHTX1/03_Installation_i… Updated: Fri, 03 Apr 2020 01:59:14 GMT Powered by...
- Page 2 Upper chimney bracket (1) Upper chimney (1) 150 mm diameter ducting adapter (1) 30 mm Expansion plug (10) 10 mm self-tapping screw (4) https://producthelp.fisherpaykel.com/au/Cook/Rangehoods/Canopy/HC60PHTX1/User_Guide_HC60PHTX1/03_Installation_i… Updated: Fri, 03 Apr 2020 01:59:14 GMT Powered by...
-
Page 3: Product Dimensions
Product dimensions Product Dimensions HC60PHTX1 HC90PHTX1 HC120PHTX1 A. Overall height of product (mm) 655 – 1094 655 – 1094 655 – 1094 B. Overall width of product (mm) 1198 https://producthelp.fisherpaykel.com/au/Cook/Rangehoods/Canopy/HC60PHTX1/User_Guide_HC60PHTX1/03_Installation_i… Updated: Fri, 03 Apr 2020 01:59:14 GMT Powered by... - Page 4 Product Dimensions HC60PHTX1 HC90PHTX1 HC120PHTX1 C. Overall depth of product (mm) D. Height of product (mm) E. Width of chimney (mm) F. Depth of chimney (mm) G. Distance from centre of ducting outlet to back of product (mm) H. Distance from centre of ducting outlet to side of chimney (mm) I.
-
Page 5: Height Of Rangehood
L. Installation height min. 680 – max. 1094 • Ducted min. 720 – max. 1094 • Recirculation H. Height top of cooktop to base of product min. 660 – max. 750 https://producthelp.fisherpaykel.com/au/Cook/Rangehoods/Canopy/HC60PHTX1/User_Guide_HC60PHTX1/03_Installation_i… Updated: Fri, 03 Apr 2020 01:59:14 GMT Powered by... -
Page 6: Venting Options
A ducting hole is not required in the wall or ceiling if the rangehood is installed to operate with exhaust air recirculating. https://producthelp.fisherpaykel.com/au/Cook/Rangehoods/Canopy/HC60PHTX1/User_Guide_HC60PHTX1/03_Installation_i… Updated: Fri, 03 Apr 2020 01:59:14 GMT Powered by... -
Page 7: Installation
‘Installation instructions – Height of rangehood’ section. • The wall used for mounting the rangehood should have sufficient strength and a flat surface. 2. Attach chimney brackets and rangehood mounting screws to the wall https://producthelp.fisherpaykel.com/au/Cook/Rangehoods/Canopy/HC60PHTX1/User_Guide_HC60PHTX1/03_Installation_i… Updated: Fri, 03 Apr 2020 01:59:14 GMT Powered by... - Page 8 Ensure that there is a 2 mm gap between the screw head and the wall (see Fig Product Dimensions N. Lower rangehood attachment point width O. Lower rangehood attachment point height P. Upper rangehood attachment point width https://producthelp.fisherpaykel.com/au/Cook/Rangehoods/Canopy/HC60PHTX1/User_Guide_HC60PHTX1/03_Installation_i… Updated: Fri, 03 Apr 2020 01:59:14 GMT Powered by...
- Page 9 Q. Upper rangehood attachment point height R. Chimney bracket attachment point width S. Chimney bracket attachment point height T. Upper chimney bracket attachment point width U. Upper chimney bracket attachment point height https://producthelp.fisherpaykel.com/au/Cook/Rangehoods/Canopy/HC60PHTX1/User_Guide_HC60PHTX1/03_Installation_i… Updated: Fri, 03 Apr 2020 01:59:14 GMT Powered by...
- Page 10 • Hang the rangehood off the upper rangehood mounting screws with 2 mm gap. Hang off the keyhole attachment points on the back of the rangehood then tighten the screws. https://producthelp.fisherpaykel.com/au/Cook/Rangehoods/Canopy/HC60PHTX1/User_Guide_HC60PHTX1/03_Installation_i… Updated: Fri, 03 Apr 2020 01:59:14 GMT Powered by...
- Page 11 • Place chimney around the rangehood chassis and hang off the chimney bracket (B). • Extend the upper chimney and attach to the upper chimney bracket with 10 mm screws (C). 7. Remove packaging • Remove all packaging and protective wrappings. https://producthelp.fisherpaykel.com/au/Cook/Rangehoods/Canopy/HC60PHTX1/User_Guide_HC60PHTX1/03_Installation_i… Updated: Fri, 03 Apr 2020 01:59:14 GMT Powered by...


Need help?
Do you have a question about the HC60PHTX1 and is the answer not in the manual?
Questions and answers