Sign In
Upload
Download
Table of Contents
Contents
Add to my manuals
Delete from my manuals
Share
URL of this page:
HTML Link:
Bookmark this page
Add
Manual will be automatically added to "My Manuals"
Print this page
×
Bookmark added
×
Added to my manuals
Manuals
Brands
Fisher & Paykel Manuals
Ventilation Hood
HC60DCXB3
Installation manual/user manual
Fisher & Paykel HC60DCXB3 Installation Manual/User Manual
Hide thumbs
1
2
Table Of Contents
3
4
5
6
7
8
9
10
11
12
13
14
15
16
17
18
19
20
21
22
23
24
25
26
27
28
page
of
28
Go
/
28
Contents
Table of Contents
Bookmarks
Table of Contents
Table of Contents
Introduction
Safety and Warnings
Installation Instructions
Operating Instructions
Cleaning and Maintenance
Parts and Accessories
Customer Care
Registration
Register Your Product with Us so We Can
To Register Your Product Visit Our Website
Advertisement
Quick Links
1
Cleaning and Maintenance
2
Parts and Accessories
Download this manual
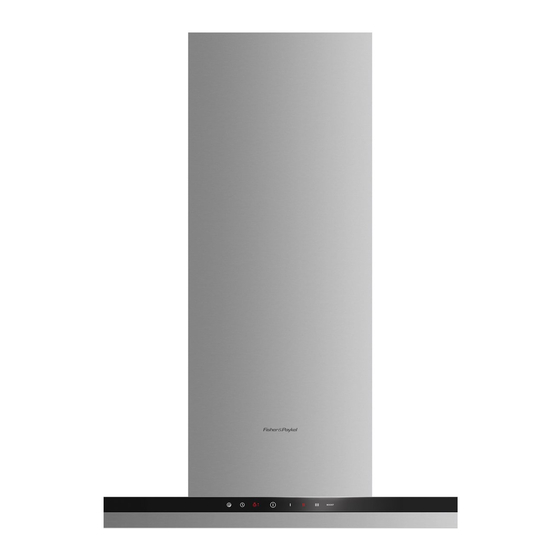
BOX WALL RANGEHOOD
HC60DCXB3, HC90DCXB3 & HC120DCXB3
models
INSTALLATION GUIDE / USER GUIDE
NZ AU ROW
Table of
Contents
Previous
Page
Next
Page
1
2
3
4
5
Advertisement
Table of Contents
Need help?
Do you have a question about the HC60DCXB3 and is the answer not in the manual?
Ask a question
Questions and answers
Related Manuals for Fisher & Paykel HC60DCXB3
Ventilation Hood Fisher & Paykel HC90DCXB3 Installation Instructions Manual
(12 pages)
Ventilation Hood Fisher & Paykel HC60DCXB1 Installation Instructions And User Manual
Designer wall canopy (16 pages)
Ventilation Hood Fisher & Paykel HC60DCXB1 Installation Instructions & User Manual
(28 pages)
Ventilation Hood Fisher & Paykel HC60DCXB1 Cleaning And Maintenance
(3 pages)
Ventilation Hood Fisher & Paykel HC60DCXB1 Installation Instructions Manual
(13 pages)
Ventilation Hood Fisher & Paykel HC60DCXB1 Installation Instructions And User Manual
Designer wall canopy (80 pages)
Ventilation Hood Fisher & Paykel CONTEMPORARY HC60DCEXB3 User Manual
Wall rangehood, box chimney with external blower (40 pages)
Ventilation Hood Fisher & Paykel 7 Series Installation Manual
Wall rangehood, box chimney with external blower (24 pages)
Ventilation Hood Fisher & Paykel HC60DCEXB3 User Manual
Wall rangehood, box chimney with external blower (16 pages)
Ventilation Hood Fisher & Paykel customer care HC60DCXB 1 Service Manual
(16 pages)
Ventilation Hood Fisher & Paykel HC60DCXB4 Installation Manual
Box wall rangehood (23 pages)
Ventilation Hood Fisher & Paykel HC60DCXB4 User Manual
Wall rangehood (18 pages)
Ventilation Hood Fisher & Paykel HC90CGX1 Installation Instructions And User Manual
(16 pages)
Ventilation Hood Fisher & Paykel WALL CANOPY HC60PCHTX1 Installation Instructions And User Manual
Wall canopy (16 pages)
Ventilation Hood Fisher & Paykel HC60BCXB2 Installation Instructions & User Manual
Box wall cooker hood (28 pages)
Ventilation Hood Fisher & Paykel HC60BLX1 User Manual
Wall rangehood, box chimney (27 pages)
This manual is also suitable for:
Hc90dcxb3
Hc120dcxb3
Table of Contents
Print
Rename the bookmark
Delete bookmark?
Delete from my manuals?
Login
Sign In
OR
Sign in with Facebook
Sign in with Google
Upload manual
Upload from disk
Upload from URL


Need help?
Do you have a question about the HC60DCXB3 and is the answer not in the manual?
Questions and answers