Dynojet POWER VISION Installation Manual
Honda talon
Hide thumbs
Also See for POWER VISION:
- Quick start manual (17 pages) ,
- Installation manual (7 pages) ,
- User manual (4 pages)

Related Manuals for Dynojet POWER VISION


Summary of Contents for Dynojet POWER VISION
- Page 1 POWER VISION Honda Talon Installation Guide PARTS LIST POWER VISION VELCRO REFLASH HARNESS DYNOJET DECAL USB CABLE PLEASE READ ALL DIRECTIONS BEFORE STARTING INSTALLATION 98200124.06...
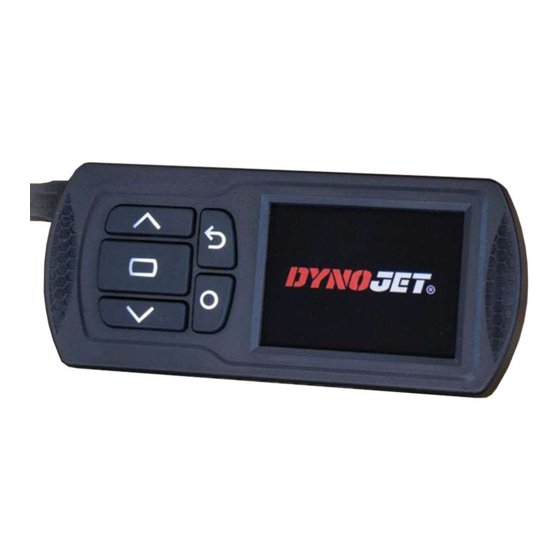
- Page 2 CONNECT TO VEHICLE POWER VISION OVERVIEW—SIDE VIEW INSTALLING THE POWER VISION Secure the Power Vision to the vehicle using the supplied Velcro. Make sure the Power Vision will not interfere with the operation and steering of the vehicle. Note: The Power Vision does not need to be mounted to the vehicle.
-
Page 3: Getting Started
Note: Pair to vehicle will only happen on the fi rst fl ash. Press Enter to pair and lock the Power Vision to the ECU and to begin the fl ash. Do not turn off the key switch or disconnect the Power Vision during the fl... - Page 4 VIEWING THE VEHICLE INFORMATION This menu allows you to view the device status (paired/not paired), VIN #, Model ID, ECU serial number, tune compat, and checksum compat. Select Vehicle Tools>Vehicle Information. VIEWING THE DIAGNOSTIC CODES This menu allows you to read and clear diagnostic trouble codes.
- Page 5 Continue setting up the remaining channels as desired. Continue confi guring the remaining gauge screens as desired. LOGGING DATA Press the Log button to begin logging. The Power Vision screen will illuminate a bright red banner across the top when logging.
- Page 6 Select Device Tools>Reformat Disk. CHANGING THE SETTINGS This menu allows you to rotate the screen allowing you to change the orientation of the Power Vision device along with adjusting the screen brightness. Select Device Tools>Settings>Rotate Screen to fl ip the screen.
- Page 7 This stand alone application will launch the Update Client allowing you to update your Power Vision with the latest fi rmware, retrieve additional tunes, or restore the Power Vision to the original Dynojet factory settings. Connect the Power Vision to your computer using the included USB cable.
- Page 8 2191 MENDENHALL DRIVE, NORTH LAS VEGAS, NV 89081 - 800-992-4993 - DYNOJET.COM © 2019-2020 DYNOJET RESEARCH ALL RIGHTS RESERVED...
Need help?
Do you have a question about the POWER VISION and is the answer not in the manual?
Questions and answers