Table of Contents
Advertisement
Quick Links
Advertisement
Table of Contents

Subscribe to Our Youtube Channel
Related Manuals for Titon CME2Q+


Summary of Contents for Titon CME2Q+
- Page 1 Fault Finding CME2Q+ Units With Live Switching This document covers part numbers TP304HA & TP305HA PAGE 1 OF 10 FAULT FINDING FOR CME2Q+ LIVE ISSUE 2 03/04/20 894 The Crescent, Colchester Business Park, Colchester, Essex, CO4 9YQ United Kingdom Tel: +44 (0)1206 713800...
-
Page 2: Table Of Contents
Contents Unit Identification ................................. 3 Product Features ................................4 Setback Speed ................................4 Continuous Speed ..............................4 Boost Speed with Overrun Timer ..........................4 Boost Overrun Timer ..............................4 Integrated Humidity Sensor ............................. 4 Wiring Diagrams ................................5 PCB Configuration/Setting ............................5 Unit Dismantling ................................ -
Page 3: Unit Identification
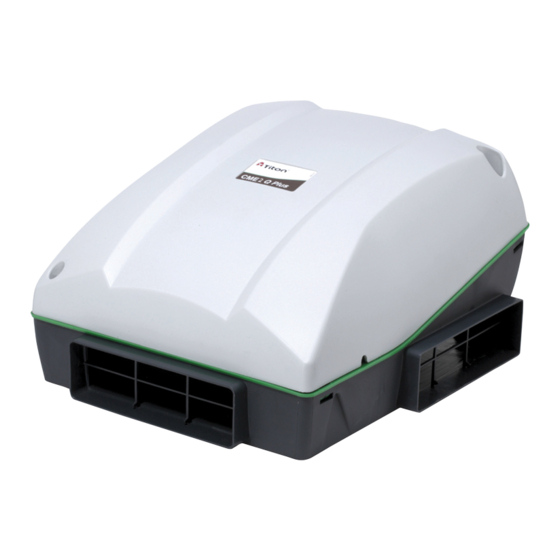
Unit Identification All maintenance/fault finding/repairs must be completed by a competent person. Safe isolation procedures must be followed when working on these units. PAGE 3 OF 10 FAULT FINDING FOR CME2Q+ LIVE ISSUE 2 03/04/20 894 The Crescent, Colchester Business Park, Colchester, Essex, CO4 9YQ United Kingdom Tel: +44 (0)1206 713800... -
Page 4: Product Features
Product Features Model CME2 Q Plus Part Number TP304HA TP305HA ● Complete Unit 2nd Fix Cover / Scroll / Inlet Ring ● Assembly ● ● Setback Speed ● Continuous Speed ● Boost Speed ● Boost Overrun Timer ● ● Integrated Humidity Sensor Setback Speed Setback Speed is a reduced ventilation rate. -
Page 5: Wiring Diagrams
Wiring Diagrams PCB Configuration/Setting PAGE 5 OF 10 FAULT FINDING FOR CME2Q+ LIVE ISSUE 2 03/04/20 894 The Crescent, Colchester Business Park, Colchester, Essex, CO4 9YQ United Kingdom Tel: +44 (0)1206 713800... -
Page 6: Unit Dismantling
Unit Dismantling All maintenance/fault finding/repairs must be completed by a competent person. Cover removal Remove the screw adjacent to the cable entry point, undo the remaining two screws, do not remove the screws just undo sufficiently to release the cover. Caution This will then expose the control PCB and mains terminal. -
Page 7: Fault Finding
Unclip the scroll in three places. Fan removal Disconnect the fan cables from the PCB and the mains terminal, release the cable clamps. Then remove the 4 retaining screws. PCB removal Disconnect the motor cable (white Molex connector) and the boost cables. PCB is screwed in place –... -
Page 8: Unit Stuck In Boost
Unit Stuck In Boost Before commencing any checks complete the following:- Make a note of where the overrun timer is set, then set to minimum Make a note of where the humidity is set, then set to maximum Switch the unit off for 20 seconds, then back on. 0 to 30 55% to 85% mins... -
Page 9: Condensation/Mould Within House
13. Is the Inlet Ring tight against the First Fix Base. If there is a gap it is likely that the two parts are not clipping together correctly. Check the parts clip together correctly without the additional fixing screw. If they do not clip together correctly it is possible the First Fix Base is twisted as it is not on a flat substrate. -
Page 10: Fig 1 Fan Mains & Low Voltage Molex Connector
Fig 1 Fan Mains & Low Voltage Molex Connector Mains Connections Molex Connector Fig 2 PCB Fuse Fuse Fig 3 Molex Connector Potentiometer Connections Fan Connector PCB Connector A - 10V, B - 0V, C - PWM & D - Tacho If this is not possible, try bridging the A and C terminals on the fan connector, the fan should then run at full speed.
Need help?
Do you have a question about the CME2Q+ and is the answer not in the manual?
Questions and answers