Advertisement
EF-Series EF600
Installation and Setup Instructions
1 | Prepare for Installation
Create an account and register your hardware at mysupport.netapp.com.
Inventory cables and make note of the quantity.
In the box
You provide
Resources
NetApp Inc.
1395 Crossman Ave.
Sunnyvale CA, 94089 U.S.A.
Prepare for Installation
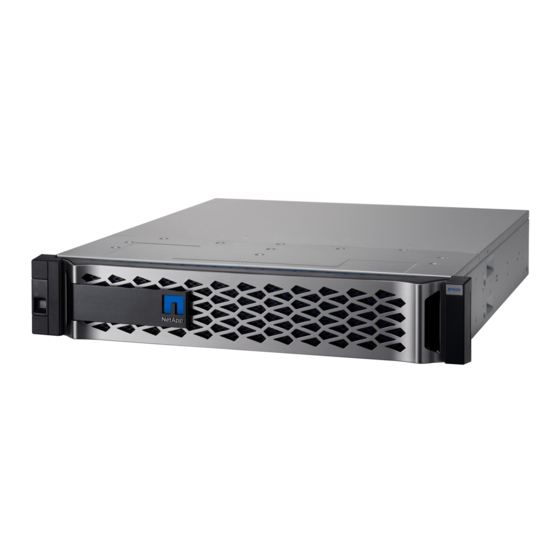
Shelf with drives installed
(Bezel and end caps
packaged separately)
Phillips #2 screwdriver,
flashlight, and ESD strap
Cabling Guide
docs.netapp.com/ess-11/topic/
com.netapp.doc.e-hw-cabling/home.html
NetApp Interoperability Matrix
mysupport.netapp.com/matrix
E-Series Documentation Center
http://docs.netapp.com/ess-11/index.jsp
Telephone: +1 (408) 822-6000
Fax: +1 (408) 822-4501
Support Telephone: +1 (888) 463-8277
Comments:
doccomments@netapp.com
Install Hardware
1
2
Rackmount hardware
A standard 19 in. (48.30 cm)
rack to fit 2U shelves of the
following dimensions:
2U
Shelf: 24-drive
Height: 3.34 in. (8.48 cm)
Width: 17.6 in. (44.7 cm)
Depth: 19.0 in. (48.3 cm)
Max Weight: 60.5 lb (27.4 kg)
2U rack space
© 2019 NetApp, Inc. All Rights Reserved.
NETAPP, the NETAPP logo, and the marks listed
at
www.netapp.com/TM
are trademarks of
NetApp, Inc. Other company and product names
may be trademarks of their respective owners.
Connect the Cables
Complete System Setup
and Configuration
3
Ethernet cables
if ordered
two for each shelf
I/O cables
if ordered
A supported browser
for the management
Hardware Universe
hwu.netapp.com
4
Power cables
if ordered
software
Advertisement
Table of Contents

Subscribe to Our Youtube Channel
Summary of Contents for NetApp EF Series
- Page 1 Complete System Setup and Configuration EF-Series EF600 Installation and Setup Instructions 1 | Prepare for Installation Create an account and register your hardware at mysupport.netapp.com. Inventory cables and make note of the quantity. Ethernet cables Power cables if ordered two for each shelf...
- Page 2 2 | Install Hardware When handling hardware, wear an ESD wristband or take appropriate anti-static precautions Before you begin You have registered your hardware at mysupport.netapp.com You have prepared a flat, static-free work area. You have taken anti-static precautions. Unpack the hardware Unpack the contents and take inventory of the contained hardware against the packing slip.
- Page 3 3 | Connect the Cables When handling hardware, wear an ESD wristband or take appropriate anti-static precautions. Plug in the power cables, one to each controller Connect the two power cables, one from each controller, to two separate power distribution units (PDUs) in the rack or cabinet The controller will boot automatically.
- Page 4 4 | Complete System Setup and Configuration Connect and configure the management connection Identifying the management port Controller A is the upper controller canister, and controller B is the lower controller canister. OPTION A Management port configuration with DHCP Before you begin Your DHCP server is configured to associate an IP address, subnet mask, and gateway address as a permanent lease for each controller.


Need help?
Do you have a question about the EF Series and is the answer not in the manual?
Questions and answers