Table of Contents
Advertisement
Quick Links
Advertisement
Table of Contents

Related Manuals for DeVilbiss HD Series


Summary of Contents for DeVilbiss HD Series
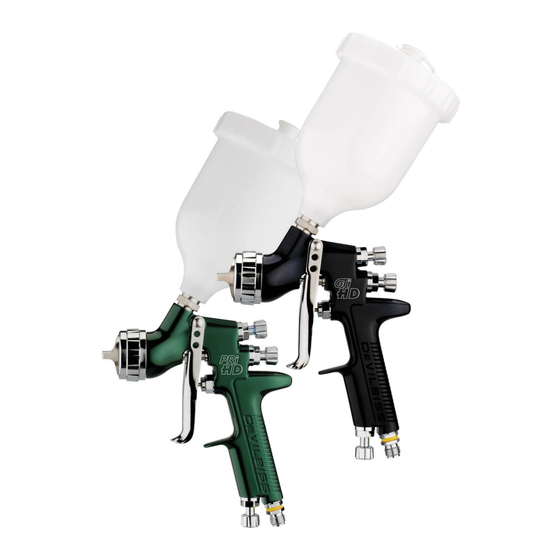
- Page 1 SB-E-2-451 ISS.05 Technical Bulletin range of Gravity Spray Guns...
-
Page 2: Table Of Contents
Table of Contents Topic Page EC Declaration of Conformity Part Numbers Operational Description Kit contents Construction Features Materials of Construction Specifications & Technical Data Safety Precautions Parts List Exploded parts View Installation, Operation, Preventive Maintenance & Cleaning Parts Replacement/Maintenance A. Servicing Air Valve B. -
Page 3: Ec Declaration Of Conformity
If there is any doubt regarding the suitability of a specific material, contact your DeVilbiss Distributor or DeVilbiss direct. NOTE: This gun is not to be used with halogenated hydrocarbon solvents or cleaning agents such as 1,1,1,-Trichloroethane or methylene chloride. -
Page 4: Kit Contents
PRi-HD Gravity Feed Spraygun to round spray) cap) volume) coat systems) life) rings supplied) – accepts DeVilbiss and (ergonomic, good looking & durable, easy to most other cup systems) clean) -static) operation) pressure drop) borne applications aluminium Air Cap Retaining Ring, Knobs ction ®... -
Page 5: Safety Precautions
Solvents and coating materials can be highly flammable or combustible when sprayed. erial supplier’ areas. Static electricity can be generated by fluid and/or air passing through hoses, by the -conductive parts with cloths. To prevent sources from static discharges, earth continuity must be maintained to the spray gun and other metallic equipment used. -
Page 6: Parts List
PARTS LIST GA 156- 34-K5 402-K (T20 TORX) 405- Seals 21-K 18-1- 17-1-K 40-K ID Ring Kit (4 26-K4 Colours) 411- -007-K5 41-K Spring & Pad Kit d (kit of 2-K5 Adjusting Knob 5-K5 402- Assembly 8-K2 -405- 404-K -415-1 Packing Nut Kit items marked *) -428-K5... -
Page 7: Exploded Parts View
013 Finishing Brands UK Ltd. -
Page 8: Installation, Operation, Preventive Maintenance & Cleaning
12. The recommended spray distance is 150-200 INSTALLATION For maximum transfer efficiency, do not use more 13. Spray edges first. Overlap each stroke a pressure than is necessary to atomise the material minimum of 75%. Move gun at a constant speed. being applied. -
Page 9: Parts Replacement/Maintenance
Parts Replacement/Maintenance AIR VALVE INSTRUCTIONS Servicing Air Valve Reasons to service air valve: A) Air valve not functioning correctly (may need cleaning). B) Routine maintenance. C) Air leaks (advise replacement, see p10) 1. Remove trigger using the tool supplied (SPN-8) or TORX T20 key. -
Page 10: Replacing Air Valve
Replacing Air Valve Reasons to replace air valve: A) Air leak through the gun. B) Air valve not operating correctly. 1. Remove trigger using SPN-8 or TORX (T20) key provided in the kit. (See figs 13 & 14) 2. Unscrew air valve using SN-28 (14 mm) Spanner. (See fig 15) 3. -
Page 11: Needle Packing, Fluid Insert, Spreader Valve Assembly
Parts Replacement/Maintenance NEEDLE PACKING REPLACEMENT INSTRUCTIONS 13. Remove trigger using SPN-8 or TORX (T20) driver. (See figs 25 & 26) 14. Remove fluid adjusting knob and needle spring with spring pad from gun. (See figs 27 & 28) 15. Remove fluid needle from gun body. (See fig 29) 16. -
Page 12: Spray Head Seal
Parts Replacement/ Maintenance SPRAY HEAD SEAL REPLACEMENT 1. Remove air cap and retaining ring. (See fig 37) 2. Remove fluid adjusting knob, spring, and spring pad. (See figs 38 & 39) 3. Remove fluid needle from gun body. (See fig 40) 4. - Page 13 Parts Replacement/Maintenance Chart 1 – Air Caps (L/min) @ 2 PRESSURE (bar) 100-H1-K ® GTI HD 100-T1-K ® 100-T2-K ® PRI-HD 100- NOTE: When removing air cap from retaining ring, don’t remove the Slip Ring (2) or Retaining Ring Seal (5) from the Retaining Ring.
-
Page 14: Troubleshooting Possible Problems In Operation
Troubleshooting Possible Problems in Operation -metallic bottom point. Obstruction on top or bottom of Clean. nozzle. Cap and Clean. Left or right side horn holes plugged. Clean. Ream with non metallic Dirt on left or right side of fluid Heavy Clean. - Page 15 fluid adjusting knob out or change to larger fluid Clean lid and unblock vent Blocked vent in Cup lid ir pressure too high. air pressure. Gun too far from work surface. Adjust to distance. Adjust to distance. use larger nozzle size packing nut fluid needle worn or nozzle and fluid...
-
Page 16: Accessories
Pressur -502-B 50-F Cups pack of 1-K50 bore rubber air 6065- river SN-406 hose with ¼ H 6065- fittings 5-1-K3 60-K3 8-K2 This product is covered by Finishing Brands UK Limited one year warranty. Finishing Brands UK Limited, Ringwood Road, Bournemouth, BH11 9LH, Tel.
Need help?
Do you have a question about the HD Series and is the answer not in the manual?
Questions and answers