Advertisement
Quick Links
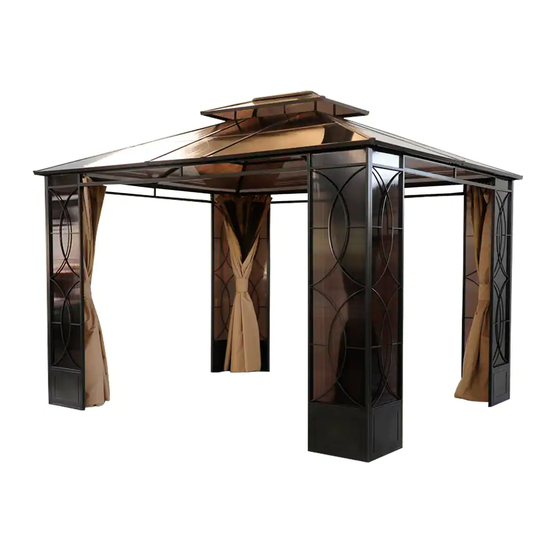
Assembly Instructions
Item# L-GZ760PST-B
GAZEBO ASSEMBLY INSTRUCTIONS
Our clear, easy-to-follow, step-by-step instructions will guide you through the project
from start to finish. The final product will produce a quality shelter that will offer you
years of enjoyment.
All that is required is a screwdriver, a hammer and two ladders of at least 8 feet (2.5 m)
high. (not included).
For you safety, DO NOT assemble this item alone. Two people or more are required
for a smooth and safe installation.
Item identification: For ease of identification, all parts are labeled to correspond to the
Step number in which the part is used.
Advertisement

Subscribe to Our Youtube Channel
Related Manuals for Sunjoy L-GZ760PST-B


Summary of Contents for Sunjoy L-GZ760PST-B
- Page 1 Assembly Instructions Item# L-GZ760PST-B GAZEBO ASSEMBLY INSTRUCTIONS Our clear, easy-to-follow, step-by-step instructions will guide you through the project from start to finish. The final product will produce a quality shelter that will offer you years of enjoyment. All that is required is a screwdriver, a hammer and two ladders of at least 8 feet (2.5 m) high.
- Page 2 Have six or more people helping you when assembling or moving the product.
-
Page 3: Parts List
Parts List Description Part Quantity Image Large panel 1 Large panel 2 Small panel 1 Small panel 2 Long beam 1 Long beam 2 Short beam Lower connector 1 Lower connector 2 Top beam 1 Top beam 2 Support beam Slanted beam Middle beam Long PC 1... - Page 4 Parts List Description Part Quantity Image Left plate Right plate Middle plate Long plate Short plate Left rail Right rail Middle rail Center plate Corner plate Hook Small top connector Cover Small slanted beam 1 Small slanted beam 2 Long netting tube Short netting tube Mosquito netting Hardware Pack 1...
- Page 5 Fig.1: Secure the small panels (B1 and B2) to the large panels (A1 and A2) with bolts (AA) and flat washers (BB). Fig.2: Secure the lower connector 1 (E) to the corner of the panels with bolts (CC) and flat washers (BB). Fig.3: Insert the long beam 1 into the long beam 2 (C2), then secure the lower connector 2 (F) to long beam 1 (C1) and long beam 2 (C2) with bolts (CC) and flat washers (BB).
-
Page 6: Hardware Pack
Hardware Pack 2 Part Description Quantity Image M6 Flat washer 56PCS M6 x 15 Bolt 32PCS M6 x 20 Bolt 24PCS Fig.7: Insert the top beam (G1) into the top beam (G2) and using bolts (CC) and flat washers (BB) to secure the top beam 2 (G2) with top beam 1 (G1). - Page 7 Fig.11: Secure the small slanted beam 1 and 2 (S1 and S2) to the top beam 1 (G1) with bolts (CC) and flat washers (BB). Fig.12: Secure the small slanted beam 1 and 2 (S1 and S2) to the small top connector (Q) with bolts (CC) and flat washers (BB).
- Page 8 Fig.17: Insert the short PC 1 and 2 (J3 and J4) into the middle beam (I) and slanted beam (H), then insert the rails (N1 and N2) into it. Insert the long PC (J1) into the middle beam (I) and slanted beam (H). Repeat this step to install the right PCs. Fig.18: Insert the middle PC (J5) into the middle beam (I);...
- Page 9 IMPORTANT 1. Keep all children and pets away from assembly area. Children and pets should be supervised while gazebo is being assembled. 2. The assembled gazebo should be located at least 6 feet (2 m) from any obstruction such as a fence, garage, house, overhanging branches, laundry lines or electrical wires.
- Page 10 Important: Please do not return this product to the store. For technical assistance on assembly or replacement parts. Please call Sunjoy Industries at 1-866-578-6569 from 8:00 am EST to 8:00 pm PST or fax the replacement part form which is in the box to 1-740-283-3549 or Email customer.care@sunjoygroup.com for assistance.
Need help?
Do you have a question about the L-GZ760PST-B and is the answer not in the manual?
Questions and answers