Table of Contents
Advertisement
Quick Links
Advertisement
Table of Contents

Related Manuals for Kaba Confidant RFID Kit 1


Summary of Contents for Kaba Confidant RFID Kit 1
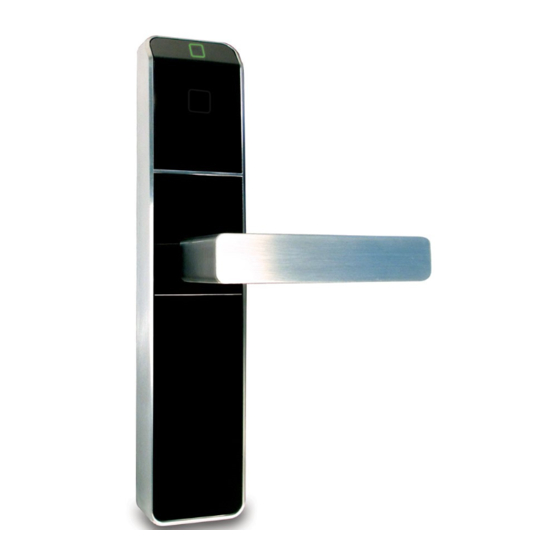
- Page 1 INSTALLATION GUIDE Confidant RFID Kit 1 Party Rose Mount & Back Plate...
-
Page 2: Table Of Contents
. Made in Canada ©2015 Kaba Lodging Systems . All trademarks and registered trademarks are the property of their respective owners . Confidant RFID Kit 1 Installation Guide - PK3616_T_07_15... -
Page 3: Tools
B - Screw Driver Phillips #2 C - Screw Driver Torx T-20 D - Hexagonal Key 3 mm E - 25mm / 24mm / 19mm / 12mm / 10mm Drill Bit F - Needle Nose Pliers Confidant RFID Kit 1 Installation Guide - PK3616_T_07_15... -
Page 4: Inventory
M4 screws 3rd Party (Mortise, Cylinder & Rose) Must be solid metal rose for M4 screws Warning: Install only on a mortise with anti-panic and an auxiliary dead latch (Anti-Pick system) Confidant RFID Kit 1 Installation Guide - PK3616_T_07_15... -
Page 5: Lock Without Key Override
3rd Party (Lever Handle & Rose) Inventory Kit Must be solid metal rose for M4 screws 3rd Party (Mortise) Warning: Install only on a mortise with anti-panic and an auxiliary dead latch (Anti-Pick sys- tem) Confidant RFID Kit 1 Installation Guide - PK3616_T_07_15... -
Page 6: Align Posts With Mortise
3- ALIGN POSTS WITH MORTISE (Rose Mount Only) Ensure Mortise lock case includes an anti-pick and anti-panic function Confidant RFID Kit 1 Installation Guide - PK3616_T_07_15... -
Page 7: Select & Install Spindle
2- Check Handing: Adjust for Right Hand (RH) or Left Hand (LH) 3- Insert Spindle: Check groove is in line with the inside lever set screw position after insertion . A) Set Screw on Top or B) Set Screw On Side Bottom Confidant RFID Kit 1 Installation Guide - PK3616_T_07_15... - Page 8 4- SELECT & INSTALL SPINDLE 4- Attach and Clamp Spindle Clip to Spindle as shown. Ensure legs are firmly clamped against the spindle Confidant RFID Kit 1 Installation Guide - PK3616_T_07_15...
-
Page 9: Install Outside Lever
5- INSTALL OUTSIDE LEVER Left Hand * N.B. Hold down the outside lever against the outside housing while tightening the lever set screw. Right Hand Confidant RFID Kit 1 Installation Guide - PK3616_T_07_15... -
Page 10: Install Lock On Door
See Annex A for Exterior Applications 3mm to 13mm 6- INSTALL LOCK ON DOOR - Rose Mount (Key Override) See Annex A for Optional Exterior Applications 3mm to 13mm *Recommended for increased security. Confidant RFID Kit 1 Installation Guide - PK3616_T_07_15... -
Page 11: Back Plate Mount (No Key Override)
6- INSTALL LOCK ON DOOR - Back Plate Mount (No Key Override) See Annex A for Exterior Applications 6- INSTALL LOCK ON DOOR - Rose Mount (No Key Override) See Annex A for Exterior Applications Confidant RFID Kit 1 Installation Guide - PK3616_T_07_15... -
Page 12: Plug Battery Holder
C - Rotate Outside Lever to Check Bolt Retraction D - Release Outside Lever, Should Move Freely E - Rotate Inside Lever to Check Bolt Retraction F - Check Bolt Projection from Thumbturn & Key Confidant RFID Kit 1 Installation Guide - PK3616_T_07_15... -
Page 13: Program Lock - With Jack Cable
Warning: For security reasons, lock must be programmed BEFORE installing the battery door. Every time the battery door is removed pass an emergency card or connect lock to programming device to reset the tamper alarm. Audit information is not affected. Confidant RFID Kit 1 Installation Guide - PK3616_T_07_15... -
Page 14: Annex A. Install Outside Housing With Gasket And Cylinder Shield
Install Outside Housing with Gasket and Cylinder Shield • (Exterior and Ocean Front Versions) Model with Key Cylinder only Annex B • Remove Battery Holder Unscrew Remove Door Unclip Battery Holder Remove Battery Holder Confidant RFID Kit 1 Installation Guide - PK3616_T_07_15... -
Page 15: Annex C. Install The Bluetooth Module
Annex C • Install the Bluetooth/Messenger module Attach See appropriate drilling template for door preparation instructions. Exterior and Ocean Front Version Confidant RFID Kit 1 Installation Guide - PK3616_T_07_15... - Page 16 Kaba Customer Services & Support ILCO: 1.877.468.3555 / + 1.514.340.9025 Saflok: 1.800.999.6213 / + 1.248.837.3700 General Information: www.kabalodging.com Online Consumable Orders: www.ilcostore.com www.saflokstore.com To access all of our easy steps, please visit our Support Website: PK3616_T_07_15 www.kabalodgingsupport.com...
Need help?
Do you have a question about the Confidant RFID Kit 1 and is the answer not in the manual?
Questions and answers