Table of Contents
Advertisement
Quick Links
Advertisement
Table of Contents

Related Manuals for Sunny Health & Fitness P8000


Summary of Contents for Sunny Health & Fitness P8000
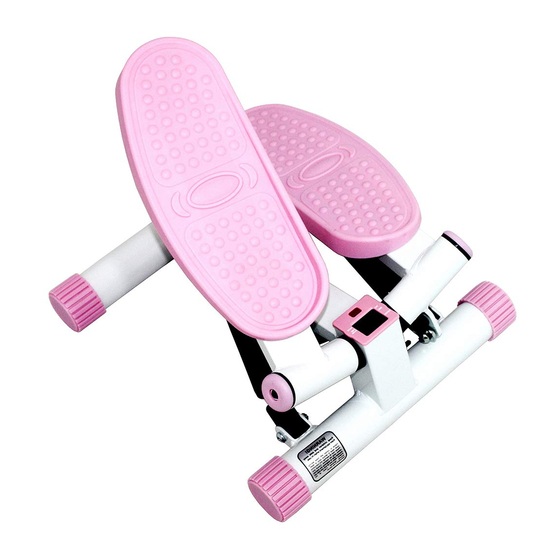
- Page 1 PINK ADJUSTABLE TWIST STEPPER P8000 USER MANUAL IMPORTANT! Please retain owner’s manual for maintenance and adjustment instructions. Your satisfaction is very important to us, PLEASE DO NOT RETURN UNTIL YOU HAVE CONTACTED US: support@sunnyhealthfitness.com or 1- 877 - 90SUNNY (877-907-8669).
-
Page 2: Important Safety Information
IMPORTANT SAFETY INFORMATION We thank you for choosing our product. To ensure your safety and health, please use this equipment correctly. It is important to read this entire manual before assembling and using the equipment. Safe and effective use can only be achieved if the equipment is assembled, maintained and used properly. -
Page 3: Exploded Diagram
EXPLODED DIAGRAM... -
Page 4: Parts List
PARTS LIST Description Spec. Qty. Description Spec. Qty. Screw Pedal (R&L) Bolt Bolt Bearing Cap Bolt Bearing Sleeve Bolt Pedal Tube (L) Internal Ring Hydraulic Cylinder Main Frame Washer Meter Bolt Sensor Pulley Bolt Pulley Bracket Cable Washer Pedal Tube (R) Knob Magnet Ordering Replacement Parts (U.S. - Page 5 ASSEMBLY INSTRUCTIONS STEP 1: Remove the main frame from the box. Lift one pedal up with your hands. Cable (No. 12) Ensure the is secured around the Pulley (No. 25) as shown in the picture below. Pulley (No. 25) Cable (No. 12) STEP 2: Turn the Knob (No.
-
Page 6: Maintenance And Care
MAINTENANCE AND CARE Regular maintenance requires you to wipe the stepper clean after each use. Only use a dry cloth when doing so. Always store your stepper in a dry, cool area. Do not leave outdoors as prolonged exposure to weather/temperatures will cause damage to parts and functions of the machine over. -
Page 7: Exercise Computer
EXERCISE COMPUTER KEY FUNCTIONS: MODE: Press the red MODE button to select function (Time, COUNT REPS Rep/Min, Count, Calorie and Scan). /MIN TIME SCAN OPERATIONAL FUNCTIONS: AUTO ON/OFF: If the stepper is put into motion or the MODE button is pressed, the meter will activate and will remain active during use. -
Page 8: How To Change The Battery
HOW TO CHANGE THE BATTERY Plastic cap 1) Remove the plastic cap from the battery. 2) Remove the battery using your hand or the tool provided. 3) Insert the new battery using your hand or the tool provided. Ensure that the positive side of the battery (labeled with a + sign) is facing upward.
Need help?
Do you have a question about the P8000 and is the answer not in the manual?
Questions and answers