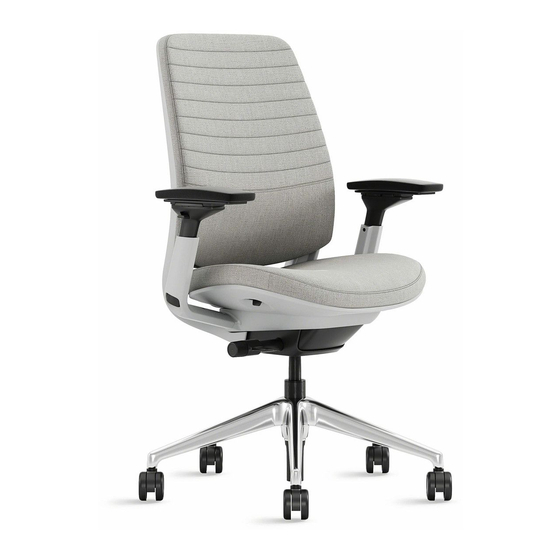
Steelcase 2 Series Removal And Installation Instructions
Installation of armless plugs and retrofit on chair
Hide thumbs
Also See for 2 Series:
- User manual (13 pages) ,
- Removal and installation instructions (8 pages) ,
- Retrofit instruction (7 pages)
Advertisement
Quick Links
Removal and Installation of Armless Plugs and Retrofit
®
Instructions for Converting Steelcase Series
®
2 Chair to Armless
Pages 2 & 3
Pages 4 through 9
Torx T-30
If you have a problem, question, or request, call
your local dealer, or Steelcase Line 1 at
888.STEELCASE (888.783.3522)
for immediate action by people who want to help you.
(Outside the U.S.A., Canada, Mexico, Puerto Rico,
and the U.S. Virgin Islands, call: 1.616.247.2500)
Or visit our website: www.steelcase.com
©
2020 Steelcase Inc.
Grand Rapids, MI 49501
Page 1 of 9
U.S.A.
145931 Rev B
Printed in U.S.A.
Advertisement

Related Manuals for Steelcase 2 Series


Summary of Contents for Steelcase 2 Series
- Page 1 Pages 4 through 9 Torx T-30 If you have a problem, question, or request, call your local dealer, or Steelcase Line 1 at 888.STEELCASE (888.783.3522) for immediate action by people who want to help you. (Outside the U.S.A., Canada, Mexico, Puerto Rico, and the U.S.
- Page 2 ® Removal and Installation of Armless Plugs Pull seat depth lever out (1a) (Optional: Insert paperclip wire as shown in 1b) and slide seat forward. Push and hold two square black buttons near the rear of the seat (2a) as you slide the seat forward and off (2b). SQUARE BLACK BUTTONS Page 2 of 9...
- Page 3 ® Unsnap rear cover and rotate up (3a). Remove armless plug (3b) and replace with new armless plug (3c). Snap rear cover back into place (3d). Install seat by sliding seat on rails until it clicks and stops. Adjust seat to assure proper assembly. Page 3 of 9 145931 Rev B...
- Page 4 ® Retrofit Instructions for Converting Steelcase Series 2 Chair to Armless Pull seat depth lever out (1a) (Optional: Insert paperclip wire as shown in 1b) and slide seat forward. Push and hold two square black buttons near the rear of the seat (2a) as you slide the seat forward and off (2b).
- Page 5 ® BLACK TAB Put boost knob in the “boost” position (middle knob position). Recline the back and locate small black tab on beige camlock. Press black tab with Prybar until it’s in the groove. Allow back to rock back to upright position while holding Prybar in place.
- Page 6 ® Remove two (2) screws on each arm. Remove arms. Unclip rear cover by rotating upwards as shown, then pulling off of hinge cover. Pull the front of the shroud forward and down to disengage front hooks (10a), then push back to disengage rear hooks (10b). Spread the back of the shroud and lift off (10c).
- Page 7 ® Remove four (4) bolts from underside of rail (11a) and remove arm bar (11b). Spread the back of the shroud and place into position (12a). Line up the rear hooks and pull forward to engage (12b). Lift the front of the shroud and engage the front hooks (12c).
- Page 8 ® Install rear cover hooks onto shroud pins (13a). Install caps on each end of the rear cover (13b). Rotate rear cover down and snap into rear snaps (13c). Page 8 of 9 145931 Rev B...
- Page 9 ® Install seat by sliding seat on rails until it clicks and stops. Adjust seat to assure proper assembly. Page 9 of 9 145931 Rev B...
Need help?
Do you have a question about the 2 Series and is the answer not in the manual?
Questions and answers