Steelcase 1 Series Removal And Installation
Removal and installation of chair control
Hide thumbs
Also See for 1 Series:
- User manual (13 pages) ,
- Instructions (2 pages) ,
- Removal and installation (2 pages)
Advertisement
®
If you have a problem, question, or request, call
your local dealer, or Steelcase Line 1 at
888.STEELCASE (888.783.3522)
for immediate action by people who want to help you.
(Outside the U.S.A., Canada, Mexico, Puerto Rico,
and the U.S. Virgin Islands, call: 1.616.247.2500)
Or visit our website: www.steelcase.com
©
2017 Steelcase Inc.
Grand Rapids, MI 49501
U.S.A.
Printed in U.S.A.
on Steelcase Series
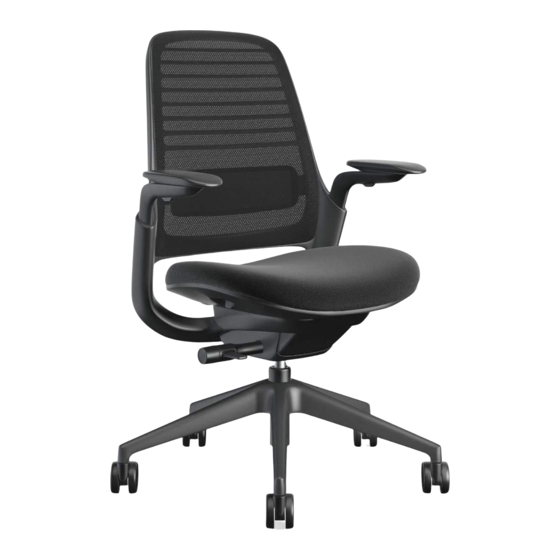
Steelcase Series 1
Removal and Installation of Chair Control
Steelcase Series 2
®
1 and Series
®
2 Chairs
Pneumatic Cylinder
Removal Tool
Only required for Series 2
with Arms
Torx T-30
110038 Rev B
Page 1 of 7
Advertisement
Table of Contents

Related Manuals for Steelcase 1 Series


Summary of Contents for Steelcase 1 Series
- Page 1 If you have a problem, question, or request, call Steelcase Series 1 Steelcase Series 2 your local dealer, or Steelcase Line 1 at 888.STEELCASE (888.783.3522) for immediate action by people who want to help you. (Outside the U.S.A., Canada, Mexico, Puerto Rico, and the U.S.
- Page 2 ® SQUARE BLACK BUTTON Remove Seat (Series 1 shown) Pull seat depth lever out (1a) (Optional: insert paperclip wire as shown in 1b) and slide seat forward. Push and hold two square black buttons near the rear of the seat (2a) as you slide the seat forward and off (2b). Page 2 of 7 110038 Rev B...
- Page 3 ® Remove Arms for Series 2 (if present) (Series 2 shown) Remove two (2) screws on each arm. Remove old arms. Page 3 of 7 110038 Rev B...
- Page 4 ® BLACK TAB Remove Back Assembly (Series 1 shown) Put boost knob in the “boost” position (middle knob position). Recline the back and locate small black tab on beige camlock. Press black tab with Prybar until it’s in the groove. BOOST KNOB IN Allow back to rock back to upright position “BOOST”...
- Page 5 ® Remove Chair Control (Series 1 shown) Extend the cylinder to the highest position using the seat height lever. Secure cylinder removal tool (P/N 879100100) to cylinder and remove cylinder as shown below. Apply lifting force to the column with one hand. With the hammer in the other hand, give the removal tool several solid hits on the flat area.
- Page 6 Assemble Chair With New Chair Control (Series 1 shown) If assembling Series 2 chair with arms, go to page 7. Page 6 of 7 110038 Rev B...
- Page 7 ® Assemble Arms for Series 2 (if present) (Series 2 shown) Install arms. Install two (2) screws on each arm. Torque to 3-6 Nm (26-53 in-lbs). Page 7 of 7 110038 Rev B...
Need help?
Do you have a question about the 1 Series and is the answer not in the manual?
Questions and answers