Chamberlain ELITE Series Quick Start
Hide thumbs
Also See for ELITE Series:
- Owner's manual (72 pages) ,
- Setup and operation manual (60 pages) ,
- User manual (36 pages)
Table of Contents
Advertisement
Quick Links
QuickStart
for Model 8500 Garage Door Opener
This QuickStart is intended to highlight a typical situation. These instructions are not
intended to be comprehensive. Because each application is unique, it is the responsibility
of the purchaser, designer, installer and end user to ensure that the total door system is
safe for intended use. Please consult the manual and/or a qualified technician for further
information.
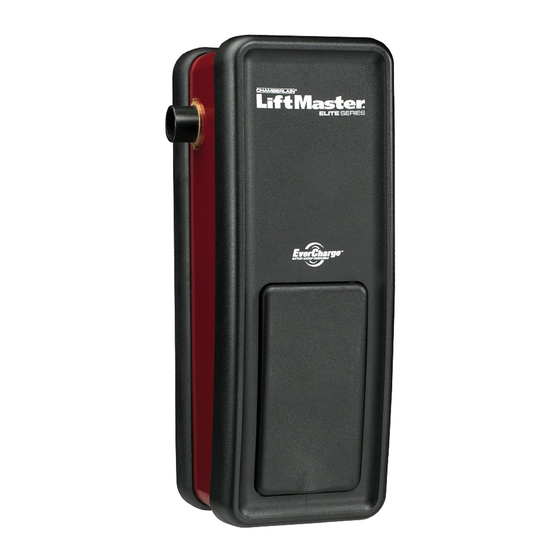
Garage Door Opener
1
Install the operator.
STEP 1: Slide the collar onto the
motor shaft on the garage door
opener and hand tighten the
3/16"
collar screws.
Motor Shaft
STEP 2: Loosely attach the mounting
bracket to the garage door opener.
Mounting Bracket
STEP 3: Slide the garage
Collar Screws
door opener onto the
torsion bar and make
sure it is level. Tighten
the collar screws evenly.
Lift the garage door
slightly to access the set
screws on the back of
the collar. Tighten set
screws.
3/16"
STEP 4: Tighten the screws
attaching the mounting bracket
to the garage door opener.
Secure the mounting bracket to
the wall.
STEP 5: Attach the emergency
release rope and handle.
Cable Tension Monitor
Power Door Lock
Protector System
2
Install the power door lock.
Collar
3
Install the cable tension monitor.
Set Screws
1/8"
4
Install the MyQ
To Reduce the Risk of SEVERE INJURY or DEATH, READ AND FOLLOW ALL INSTALLATION
INSTRUCTIONS provided in the manual. This QuickStart is NOT intended to replace the manual,
but serves as a reminder for those familiar with the manual and the installation of this product.
INSTALLATION
Remote Light
®
A
1/8"-1/4"
(3-6 mm)
B
Approx. 3/4"
(19 mm)
®
control panel.
C
WARNING
WARNING
CAUTION
WARNING
WARNING
MyQ
®
Control Panel
5
Install the remote light.
A19 incandescent
(100 watt maximum)
6
Install The Protector System
Install the bracket onto the door track no higher than 6" (15 cm) above
the floor. Secure the sensor to the bracket. Repeat on opposite door
track. Align the sensors.
2"-6"
(5-15 cm)
6" (15 cm) max.
above floor
Run wires to garage door opener.
D
Plug in the garage door opener. Check to make sure the LEDs in both
sensors are glowing steadily (indicating they are aligned and wired
correctly).
WIRE CONNECTIONS
Power Door Lock
A
(white and white/black)
Cable Tension Monitor
B
(white/green to green)
MyQ
®
Control Panel
C
(white/red to red, white to white)
Safety Reversing Sensors
D
(white/black to gray, white to white)
A
B
C
D
®
.
Sensor
Bracket
Advertisement
Table of Contents

Related Manuals for Chamberlain ELITE Series


Summary of Contents for Chamberlain ELITE Series
- Page 1 QuickStart for Model 8500 Garage Door Opener This QuickStart is intended to highlight a typical situation. These instructions are not WARNING WARNING intended to be comprehensive. Because each application is unique, it is the responsibility of the purchaser, designer, installer and end user to ensure that the total door system is To Reduce the Risk of SEVERE INJURY or DEATH, READ AND FOLLOW ALL INSTALLATION safe for intended use.
- Page 2 ADJUSTMENT Set the Force Test the Safety Reversal System Program the Travel Limits The force setting measures the amount of force required Travel limits regulate the points at which the door will stop when to open and close the door. moving up or down.
Need help?
Do you have a question about the ELITE Series and is the answer not in the manual?
Questions and answers