Table of Contents
Advertisement
Quick Links
PROPER USE GUIDELINES
Cumulative Trauma Disorders can result from the prolonged use of manually powered hand tools. Hand tools are intended for occasional use and low volume
applications. A wide selection of powered application equipment for extended-use, production operations is available.
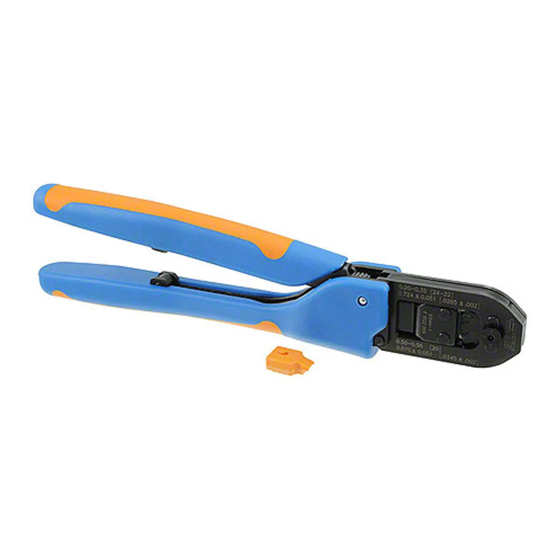
Moving Die Holder
Head
1. INTRODUCTION
CERTI–CRIMP II Die Set Hand Tool 1901260–1 uses
interchangeable crimping dies and is used to crimp a
wide variety of products. These instructions are
general information only. Refer to the instruction
sheets packaged with the dies for specific crimping
instructions.
Dimensions in this instruction sheet are in
NOTE
millimeters [with inches in brackets]. Figures and
illustrations are for reference only and are not
i
drawn to scale.
2. DESCRIPTION
(Figure 1)
The tool consists of a head with a stationary die
holder and moving die holder and handles with a
ratchet.
This tool is a member of the CERTI–CRIMP II hand
crimping tool family. The ratchet on this tool ensures
full crimping of the product. Once engaged, the
ratchet will not release until the handles have been
FULLY closed.
E
2007 Tyco Electronics Corporation, Harrisburg, PA
All International Rights Reserved
TE logo and Tyco Electronics are trademarks.
*Trademark. Other products, logos, and company names used are the property of their respective owners.
CERTI-CRIMP* II Handle
Assembly for Large Dies
#16 AWG Max.
Stationary Die Holder
Figure 1
CAUTION
Each set of dies consists of a moving die and a
stationary die. Most moving dies have square corners
and the stationary dies have chamfered corners. See
Figure 2. Exceptions to this feature will be shown on
the instruction sheet packaged with the dies.
TOOLING ASSISTANCE CENTER 1-800-722-1111
PRODUCT INFORMATION 1-800-522-6752
Handles
The crimping dies bottom before the ratchet
releases. This feature ensures maximum
electrical and tensile performance of the crimp.
!
DO NOT re-adjust the ratchet.
Typical Crimping Dies
Moving Die
Locator
Stationary
Die
Die Holding Screw
Figure 2
This controlled document is subject to change.
For latest revision and Regional Customer Service,
www.tycoelectronics.com
visit our website at
Instruction Sheet
408-10176
05 DEC 07
Rev A
Insulation
Adjustment
Spacers
1
of 3
LOC B
Advertisement
Table of Contents

Related Manuals for Tyco Electronics CERTI-CRIMP II


Summary of Contents for Tyco Electronics CERTI-CRIMP II
- Page 1 For latest revision and Regional Customer Service, All International Rights Reserved www.tycoelectronics.com visit our website at TE logo and Tyco Electronics are trademarks. LOC B *Trademark. Other products, logos, and company names used are the property of their respective owners.
- Page 2 408-10176 CERTI-CRIMP II Handle Assembly for Large Dies #16 AWG Max. 3. DIE INSERTION AND REMOVAL For a splice, insert a properly stripped wire into the wire barrel until the wire butts against the splice If the crimping dies require an insulation adjustment, wire stop.
- Page 3 408-10176 CERTI-CRIMP II Handle Assembly for Large Dies #16 AWG Max. Wipe excess oil from the tool, particularly from the included with the crimping dies. Holding the wire in crimping area. Oil transferred from the crimping area place, squeeze the tool handles together until the onto certain terminations may affect the electrical ratchet releases.
Need help?
Do you have a question about the CERTI-CRIMP II and is the answer not in the manual?
Questions and answers