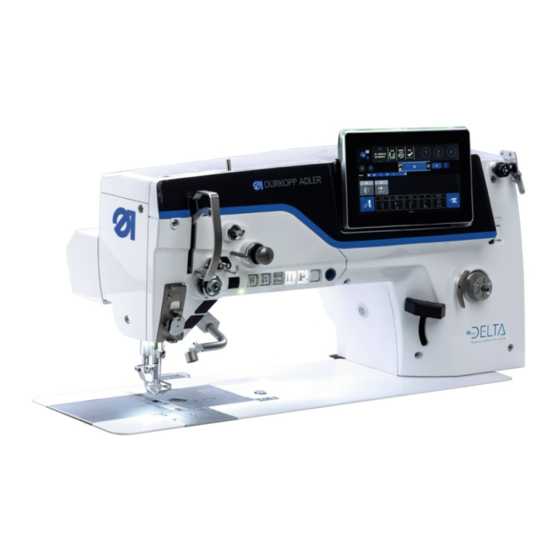
DURKOPP ADLER D867 Additional Instructions
Ssd with rfw
Hide thumbs
Also See for D867:
- Service instructions manual (250 pages) ,
- Operating instructions manual (220 pages) ,
- Additional instructions (22 pages)
Table of Contents
Advertisement
Quick Links
Advertisement
Table of Contents

Related Manuals for DURKOPP ADLER D867


Summary of Contents for DURKOPP ADLER D867
- Page 1 D867 Additional Instructions SSD with RFW...
- Page 2 IMPORTANT READ CAREFULLY BEFORE USE KEEP FOR FUTURE REFERENCE All rights reserved. Property of Dürkopp Adler AG and protected by copyright. Any reuse of these contents, including extracts, is prohibited without the prior written approval of Dürkopp Adler AG. Copyright © Dürkopp Adler AG 2020...
-
Page 3: Table Of Contents
Tools required for assembling the kit..........5 Assembling compressed air maintenance unit and valve block ... 6 Assembling the SSD..............8 Software settings..............13 Activating the SSD..............13 Testing the SSD ................. 14 Cleaning the SSD..............16 Additional Instructions D867 - 00.0 - 04/2020... - Page 4 Table of Contents Additional Instructions D867 - 00.0 - 04/2020...
-
Page 5: General Information
Check whether the scope of delivery for kit 0867 594414 is correct prior to installation. Part number Quantity Description 0667 155840 Holder 0667 155930 Cover 0867 154854 SSD hook Ø 32 mm 0867 151200 Bobbin Ø 32 mm 0867 594494 Sensor block Additional Instructions D867 - 00.0 - 04/2020... - Page 6 Hose PUR, 2.2 m 9790 201000 WI-E coupling 9830 501014 Spacer 9840 121002 Cable tie 9850 001504 9874 867002 Cable CAN to SSD 9874 867023 Cable B1100192.01 Reducer plug B1300260.00 Double screw connection B1400342.00 Sealing plug Additional Instructions D867 - 00.0 - 04/2020...
-
Page 7: Assembly
2.1 Tools required for assembling the kit Fig. 2: Required tools • Screw driver, cross-head • Screw driver, flat-head • Allen key, size 3 • Allen key, size 5 • Wrench, size 14 • Wire cutter Additional Instructions D867 - 00.0 - 04/2020... -
Page 8: Assembling Compressed Air Maintenance Unit And Valve Block
2. Connect the machine hose (4) coming out of the machine head to the maintenance unit (3) at the top right using the elbow screw joint. 3. Connect the system connection hose (2) to the pneumatic system. Additional Instructions D867 - 00.0 - 04/2020... - Page 9 2. If not yet present, tighten the valve block (7) with the bracket (5). 3. Remove the dummy plate from the valve block (7). 4. Screw the solenoid valve (6) in at the available space on the valve block (7). 5. Erect the machine head. Additional Instructions D867 - 00.0 - 04/2020...
-
Page 10: Assembling The Ssd
2. Disassemble any old components of the remaining thread monitor. Fig. 5: Assembling the SSD (1) Bobbin case new Bobbin case old polished surface on the hook, larger slots for the laser beam 3. Change the bobbin case ( Service Instructions). Additional Instructions D867 - 00.0 - 04/2020... - Page 11 While doing so, align the blow tube (1) such that the flow of air hits the polished surface of the bobbin case. 8. Tilt the machine head. 9. Pull the cables and hoses through the base plate and to the underside of the machine. Additional Instructions D867 - 00.0 - 04/2020...
- Page 12 11. Slip the spacers (5) onto the circuit board holder (6) and fix them in place by pushing them down. 12. Press the PSB (4) onto the circuit board holder (6) until it locks into place. Additional Instructions D867 - 00.0 - 04/2020...
- Page 13 16. Clip the cover (9) onto the cable duct (7). 17. Slip hoses (10) and (12) onto the solenoid valve (13). 18. Slip valve connectors (11) and (14) onto the solenoid valve (13). Additional Instructions D867 - 00.0 - 04/2020...
- Page 14 (17) - PCB 19. Connect the cable (3) at slot X2 (for 1-needle machines) on PCB A2 (17). 20. Connect valve connectors (11) and (14) at slots X22 and X23 on PCB A2 (17). Additional Instructions D867 - 00.0 - 04/2020...
-
Page 15: Software Settings
3. Activate the parameter t 06 00 CAN - Bobbin Monitor. 4. Activate the parameter t 06 10 Loop Control. 5. Press the Bobbin Rotation Monitor button. Fig. 13: Activating the SSD (2) Additional Instructions D867 - 00.0 - 04/2020... -
Page 16: Testing The Ssd
• Check: Switch to the display Value hook thread stitch counter and turn the empty bobbin slowly into the reflecting area. With the proper setting, the value of the hook thread stitch counter must be > 1500. Additional Instructions D867 - 00.0 - 04/2020... - Page 17 Display of the degree of soiling in % If the degree of soiling rises above 80%, the display will show a warning. In this case, the SSD needs to be cleaned p. 16 Additional Instructions D867 - 00.0 - 04/2020...
-
Page 18: Cleaning The Ssd
Fig. 14: Cleaning the SSD ① ② (1) - Surface on the hook (2) - Sensors To clean the SSD: 1. Clean the surface on the hook (1) and the sensors (2) with a cloth. Additional Instructions D867 - 00.0 - 04/2020... - Page 20 DÜRKOPP ADLER AG Potsdamer Str. 190 33719 Bielefeld Germany Phone: +49 (0) 521 925 00 Email: service@duerkopp-adler.com www.duerkopp-adler.com...
Need help?
Do you have a question about the D867 and is the answer not in the manual?
Questions and answers