
Subscribe to Our Youtube Channel
Related Manuals for LX Navigation Iris Series


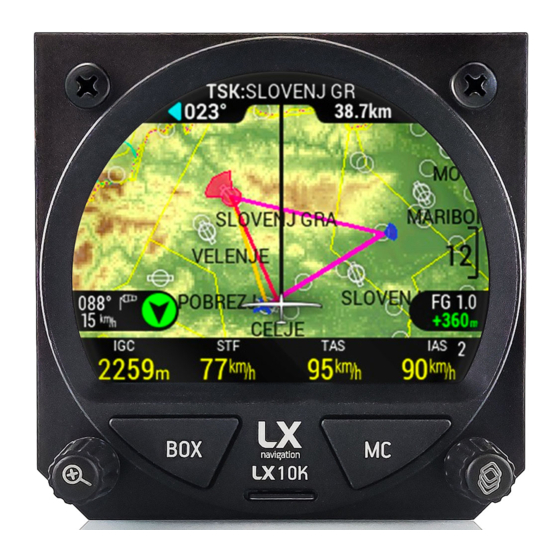
Summary of Contents for LX Navigation Iris Series
- Page 1 LX10K, LX Era, LX Traffic Monitor, LX Horizon and iris series installation manual version 2.0...
- Page 2 Version: All Document Name: Installation manual Page 2 of 9 LX 10k, LX Era, LX Traffic Monitor, LX Horizon and iris series installation manual Installation manual (All versions) Tkalska ulica 10 SI 3000 Celje Tel.: 00 386 3 490 46 70 Fax.: 00 386 3 490 46 71...
-
Page 3: Table Of Contents
Version: All Document Name: Installation manual Page 3 of 9 CONTENTS PART ONE – INTRODUCTION........................3 PART TWO – BASIC NOMENCLATURE....................... 4 PART THREE – CUT OUT..........................5 PART FOUR – ELECTROMECHANICAL CHARACTERISTICS..............6 PART FIVE – INSTALLATION STEPS......................7... -
Page 4: Part One - Introduction
– [T] LX Horizon – [H] LX iris series – [I] The reason for sharing steps and manual is that these devices share the same hardware platform, with the distinction of the LX Era being of a different orientation (rotated left by 90°) to the other devices. -
Page 5: Part Two - Basic Nomenclature
Version: All Document Name: Installation manual Page 5 of 9 PART TWO – BASIC NOMENCLATURE The main IO of the device(s) are the front panel interface: Right/upper Left/lower Right/upper button button push-rotary Right/upper MicroSD Left/lower Left/lower Left/lower MicroSD knob button card push- push-... -
Page 6: Part Three - Cut Out
Document Name: Installation manual Page 6 of 9 PART THREE – CUT OUT 10k, Era, Horizon, Traffic Monitor and iris series Note that both units are in landscape orientation, meaning the push-rotary knobs are in the bottom two M5 holes. -
Page 7: Part Four - Electromechanical Characteristics
Version: All Document Name: Installation manual Page 7 of 9 PART FOUR – ELECTROMECHANICAL CHARACTERISTICS Use a circuit breaker rated at 2 A for one and two devices. For each additional device added to the system depending on the same power source a 1 A stronger circuit breaker should be used. Characteristic 80 [mm] (3.125˝) size 57 [mm] (2.25˝) size... -
Page 8: Part Five - Installation Steps
Version: All Document Name: Installation manual Page 8 of 9 PART FIVE – INSTALLATION STEPS We are going to expect that you’ve already prepared the future mounting position, meaning you have drilled all of the holes, cleaned the edges can checked that everything fits. [K, E, T, H, I ] 1. - Page 9 Version: All Document Name: Installation manual Page 9 of 9...
Need help?
Do you have a question about the Iris Series and is the answer not in the manual?
Questions and answers