Table of Contents
Advertisement
Quick Links
Advertisement
Table of Contents

Related Manuals for PICO PicoScope 9000 Series


Summary of Contents for PICO PicoScope 9000 Series
- Page 1 PicoScope 9000 Series ® PC sampling oscilloscopes Quick Start Guide...
-
Page 3: Table Of Contents
Adding measurements ....................12 7.5 Configuring the display ....................13 PicoConnect 900 Series probes .............. 14 Free newsletter ..................14 Software updates and replacement ............14 11. Specifications ................... 14 Technical support ..................14 DO134-14 Copyright © 2008–2017 Pico Technology Ltd. All rights reserved. -
Page 5: Introduction
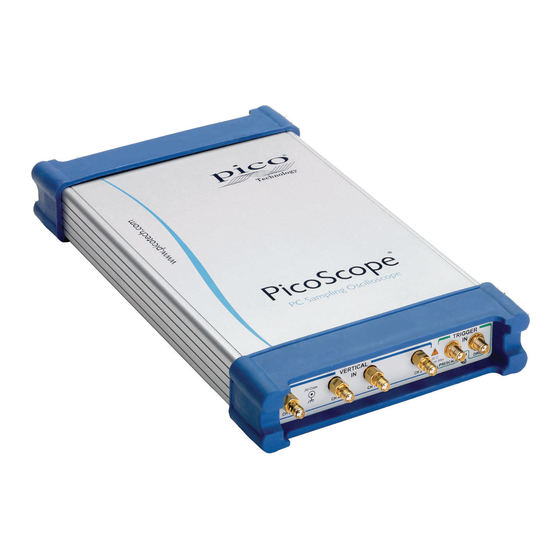
PicoScope 9000 Series Quick Start Guide 1. Introduction Thank you for purchasing a PicoScope 9000 Series PC Sampling Oscilloscope, a high-bandwidth, high-effective-sampling-rate measuring instrument specifically designed for capturing and analyzing cyclical waveforms or clocked data streams. For further setup information following basic installation, see the User’s Guide by either clicking the Help button within the oscilloscope software or opening the PDF directly from the software disk. -
Page 6: Maximum Input Ranges
Signal voltage limits of EN 61010-1:2010 ± 70 V DC 33 V AC RMS ± 46.7 V pk max. PicoScope 9000 Series PC oscilloscopes are not designed to measure hazardous live signals as defined by EN 61010. To prevent electric shock, do not attempt to measure voltages outside of the limits shown in the table above or the specified full scale measurement range, whichever is lower. CAUTION To prevent permanent damage, do not directly connect the high-voltage differential step generator of the PicoScope 9311 to channel inputs or other equipment. -
Page 7: Grounding
CAUTION Take care to avoid mechanical stress or tight bend radii for all connected leads, including all coaxial leads and optical fiber and connectors. Mishandling will cause deformation of sidewalls, and will degrade performance and measurement accuracy. DO134-14 Copyright © 2008–2017 Pico Technology Ltd. All rights reserved. -
Page 8: Environment
The product contains no user-serviceable parts. Repair, servicing, and calibration require specialized test equipment and must only be performed by Pico Technology or an approved service provider. There may be a charge for these services unless covered by the Pico warranty. WARNING To prevent injury or death, do not use the product if it appears to be damaged in any way, and stop use immediately if you are concerned by any abnormal operations. -
Page 9: Conformance
Pentium-class processor or equivalent Memory 1 GB Disk space 50 MB Microsoft Windows XP (SP2), Windows Vista, Windows 7, Windows 8 Operating system or Windows 10. 32-bit or 64-bit. Ports USB 2.0, LAN DO134-14 Copyright © 2008–2017 Pico Technology Ltd. All rights reserved. -
Page 10: Included With Your Picoscope
• 18 GHz SMA(f) reference short • 18 GHz SMA(f) reference load The 14 GHz power divider kit (TA238) contains: • 18 GHz 50 Ω SMA(f-f-f) 3-resistor 6 dB power divider • 2 x 10 cm precision coaxial SMA(m-m) cable Copyright © 2008–2017 Pico Technology Ltd. All rights reserved. DO134-14... -
Page 11: Installing The Picosample 3 Software
Download and double-click the installer to run it. 1b. (Alternative: install from CD) Insert the Pico software disk into your CD drive. Windows 7 will run the disk automatically. Later versions of Windows will ask you what to do with the CD: select Run Pico.exe. -
Page 12: Using Your Oscilloscope
PicoScope 9321 POSITIVE pulse head D.U.T. O/E OUT (optional) O/E IN U.T. CLOCK RECOVERY DIRECT PicoScope PRESCALE 9311-20 DIRECT PicoScope Copyright © 2008–2017 Pico Technology Ltd. All rights reserved. DIRECT DO134-14 PicoScope PRESCALE NEGATIVE PRESCALE 9321 9321 TRIG OUT D.U.T POSITIVE... - Page 13 Splitter (optional) (optional) lter (option * 10 dB attenuator fitted for optimum flatness. Remove only for applications requiring higher clock Splitter (optional) recovery sensitivity. Negative pulse head Negative (optional) pulse head (optional) DIRECT PicoScope PRESCALE 9321 O/E OUT D.U.T. O/E IN CLOCK RECOVERY DO134-14 Copyright © 2008–2017 Pico Technology Ltd. All rights reserved.
-
Page 14: Getting Started With The Picosample 3 Software
You should now see a signal waveform in the oscilloscope window. If it is not shown, make sure the Run button is active. The waveform may be unstable or incorrectly scaled at this stage. Click Autoscale on the top menu bar. Adjust the basic amplitude and timebase controls. You have now captured your first waveform with a PicoScope 9300 Series scope! Copyright © 2008–2017 Pico Technology Ltd. All rights reserved. DO134-14... -
Page 15: Touchscreen Support
The Channel 1 voltage scale control is active broader parameter overview bar. (and highlighted in blue), but the buttons and the parameter overview bar are too small for easy use with the touch screen. DO134-14 Copyright © 2008–2017 Pico Technology Ltd. All rights reserved. -
Page 16: Adding Measurements
Select Statistics from the side menu for a wider numeric perspective. Resize the Measure area by selecting the min, mid, max, and auto tabs, which each display different data sets. Copyright © 2008–2017 Pico Technology Ltd. All rights reserved. DO134-14... -
Page 17: Configuring The Display
(as shown above) and drag it up or down. You have now covered the basic working principles of the scope software. For further detailed information, see the User’s Guide and the help files within the software. DO134-14 Copyright © 2008–2017 Pico Technology Ltd. All rights reserved. -
Page 18: Picoconnect 900 Series Probes
10. Software updates and replacement The latest versions of all Pico software and manuals can be downloaded free of charge from: www.picotech.com If you require a new software disk, please contact Pico Technology or your distributor. 11. Specifications The User’s Guide and Data Sheet contain the latest specifications for your PicoScope PC... - Page 20 Pico Technology and PicoScope are internationally registered trade marks of Pico Technology Ltd. Windows is a registered trade mark of Microsoft Corporation in the United States and other countries. DO134-14. Copyright © 2008–2017 Pico Technology Ltd. All rights reserved.
Need help?
Do you have a question about the PicoScope 9000 Series and is the answer not in the manual?
Questions and answers