Table of Contents
Advertisement
Quick Links
QUICK SET-UP
1. Install a 220v electrical plug
–
The Green/yellow wire is the Ground
–
The Blue wire and the Brown wire are hot wires
2. Install welding wire and torch assemblies
–
follow the instructions in your owner's manual.
3. Power on using the on/off Switch in the lower back corner
–
A boot up display will appear, then the home screen
4. Toggle the Torch Selection Switch to your chosen torch
–
Located on the bottom of the front panel
Right (Red) to select the aluminum push pull
–
–
Left (Black) to select the steel / braze torch.
5. Set Up Gas Bottles with a Regulator and Adjust Gas Flow
*You will use the Red Knob for all menu and settings selections
6. Press and Hold until you see the Main Menu (Process Parameters)
7. Click to open the Wire Selection Menu
8. Turn to scroll and highlight the kind of wire and gas you are using
9. Click to select your wire and gas
10. You will be at the Main Menu (Process Parameters) screen again.
–
The Settings you selected should be at the top of the menu
11. Press and Hold to return to the Home Screen.
12. Turn to Set the Thickness of your material
–
Shown in the lower right corner of the display.
13. YOU ARE NOW READY TO WELD
This welder uses a Synergic Curve Principle
The wire speed is preset to the thickness
*
The welding amps and welding voltage change as you weld
*
Simply set the metal Thickness adjust the Welding Gas Flow
*
Wire and Gas Type
Active Welding Settings
2T
Standard Start Mode
DL
Double Level
DP
Double Pulse
PP
Push Pull Torch
HSA
Hot Start
CRA
Crater Fill
Spot
Spot Weld
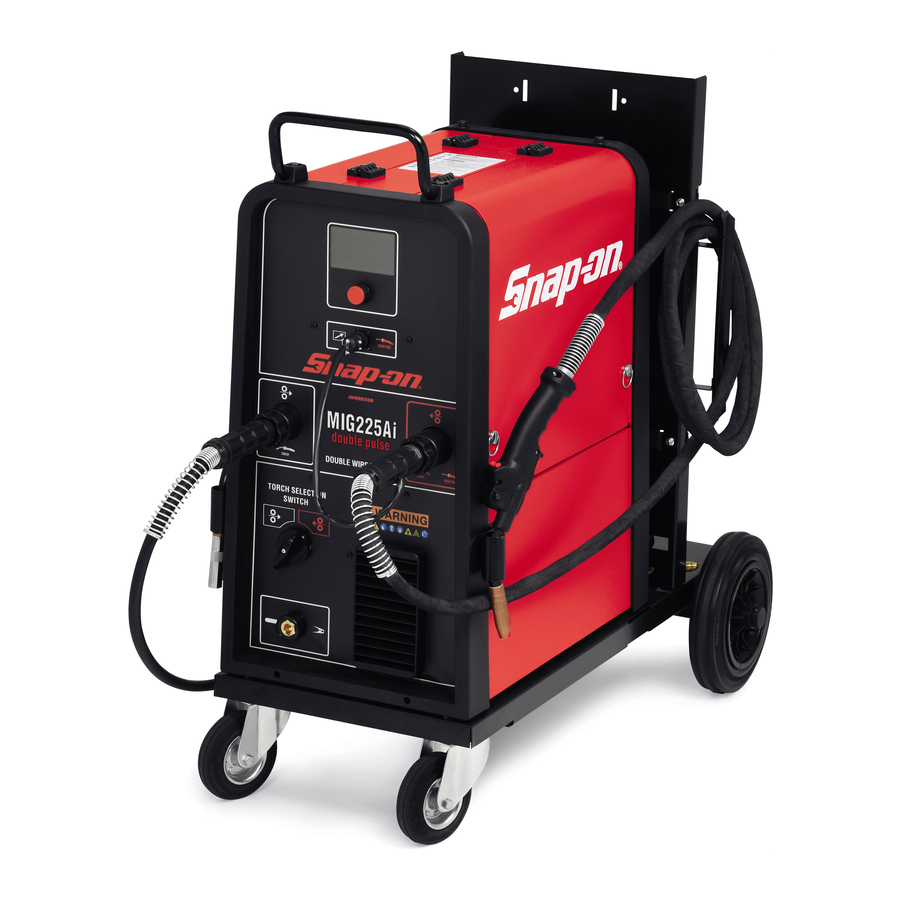
Quick Start Guide - MIG225Ai
Home Screen
(see Pg. 3)
Main Menu
Wire Selection Menu
(see Pg. 3)
Process Mode
SHORT
PULSED
Metal Thickness
1
Page
Advertisement
Table of Contents

Related Manuals for Snap-On MIG225Ai


Summary of Contents for Snap-On MIG225Ai
- Page 1 Quick Start Guide - MIG225Ai QUICK SET-UP 1. Install a 220v electrical plug – The Green/yellow wire is the Ground – The Blue wire and the Brown wire are hot wires 2. Install welding wire and torch assemblies – follow the instructions in your owner’s manual.
- Page 2 Page...
- Page 3 Advanced Settings - MIG225Ai Welding Gas Set Up 1. Open each gas bottle. 2. Toggle the Torch Selector Switch to the torch you are using 3. Press and Hold the Torch Trigger to open the gas solenoid – You may release the wire feeder within the machine to stop the wire from feeding 4.
- Page 4 Advanced Settings - MIG225Ai Spot Welding Mode Spot Weld 1. Press and Hold until you see the Main Menu (Process Parameters) 2. Turn to scroll down to Spot and Click to select 3. Turn to highlight On or Off and Click to confirm selection...
- Page 5 Double Pulse and Double Level Guide - MIG225Ai Alternate the wire speed between high wire speed and low wire speed while maintaining penetration for a continuous weld that is visibly similar to a TIG weld. Ideal for vertical or overhead welding.
Need help?
Do you have a question about the MIG225Ai and is the answer not in the manual?
Questions and answers