
Related Manuals for Autarco UX Series


Summary of Contents for Autarco UX Series
- Page 1 Installation and Operation Manual Solar Inverters UX series © Autarco Group B.V. IM-S2.UX-EN-V1.4...
- Page 2 This manual is an integral part of the unit. Please read the manual carefully before installation, operation or maintenance. Keep this manual for future reference. Product information is subject to change without notice. All trademarks are recognized as the property of their respective owners. © Autarco Group B.V. All rights reserved. UX-series Inverters...
-
Page 3: Table Of Contents
LED indicator lights Inverter display Information Settings Advanced info Advanced Settings Temperature derating External fan Monitoring setup and system registration The following products are available to monitor UX series inverters: Maintenance Fan Maintenance Disposal 10. Troubleshooting 10.1 General 10.2 Internal component fault 10.3... -
Page 4: Introduction
This manual contains important information for use during installation and maintenance of the UX series Autarco inverter. To reduce the risk of electrical shock, and to ensure the safe installation and operation of the UX series Autarco inverters, the following safety symbols appear throughout this document to indicate dangerous conditions and important safety instructions. -
Page 5: Product Versions Covered By This Document
1.3 Product versions covered by this document The main purpose of this user manual is to provide instructions and detailed procedures for installing, operating, maintaining, and troubleshooting the UX series of Autarco inverters which includes the following models: ● S2.UX40000(S) ●... -
Page 6: Preparation
This is because photovoltaic (PV) arrays create electrical energy when exposed to light, and could cause a hazardous condition. The UX series inverter must only be operated with PV arrays of protection class II, in accordance with IEC 61730, class A. -
Page 7: Package Contents
2.3 Internal DC switch Please verify whether your Autarco UX series inverter is equipped with internal DC switches. This switch can be found on the bottom of the inverter. If there isn’t an internal DC switch it is important to apply an external DC disconnector in order to completely disconnect the solar PV module strings from the inverter. -
Page 8: Product Information
3.1 Overview Autarco UX series grid tied inverters are state of the art, high efficiency, robust and reliable grid tied inverters at the best price quality ratio available. They are easy to install and carry a standard 10 year product warranty. Our rigorous quality control and testing facilities guarantee Autarco inverters meet the highest quality standards possible. -
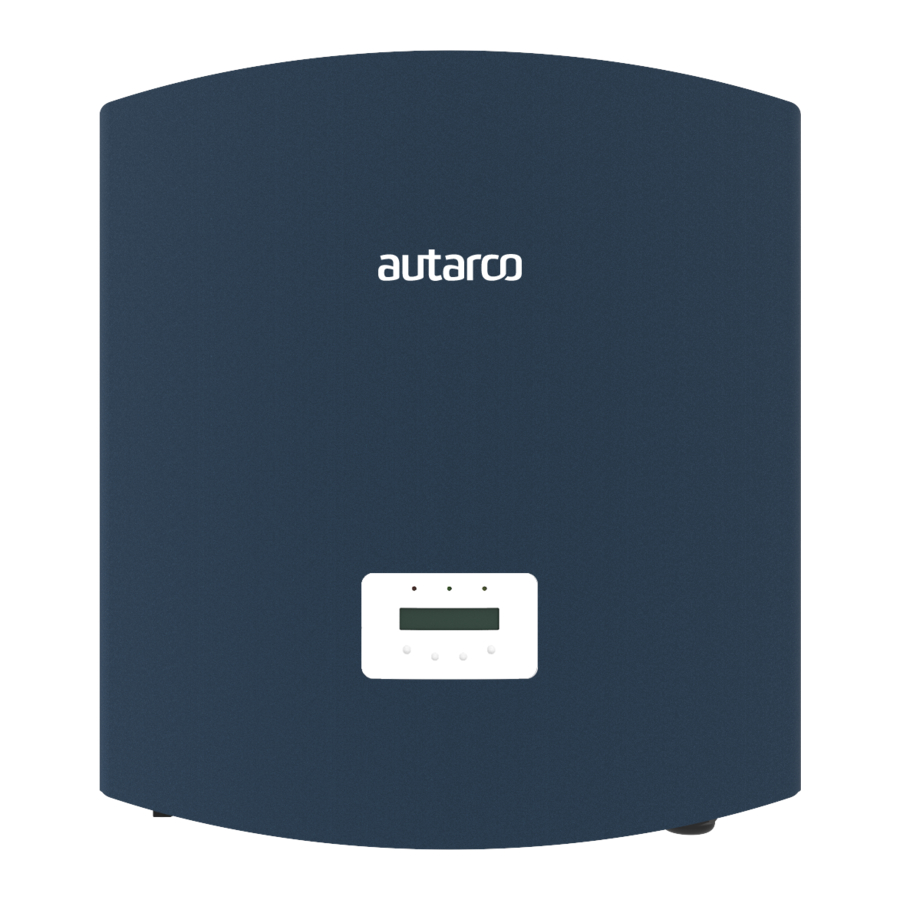
Page 9: Product Overview
Installation and operation manual 3.3 Product overview Inverter cover LED light – POWER LED light – OPERATION LED light – ALARM LCD display 2x16 characters Escape key Up key Down key Enter key DC switches (optional) DC inputs MPPT 1-4 External Intelligent Fans* Communication ports AC terminal block and cover... -
Page 10: Installation
4. Installation 4.1 Safety DANGER! Do not install the inverter near flammable or explosive items. WARNING! The installation must be performed by qualified personnel and in compliance with national and local standards and regulations. This inverter will be connected to a high voltage DC power generator and AC grid. Inappropriate installation may also jeopardize the life span of the inverter. -
Page 11: Mounting Instructions
Installation and operation manual 4.3 Mounting instructions Two people are required to remove the inverter from the carton and install the inverter. Handles are formed into the heatsink for ease of handling the inverter. ● The inverter is suitable for outdoor and indoor installation. ●... -
Page 12: Safety Clearance
4.4 Safety clearance CAUTION! Make sure heat sinks are out of reach of children. WARNING! When installing multiple inverters, make sure there is sufficient clearance between them. High temperatures may affect performance. Observe the following minimum clearances to walls and other inverters Min. -
Page 13: Mounting Procedure
Installation and operation manual 4.5 Mounting procedure Step 1 — Mount the wall bracket onto the mounting wall with appropriate screws plugs Step 2 — Lower the inverter onto the bracket Step 3 — Use screws in the packaging to fix the bottom of the inverter to the mounting bracket IM-S2-UX-EN-V1.4... -
Page 14: Electrical Installation
WARNING! No matter what kind of grounding connection is adopted, it is strictly forbidden to connect the ground of the inverter with the lightning protection of the building, otherwise Autarco will not be responsible for any damage caused by lightning. UX-series Inverters... - Page 15 Installation and operation manual Strip the grounding cable insulation to the suitable length as shown in Figure 5.7. IMPORTANT! B (insulation stripping length) is 2-3mm longer than A (OT cable terminal crimping area) Insert the stripped wire into the OT terminal crimping area, and use the hydraulic clamp to crimp the terminal to the wire (as shown in Figure 5.8).
-
Page 16: Ac Connection
Use the screw of the ground point to attach the grounding cable. Tighten the screw securely. Torque is 3Nm (as shown as in Figure 5.9). IMPORTANT! In order to improve the corrosion resistance of the grounding terminal, we recommend that the external grounding terminal is coated with silica gel or paint for protection after installation of the grounding cable. - Page 17 Installation and operation manual NOTE: There is no need to connect N to AC side for the UX series three-phase inverter, the ground wire can be connected to the grounding hole on the right side of the inverter heat sink.
- Page 18 D) Remove the screw under terminal slide and pull out the terminal. E) Insert the cable through cap nut, water proof bushing and AC terminal cover into the AC terminal and use a socket wrench to tight the screws. The torque is 4-6Nm (as shown in figure 5.20). Figure 5.20b Connect cable to AC terminal UX-series Inverters...
-
Page 19: Additional Protections
DANGER! No consumer load should be applied between the mains circuit breaker and the inverter. 5.3 Additional Protections To protect the inverter's AC grid connection conductors, Autarco recommends installing breakers that will protect against overcurrent. The following table defines OPCD ratings for each model; Inverter... -
Page 20: Dc Connections
“Manufacturer’s declaration for usage of residual current devices with Autarco SX, UX and LX grid-tied inverters.” 5.4 DC connections DANGER! Never connect or disconnect the connectors under load. UX series inverters have four MPP trackers. The DC characteristics of each model is shown in the table below: Inverter MPP trackers Max DC power Max DC voltage Max. -
Page 21: Inverter Commissioning Sequence
Installation and operation manual DC connections must not be unplugged while under load. They can be placed in a no-load state by switching off the DC/AC converter or breaking the DC circuit interrupter. Plugging while under voltage is permitted. CAUTION! MC4 connectors are watertight IP67 but cannot be used permanently under water. Do not lay the MC4 connectors directly on the roof surface. -
Page 22: Operation
6.1 LED indicator lights There are three LED status indicator lights in the front panel of UX series inverters. The left POWER light (red) indicates power status of the inverter. The middle OPERATION light (green) indicates the operation status. The right ALARM light (yellow) indicates the alarm status. - Page 23 Installation and operation manual State Description V_DC1 %VALUE% Shows the input voltage (V) of the MPPT1 I_DC1 %VALUE% A Shows the input current (A) of the MPPT1 V_DC2 %VALUE% Shows the input voltage (V) of the MPPT2 I_DC2 %VALUE% A Shows the input current (A) of the MPPT2 V_DC3 %VALUE% Shows the input voltage (V) of the MPPT3...
-
Page 24: Settings
6.4 Settings The following options are available under the Settings submenu: Press UP/DOWN keys to set change element Set Time and Date Press ENTER key to move to next element Press ESC key to save date and return Assign a number (##) to the inverter to distinguish between multiple inverters when using parallel communication with WIFI-BOX or GPRS-BOX Press UP/DOWN keys to set change number Press ENTER key to save the setting... -
Page 25: Advanced Info
Installation and operation manual 6.5 Advanced info WARNING! Access to this section of the menu is for Autarco qualified and accredited technicians only. Unauthorized access will void the product and system warranty. Screen can be scrolled through with UP/DOWN keys to see the information as per the table below. Press ENTER key to enter a submenu. -
Page 26: Advanced Settings
6.6 Advanced Settings WARNING! Access to this section of the menu is for Autarco qualified and accredited technicians only. Unauthorized access will void the product warranty and any kWh Guarantee. Screen can be scrolled through with UP/DOWN keys to see the information as per the table below. Press ENTER key to enter a submenu. - Page 27 Press the ENTER key to execute the setting. Press the ESC key to return to the previous menu. Special settings can switch off functions temporarily for testing purposes. These tests should only be done by qualified Autarco personnel or trained installers when requested to do so. Submenu includes: 1. Grid Filter Set 2.
-
Page 28: Temperature Derating
This function is used to calibrate inverter output energy. It will not impact the energy count for inverter with RGM. Power parameter Using this function without previous approval from Autarco will void any existing kWh Guarantees. 6.7 Temperature derating The output power of the inverter varies with ambient temperature, as shown in the figure below. -
Page 29: Monitoring Setup And System Registration
Installation and operation manual 7. Monitoring setup and system registration The UX inverters have the following communication ports: ● COM1: Green 4 pin connector RS485 ● COM2 and COM3: Cable glands and cover with following connection points behind: 2 x RJ45 connections 1 x RS485 terminal block COM2 and COM3 are RJ-45 connectors suitable for connecting multiple inverters in daisy chain configuration and connecting them to a WIFI-box, GPRS-box or other data logger. -
Page 30: The Following Products Are Available To Monitor Ux Series Inverters
7.1 The following products are available to monitor UX series inverters: Product Port Communicat Connection # Inverters Parallel ion Method Capability per product Connection S2.WIFI-STICK COM1 WIFI Router S2.LAN-BOX COM2 & WIFI OR LAN Router COM3 Cabled (RJ45) S2.ETHERNET- COM1... -
Page 31: Maintenance
CAUTION! Never use any solvents, abrasives or corrosive materials to clean the inverter. The UX series inverters require general maintenance to be performed once per year. Impurities such as dust and dirt accumulation on the heat sink may negatively affect the inverter’s ability to dissipate heat. Any dirt or dust can be removed with a cloth or soft brunch. - Page 32 Remove the 4 screws on the fan plate and pull out the fan assembly slowly. 4、 Disconnect the fan connector carefully and take out the fan. 5、 Clean or replace the fan. Assemble the fan on the rack. 6、 Connect the electrical wire and reinstall the fan assembly. Restart the inverter. 7、...
-
Page 33: Disposal
Installation and operation manual 9. Disposal To comply with European Directive 2002/96/EC on waste Electrical and Electronic Equipment and its implementation as national law, electrical equipment that has reached the end of its life must be collected separately and returned to an approved recycling facility. Ignoring this EU Directive may have severe effects on the environment and your health. -
Page 34: Grid Errors
10.3 Grid errors Display Error Error Error type Action message code description Grid voltage 1. Wait to see if the grid voltage returns within limits. exceeds Over 2. If problem persists, check whether the grid standard is set OV-G-V 1010 voltage correctly in Advanced Setting). -
Page 35: System And Design Fault
Check all switches for short circuit. system. 3. If error persists contact Autarco for replacement inverter. 1. Restart inverter (up to three times). 2. Call installer to: Current flow a. Check if there is any current on the ground... -
Page 36: Product Specifications
11. Product specifications S2.UX40000(S) S2.UX50000(S) S2.UX60000(S) S2.UX50000-HV S2.UX60000-HV S2.UX70000-HV Input Max. DC voltage (V) 1100 MPPT voltage range (V) 200-1000 Turn on voltage (V) Turn off voltage (V) Number of MPP trackers Max. DC current per MPPT (A) 22.0 28.5 28.5 22.0 28.5... - Page 37 Installation and operation manual S2.UX40000(S) S2.UX50000(S) S2.UX60000(S) S2.UX50000-HV S2.UX60000-HV S2.UX70000-HV Safety protection Internal overvoltage protection DC Insulation monitoring Earth fault protection Grid monitoring According to VDE 0126-1-1, UL1741, G83/2, AS4777 Earth fault current monitoring According to VDE 0126-1-1, UL1741, G83/2, AS4777 DC current monitoring According to VDE 0126-1-1, UL1741, G83/2, AS4777 Islanding protection...
Need help?
Do you have a question about the UX Series and is the answer not in the manual?
Questions and answers