Table of Contents
Advertisement
Quick Links
Advertisement
Table of Contents

Summary of Contents for EK Quantum Reflection Evolv X
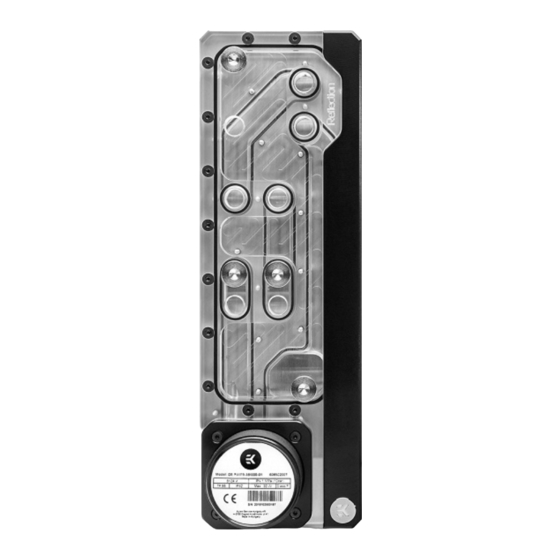
- Page 1 EK-Quantum Reflection Evolv X DISTRIBUTION PLATE USER GUIDE...
- Page 2 Before you start using this product please follow these basic guidelines: Please carefully read the manual before beginning with the installation process! The EK Fittings require only a small amount of force to screw them firmly in place since the liquid seal is ensured by the rubber O-ring gaskets.
- Page 3 TABLE OF CONTENT PREPARING THE PC CASE PREPARING THE PC CASE RECOMMENDED DISTRIBUTION PLATE CONFIGURATIONS CONFIGURATION WITH TOP RADIATOR CONNECTING THE D-RGB LED STRIP CONNECTING THE PUMP TESTING THE LOOP SUPPORT AND SERVICE SOCIAL MEDIA - 3 -...
- Page 4 Before installing the EK-Quantum Reflection Evolv X distribution plate, carefully read the Phanteks Enthoo Evolv X PC case manuals. In order to install EK-Quantum Reflection Evolv X remove the front panel and both side panels from the case. Cable covers also needs to be removed.
- Page 5 In order to complete your loop, all of the ports should be used as marked on the diagrams. FILL (One must be used) All remaining and unused ports should be closed using the supplied plugs and a EK-Loop Multi Allen Key (6mm, 8mm, 9mm). TOP RADIATOR OUTLET CPU OUTLET CPU INLET...
- Page 6 CONNECTING THE D-RGB LED STRIP Plug the 3-pin connector of the distribution plate D-RGB LED light to the D-RGB HEADER on the motherboard. The LED will work if the pin layout on the header is as follows: +5V, Digital, Empty, Ground. Please ensure that the arrow indicated on the connector is plugged into the +5V line as indicated on your motherboard.
- Page 7 4-pin PWM fan connector TESTING THE LOOP To make sure the installation of EK components was successful, we recommend you perform a leak test for 24 hours. When your loop is complete and filled with coolant, connect the pump to a PSU outside of your system. Do not connect power to any of the other components.
- Page 8 SUPPORT AND SERVICE For assistance please contact: http://support.ekwb.com/ EKWB d.o.o. Pod lipami 18 1218 Komenda Slovenia - EU SOCIAL MEDIA EKWaterBlocks @EKWaterBlocks ekwaterblocks EKWBofficial ekwaterblocks...


Need help?
Do you have a question about the Quantum Reflection Evolv X and is the answer not in the manual?
Questions and answers