Advertisement
Quick Links
Advertisement

Related Manuals for EK Quantum Velocity2 1700


Summary of Contents for EK Quantum Velocity2 1700
- Page 1 EK-Quantum Velocity ILM Replacement – 1700 USER GUIDE...
- Page 2 Please note the installation of the product is intended to be undertaken by an adequately trained and experienced person. You are installing the product at your own risk. If you are not properly trained or experienced or feel unsure about the installation procedure, please refrain from installing the product yourself and contact our tech support for assistance.
-
Page 3: Table Of Contents
TABLE OF CONTENTS BOX CONTENTS ILM REPLACEMENT DIMENSIONS TECHNICAL SPECIFICATIONS AND ILM REPLACEMENT PARTS REMOVING THE CPU BLOCK PREPARING THE MOTHERBOARD INSTALLING THE ILM DIE GUARD SUPPORT AND SERVICE SOCIAL MEDIA - 3 -... -
Page 4: Box Contents
BOX CONTENTS Allen Key 2 mm (1 pc) Allen Key 2.5 mm (1 pc) EK-Quantum Velocity ILM Replacement – 1700 TX20 L-Shaped wrench (1 pc) Thermal grease (1 pc) - 4 -... -
Page 5: Ilm Replacement Dimensions
ILM REPLACEMENT DIMENSIONS 90 mm 14 mm 6 mm 78 mm 36 mm - 5 -... -
Page 6: Technical Specifications And Ilm Replacement Parts
Technical Specification: - Dimensions (L x H x W): 90x90x14 Position Description Quantity Velocity ILM Replacement Backplate ILM Replacement Die Guard EK RGB Badge Velocity Mounting Nut Velocity - Spring Steel M3 x 12 DIN7991 Screw Velocity Naked Backplate Protective Sticker... -
Page 7: Removing The Cpu Block
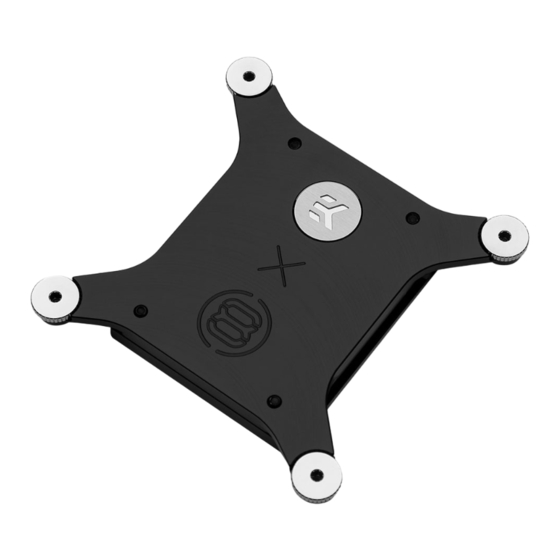
REMOVING THE CPU BLOCK STEP 1 Remove the EK-Velocity CPU block from the motherboard by unscrewing the backplate screws on the back of the motherboard. For this step, you must use: Allen Key 2.5 mm STEP 4 - 7 -... -
Page 8: Preparing The Motherboard
PREPARING THE MOTHERBOARD STEP 1 If the CPU is installed remove it from the socket. STEP 1 STEP 2 Remove the stock Torx screws from the motherboard. For this step, you must use TX20 Key ( included in the mounting bag). TX20 Key STEP 2 - 8 -... - Page 9 STEP 3 Remove the stock mounting bracket from the motherboard. STEP 3 STEP 4 Install the CPU in the socket. STEP 4 - 9 -...
-
Page 10: Installing The Ilm Die Guard
On the back of the motherboard place the BACKPLATE. Secure the backplate with four (4) M3X12 DIN7991 Screws (as shown in the ILM DIE GUARD diagram). STEP 2 Now you can install the Velocity CPU block. Just follow the installation manual: https://www.ekwb.com/shop/EK-IM/EK-IM-3831109857663.pdf ILM BACKPLATE STEP 1 - 10 -... -
Page 11: Support And Service
SUPPORT AND SERVICE In case you need assistance, please contact: https://www.ekwb.com/customer-support/ SOCIAL MEDIA EKWaterBlocks @EKWaterBlocks ekwaterblocks EKWBofficial ekwaterblocks...
Need help?
Do you have a question about the Quantum Velocity2 1700 and is the answer not in the manual?
Questions and answers