Advertisement
Parts Needed:
Part #
Description
1.
510-450
O-Ring, Main Seal
2.
540-105
Split Rings
3.
See Heading Neck Dam
4.
560-078
Stepped Ring
5.
530-808
Pull Strap
6.
540-115
Strap Plate
7.
530-220
Pull Strap Mount Screws
8.
530-024
Neck Dam Mount Screw
9.
See Heading Neck Dam/Ring Assembly
Neck Dam Removal:
1. Remove the O-ring from the neck ring assembly.
2. Use the 7/ 6 4 " Allen wrench to remove the chin
weight mounting screws.
Remove chin weight.
3. Remove the pull strap mount screws with a #2 Phillips screwdriver. Remove pull strap and strap plate.
4. Remove the chin strap and adjustment buckle mounting screws.
Remove chin strap and adjustment buckle.
5. Unscrew all of the neck dam mount screws from the step ring.
6. Remove the old neck dam with the split rings from the stepped ring .
7. Remove the 2 split rings from the old neck dam . Discard old neck dam.
8. Inspect for damage and clean all parts as needed.
Fig 2
4) Holding the neck dam onto the stepped ring, lift the 2 parts together and place them on top of
the 2 aligned split rings.
NOTE: The neck dam, stepped ring and split rings MUST be properly aligned in order to get all of
the screws to thread correctly. When placing the neck dam & stepped ring on top of the split rings,
be sure the center (straight) alignment marks on both ends are over the splits in the bottom rings.
Kirby Morgan Dive Systems, Inc.
1430 Jason Way Santa Maria, California 93455
Phone: 805/928-7772
www.KirbyMorgan.com email: kmdsi@KirbyMorgan.com
Part # 510-674/675/676/679/680/681
Cold Water Neck Dam
1
Qty
2
1
2
1
3
1
1
4
1
2
24
5
1
6
9
Read all instructions prior to installing new neck dam.
Fig 1
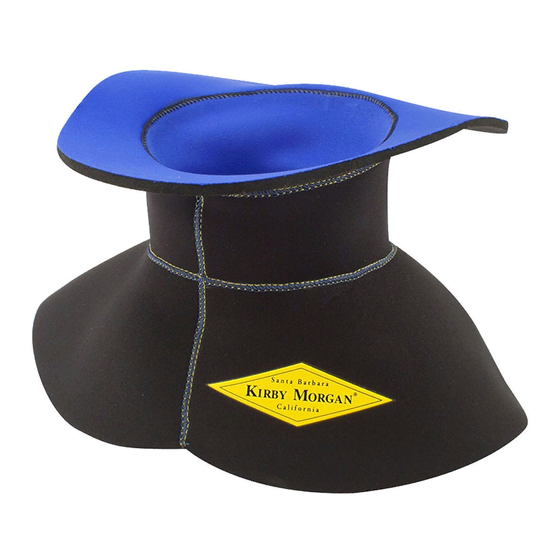
New Neoprene neck dams are nylon 2 side, 2 color, wetsuit material,
1/8 " thick. Inside is BLUE, outside is BLACK. Both sides are marked at the
front and back center lines to help with alignment for assembly.
1) On a flat level surface, align the proper ends of the split rings P/N 540-105.
Using any type of tape available, duct masking etc., tape both ends together
on the bottom side only, so they will not separate during assembly.
2) MAKING SURE THE BLACK SIDE OF THE
NECK DAM (2) IS FACING OUT, place the dam
on a flat level surface.
3) With the stepped ring P/N 560-078 side having the
most holes, facing up, place the ring, on top of the
neck dam, making sure the center of the ring at each
end and the inside curve of the ring, line up with the
marks on the neck dam. Figs 1 & 2
© ⅯⅯⅩⅡ Kirby Morgan Dive Systems, Inc. All rights reserved.
Fax: 805/928-0342
8
7
Neoprene Neck Dam Replacement:
Document # 100308006
®
Tools Required:
1. 7/ 6 4 " Allen Wrench.
2. #2 Phillips Screwdriver
3. Torque Screwdriver
7/ 6 4 " Allen wrench attachment
2 point Phillips head screwdriver
attachment.
4. Silicone Lubricant.
5. Sharp Razor Blade
Fig 3
Advertisement
Table of Contents

Subscribe to Our Youtube Channel
Related Manuals for Kirby Morgan 510-674


Summary of Contents for Kirby Morgan 510-674
- Page 1 When placing the neck dam & stepped ring on top of the split rings, be sure the center (straight) alignment marks on both ends are over the splits in the bottom rings. © ⅯⅯⅩⅡ Kirby Morgan Dive Systems, Inc. All rights reserved. Document # 100308006...
- Page 2 Note: All screws on the neck dam assembly should be retorqued to the specified torque on a regular basis. This is important to prevent failure of the neck seal. © ⅯⅯⅩⅡ Kirby Morgan Dive Systems, Inc. All rights reserved. Document # 100308006...
Need help?
Do you have a question about the 510-674 and is the answer not in the manual?
Questions and answers