
Subscribe to Our Youtube Channel
Related Manuals for Kraus GV-101-14


Summary of Contents for Kraus GV-101-14
- Page 1 INSTALLATION MANUAL Glass Vessel Sinks www.kraususa.com I Toll Free: 1.800.775.0703 I © 2019 Kraus USA Inc. I REV. July 12, 2020...
- Page 2 Congratulations on the purchase of your new Kraus plumbing fixture! Please keep the box and packaging materials until your product is completely installed. If you have any questions, require technical assistance or have any problems with your product: STOP DO NOT RETURN TO STORE Please contact our Customer Service Team 1-800-775-0703 / customerservice@kraususa.com...
- Page 3 Toll-Free: 800-775-0703 or customerservice@kraususa.com The step-by-step guidelines in the installation instructions are a general reference for installing a Kraus sink. Should there be any discrepancies, Kraus cannot be held liable. It is recommended to install all Kraus products by hiring a licensed professional.
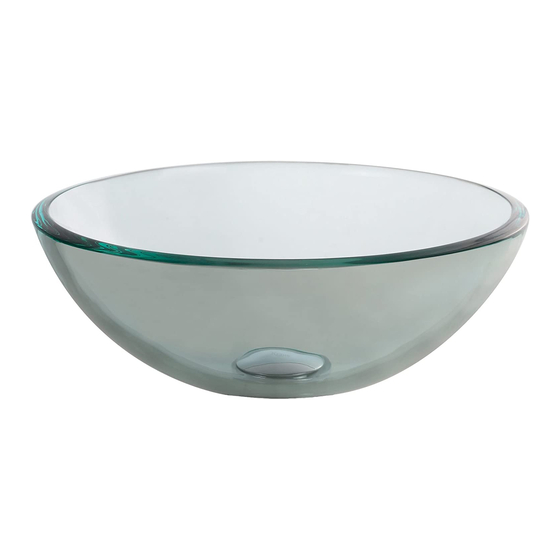
- Page 4 (419mm) (356mm) Ø 1 3/4" Ø 1 3/4" (45mm) (45mm) Model #: GV-101-14, GV-101FR-14, Model #: GV-100, GV-101, GV-101FR, GV-103-14, GV-104-14 GV-104, GV-200, GV-204, GV-580, Sink Dimensions: Ø 14” x 5 1/2” GV-651, GV-684 Sink Dimensions: Ø 16 1/2” x 5 1/2”...
- Page 5 Dimensions 16 1/2" (419mm) 21 7/8" (556mm) Ø 1 3/4" Ø 1 3/4" (45mm) (45mm) Model #: GVR-204-RE, GVR-210-RE Model #: GVS-901-19mm Sink Dimensions: 21 7/8” x 13 7/8" x 4” Sink Dimensions: 16 1/2” x 16 1/2" x 6” Glass Thickness: 15mm Glass Thickness: 19mm...
-
Page 6: Rough-In Dimensions
Rough-In Dimensions Finished Wall Ø 1 3/4” Drain Hole Top View 14” - 17” Countertop Mounting Ring 1/2” Floor Installer Tip Shut off main water supply before installation. -
Page 7: Before You Begin
Above Counter Installation Instructions Before You Begin Prepare counter top by drilling a 1 3/4’’ diameter drain hole at the desired location. Install mounting ring. Place vessel sink on the mounting ring or counter top as shown below. Make sure the vessel sink is not scratched, chipped or broken prior to installation. Check to see if your set contains the following parts: ·... - Page 8 Pop Up Drain & Mounting Ring Installation (Only if Included) Locate and disassemble your pop up drain in the following order: · Unscrew the tail piece Unscrew the brass nut · Remove the firm washer · Remove the concave washer, leaving the top thin rubber washer on. ·...
- Page 9 From above the countertop, insert the drain body into the 1 3/4” drain opening of your sink. From underneath the countertop, insert the concave white rubber washer onto the drain. Pushing the washer all the way up until it is in contact with the countertop. Insert the firm washer onto the drain body until it comes into contact with the concave white rubber washer.
- Page 10 Any product reported to the authorized dealer or to Kraus as being defective within the warranty period will be repaired or replaced with a product of equal value at the option of Kraus. This warranty extends to the original owner or end-user, and is not transferable to a subsequent owner.
- Page 11 Kraus USA, Inc. 12 Harbor Park Drive Port Washington, NY 11050 Toll-free 800-775-0703 Customerservice@kraususa.com If you are a plumbing contractor or trade professional please contact a Kraus Pro Representative at: Kraus USA, Inc. 12 Harbor Park Drive Port Washington, NY 11050 516-801-8955 Proservice@kraususa.com...
- Page 12 IMPORTANT Register Your Kraus Product Activate Your Warranty Access Premium Customer Support Get Product Information REGISTER TODAY http://www.kraususa.com/registration www.kraususa.com...
Need help?
Do you have a question about the GV-101-14 and is the answer not in the manual?
Questions and answers