
Related Manuals for Grundfos JP PS Series


Summary of Contents for Grundfos JP PS Series
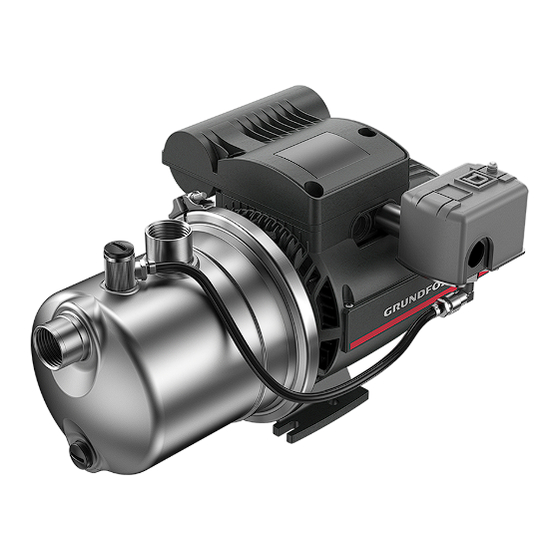
- Page 1 GRUNDFOS INSTRUCTIONS JP PS Jet pumps with pressure switch, 115/230 V, 60 Hz Installation and operating instructions...
- Page 3 JP PS English (US) Installation and operating instructions ............4...
-
Page 4: Table Of Contents
Grundfos' warranty. Grundfos will not be liable for damage or wear to products Limited warranty ......4 caused by abnormal operating conditions, accident, abuse, misuse, General information . -
Page 5: Notes
• Install the product in a well-ventilated location to ensure cooling of its components. The symbols and notes below may appear in Grundfos installation • Install the product to enable easy inspection, maintenance and and operating instructions, safety instructions and service service. -
Page 6: Mechanical Installation
4.2 Mechanical installation 4.2.2 Connecting the pipe system WARNING Install the product so that it is not stressed by the pipe Electric shock system. Death or serious personal injury ‐ Switch off the power supply before you start any work on the product.Make sure that the power supply cannot Pipe dimensions: be switched on accidentally. - Page 7 4.2.2.1 Maximum system pressure Make sure that the system in which the pump is installed is designed for the maximum pump pressure. The maximum inlet pressure depends on the feet of head at the actual duty point. The sum of the inlet pressure and the feet of head must not exceed the maximum system pressure.
- Page 8 4.2.3 Installation examples 4.2.3.2 Suction from a well (outdoor installation) We recommend that you follow the installation examples. Valves are not supplied with the pump. 4.2.3.1 Suction from a tank Pos. Description Pos. Description Highest faucet Highest faucet Isolating valve Isolating valve Pipe support Pipe support...
-
Page 9: Electrical Connection
4.3 Electrical connection 4.3.2 Connecting to the power supply WARNING WARNING Electric shock Electric shock Death or serious personal injury Death or serious personal injury ‐ Switch off the power supply before you start any work ‐ Disconnect the main switch prior to electrical work. on the product. - Page 10 4.3.2.2 Connecting a 115 or 230 V power cable Follow these steps to connect a power cable to the product: Loosen the nut on the top cover of the pressure switch. Lift up the pressure switch cover and set it aside. Inside the pressure switch, gently push aside the factory wires.
- Page 11 4.3.2.3 Connecting to residential hard wiring, 115 or 230 V For residential hard wiring, use the following: Pump model Recommended cable type JP PS, all models, 115 V or 230 V SJOW 12AWGx3 UL Follow these steps to connect the the product to the power supply: Loosen the nut on the top cover of the pressure switch.
- Page 12 4.3.2.4 Wiring diagram, pressure switch to 115 V power cable 4.3.2.5 Wiring diagram, pressure switch to 230 V power cable Pos. Description Pos. Description Pressure switch Pressure switch Power cable (in) Power cable (in) To motor (out) To motor (out) Motor Motor Capacitor...
- Page 13 4.3.2.6 Wiring diagram, pressure switch to 115 V residential 4.3.2.7 Wiring diagram, pressure switch to 230 V residential hard wiring hard wiring Pos. Description Pos. Description Pressure switch Pressure switch Residential hard wiring (in) Residential hard wiring (in) To motor (out) To motor (out) Motor Motor...
- Page 14 4.3.3 Setting the voltage converter WARNING Electric shock Death or serious personal injury ‐ Do not pull the voltage switching plug by the wires. To avoid damage, only use a firm hand grip around the voltage switching plug. Check the voltage indicated on the side of the voltage converter.
-
Page 15: Startup Of The Product
5. Startup of the product 5.1 Priming the product WARNING Always tighten the priming plug by hand. Electric shock Death or serious personal injury ‐ Do not use the product for cleaning and other Unscrew the priming plug. maintenance of swimming pools or similar places if there are people in the water. -
Page 16: Starting Up The Product
Do not use the product for toxic liquids.The product JP PS must only be used for water. Grundfos JP PS pumps are designed for domestic use and ensure a constant supply of clean water to households and gardens as well WARNING as light commercial applications. -
Page 17: Identification
6.3 Identification 6.3.2 Type key, JP PS 6.3.1 Nameplate example for JP PS Example: JP PS 18-05-154 1x115/230V 60 Hz Conduit XX Type designation Description Jet pump Pressure switch Nominal flow rate [US gpm] PS 18 04 154 Horsepower [Hp] Max. -
Page 18: Service
7.1 Maintenance The product is maintenance-free during normal operation. For cleaning, use a dry and dust-free cloth. 7.2 Service kits For further information on service kits, see Grundfos Product Center at https://us.grundfos.com/products. Fig. Draining the JP PS pump 8. Taking the product out of operation... -
Page 19: Troubleshooting
9. Troubleshooting 9.3 The motor turns with difficulty Cause Insufficient voltage or blockage 9.1 The motor does not start and makes no noise Remedy • Check the voltage which may be Cause Power supply failure insufficient. Correct any errors. Remedy •... -
Page 20: The Pump Supplies Insufficient Flow
9.7 The pump supplies insufficient flow 9.10 The pressure switch starts and stops frequently during normal water delivery Cause Insufficient intake due to blockage or worn parts Cause Incorrect pressure switch setting Remedy • Blocked foot valve. Clean the foot valve. Remedy •... -
Page 21: Technical Data
Use the public or private waste collection service. Liquid temperature 104 °F (40 °C) (S1 mode*) / If this is not possible, contact the nearest Grundfos company or 140 °F (60 °C) (S3 mode**) service workshop. See also end-of-life information at Max. - Page 22 U.S.A. GRUNDFOS Pumps Corporation 9300 Loiret Boulevard Lenexa, Kansas 66219 USA Tel.: +1 913 227 3400 Fax: +1 913 227 3500 GRUNDFOS Water Utility Inc. 3905 Enterprise Court P.O. Box 6620 Aurora, IL 60598-0620 Phone: +1-630-236-5500 Fax: +1-630-236-5511 GRUNDFOS CBS Inc.
- Page 23 99613293 0319 ECM: 1258749...
Need help?
Do you have a question about the JP PS Series and is the answer not in the manual?
Questions and answers