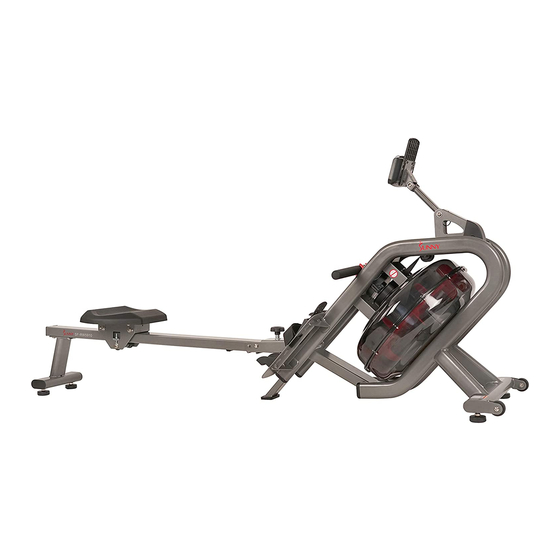
Do you have a question about the PHANTOM HYDRO WATER and is the answer not in the manual?
Questions and answers
Derek Paterson
May 4, 2025
Display not working. I’ve changed the batteries but it does not turn on
1 comments:
Mr. Anderson
May 17, 2025
If the display is not working after changing the batteries, try changing both batteries again. Make sure to use the same battery type and do not mix old and new batteries.
This answer is automatically generated
Related Manuals for Sunny Health & Fitness PHANTOM HYDRO WATER
Summary of Contents for Sunny Health & Fitness PHANTOM HYDRO WATER
Page 1
PHANTOM HYDRO WATER ROWING MACHINE SF-RW5910 USER MANUAL IMPORTANT! Please retain owner’s manual for maintenance and adjustment instructions. Your satisfaction is very important to us, PLEASE DO NOT RETURN UNTIL YOU HAVE CONTACTED US: support@sunnyhealthfitness.com or 1- 877 - 90SUNNY (877-907-8669).
IMPORTANT SAFETY INFORMATION We thank you for choosing our product. To ensure your safety and health, please use this equipment correctly. It is important to read this entire manual before assembling and using the equipment. Safe and effective use can only be achieved if the equipment is assembled, maintain and used properly.
PARTS LIST Description Spec. Qty. Description Spec. Qty. Main Frame Handlebar Holder Meter Support Tube Protective Cover Slide Rail Mesh Belt Rear Support Tube Board Ф10xL94.5 Bolt Fixed Plate Pull Bar Screw M8x15 Meter Plate Screw ST4.2x16 U Shape Baffle PC Board 3 Supporting Board Volute Spring...
Description Spec. Qty. Description Spec. Qty. Bearing Flat Washer S=10,13,14, Belt Roller Spanner 15,17 Belt Wheel Axle Allen Wrench Hex Bolt M6x15 Allen Wrench Spring Washer HARDWARE PACKAGE #17 D8xD20x1.5 8PCS #19 M8×15 8PCS #36 1PC #37 d12xФ24x2.0 1PC #5 Ф10xL94.5 1PC #10 M6xL15 1PC #99 S=10,13,14,15,17 1PC #34 1PC...
Page 8
ASSEMBLY INSTRUCTIONS We value your experience using Sunny Health and Fitness products. For assistance with parts or troubleshooting, please contact us at support@sunnyhealthfitness.com or 1-877-90SUNNY (877-907-8669). STEP 1: Remove pre-assembled Limit Cushion (No. 12) and 2 Screws (No. 13) from the Slide Rail (No. 3) using Spanner (No.
Page 9
We value your experience using Sunny Health and Fitness products. For assistance with parts or troubleshooting, please contact us at support@sunnyhealthfitness.com or 1-877-90SUNNY (877-907-8669). STEP 2: 2-1: Attach the Slide Rail (No. 3) to the Main Frame (No. 1) with the 2 Bolts (No.
Page 10
We value your experience using Sunny Health and Fitness products. For assistance with parts or troubleshooting, please contact us at support@sunnyhealthfitness.com or 1-877-90SUNNY (877-907-8669). STEP 3: 3-1: Remove the pre-assembled 2 Screws (No. 43) from the Main Frame (No. 1) using Spanner (No. 99). Attach the Bottle Holder (No.
HOW TO FILL AND EMPTY THE TANK 1. Remove the Plug (No. 72) from the Upper Tank Cover (No. 73a). 2. To fill the tank with water, refer to Fig. A. Insert the Funnel (No. 11) into the tank, then use a cup or a bucket and Pumping Siphon (No.
BATTERY INSTALLATION & REPLACEMENT Battery Battery Cover BATTERY INSTALLATION: 1. Take out 2 AA batteries from meter box. 2. Press the buckle of battery cover on the back of the Meter (No. 39), then remove battery cover. 3. Install 2 AA batteries into the battery case on the back of the Meter (No. 39). Pay attention to the battery + and –...
Page 13
ADJUSTMENTS GUIDE ADJUSTING THE BALANCE MOVING THE ROWER To move the rower, lift up the Rear Support Tube (No. 4) until the Adjust the Hex Nuts (No. 32) on the Adjustable Foot Rollers (No. 85) touch the ground. With the Rollers (No. 85) on the Pads (No.
Page 14
EXERCISE METER Our computerized exercise meter on the Sunny Water Rowing Machine allows the user to tailor a personalized workout by monitoring their progress. During a workout, the exercise meter will alternately and repeatedly display the Time, Time/500M, SPM, Distance, Strokes, Total Strokes, Calories Burned, and Pulse.
Page 15
FUNCTIONS TIME: Set target time (1 min ~ 99 min) by pressing UP and DOWN buttons, in 1 minute increments. TIME/500M: Your average 500M time is automatically displayed. SPM: Strokes per minute. DISTANCE: Preset target distance (100 ~ 99900 meters) by pressing UP and DOWN buttons, in 100 meters increments.
Page 16
Fig 2 2. The CLOCK will flash. Press UP button to set the hour. Press ENTER to confirm. Press UP to set the minutes. Press ENTER to confirm. Continue press UP button to set the YEAR (in the STROKES window); MONTH (in the CALORIES window); DAY (in the PULSE window).
Page 17
the values for DISTANCE, STROKES, CALORIES, or PULSE. (Note: You can only set the value for one function to countdown. For example, if you have set the target value for TIME, then DISTANCE can’t be set.) Press START button to start and the STOP icon will disappear. When the countdown reaches zero or you press STOP button, the meter will stop and display the average value.
Page 18
a. Press START button to start and STOP icon will disappear. USER and PC will display in the matrix (Fig.6). The meter will stop when either the user or meter has reached the race distance that was set. Then, the matrix displays “PC WIN” or “USER WIN” (Fig.7). Fig 6 Fig 7 b.
Page 19
ALARM Alarm only works while the meter is in sleep mode. Alarm will not sound during exercise. Press and hold RESET to go to clock screen to set up ALARM. SLEEP MODE The meter will go into sleep mode after about 4 minutes of inactivity. BATTERY This meter uses 2 AA batteries, which are included.
Need help?
Do you have a question about the PHANTOM HYDRO WATER and is the answer not in the manual?
Questions and answers
Display not working. I’ve changed the batteries but it does not turn on
If the display is not working after changing the batteries, try changing both batteries again. Make sure to use the same battery type and do not mix old and new batteries.
This answer is automatically generated