Subscribe to Our Youtube Channel
Summary of Contents for Carbatec BAS-250C
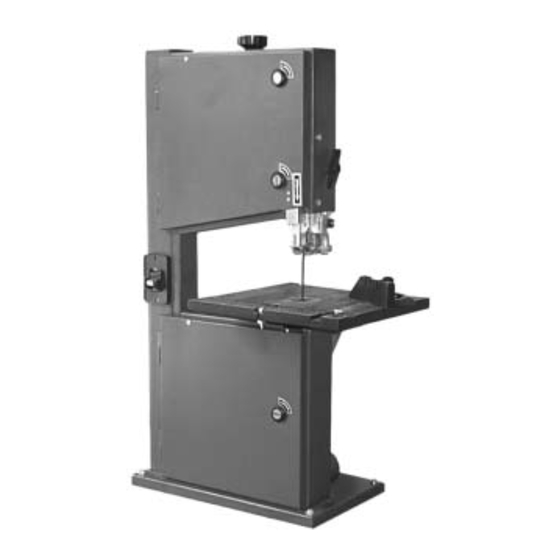
- Page 1 10″BANDSAW OWNER’S MANUAL Assembly Operating Repair parts FOR YOUR SAFETY: READ ALL INSTRUCTIONS CAREFULLY...
-
Page 2: Table Of Contents
Contents 1.0 General 2.5 Safety Information 1.1 Specifications 2.6 Electrical Installation 1.2 User Responsibility/Warranty 3.0 Accessories 1.3 Final Assembly and Installation 3.1 Mitre Fence 2.0 Settings 4.0 Electrical Wiring Diagrams 2.1 Changing and Setting the Sawblade 5.0 Spare Parts List/Exploded View Drawing 2.2 Blade Guiding 2.3 Setting the Cutting Height 2.4 Saw Table Tilt... -
Page 3: Final Assembly And Installation
1.3 Final Assembly and Installation Unpack machine and check for any visible damage which may have occurred during transport. If a damage is detected notify your dealer immediately. This machine is shipped partly disassembled saw table, Mitre Fence and star knob have to be installed prior to use. Remove the wing nut and Hex. -
Page 4: Settings
Setting the Table Square with the Sawblade The saw table can be tilted up to 45°. To tilt , loosen the wing nut of the table trunnion. Loosen the wing nut on the turnnion and adjust the table at 90°. with the blade. Check the table with a square to make sure the table is 90°. -
Page 5: Blade Guiding
2.2 Blade Guiding The saw blades guide of this band saw ensure an exact guiding of the blade for clean cuts. When using narrow blades ensure that the lower blade guide positively supports the blade from both sides and the rear. Set the bearings of the upper blade guide to within approx. -
Page 6: Safety Information
2.5 Safety Information 1. Check that all guards are in place and securely locked before switching the machine on. 2. Always disconnect from power when servicing this machine. 3. Do not use bent or cracked band saw blades. 4. Replace table insert if slot has enlarged. 5. -
Page 7: Accessories
3.0 Accessories 3.1 Mitre Fence Provides a Mitre Fence for angle cutting. 4.0 Wiring Diagrams GREEN MOTOR CORD YELLOW MOTOR POWER BROWN SWITCH BLUE BLUE POWER CORD BROWN GREEN YELLOW - 6 -... -
Page 8: Spare Parts List/Exploded View Drawing
5.0 Spare parts list Key No. Description Key No. Description Band saw frame Carriage bolt Door upper Hexagon screw Door lower Bearing ball Upper wheel Washer Bearing ball Bolt guide Wing nut Mount shaft Pan head tapping screw Tension angle Star lock cap Bolt guide Bearing bolt upper...


Need help?
Do you have a question about the BAS-250C and is the answer not in the manual?
Questions and answers