Advertisement
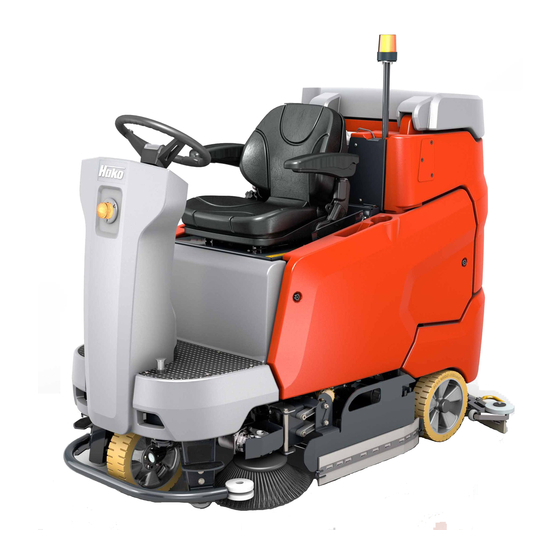
Hako Scrubmaster B175 R
2
8
1.
Unplug the charging cable and put it in its box
2.
Fill the clear water tank from opening 2. ( max 50° C ). Multifunction display (MFD)
shows the water level at 20%:n intervals.
3.
Switch the machine on by the key switch
4.
Press green button
5.
Press pedal
9,
the water level in MFD
Installing the bruhes: Place the brushes under the brush head in the correct positions, sit on
the bench and use knob
knob, press the knob again to confirm selection 13. Wait until the brushes are engaged
Qualified persons only are authorised to operate the machine!
The machine is not designed for coarse material! Floor area sweepin before!
Use only cleaning agents suitable for automatic machines! (low foaming!)
Please pay attention to the informations in the instruction manua!
7
12
OPERATION
6
to lower brush head
machine moves and brush head drive switches on. Use knob
10
(if necessary)
NOTE! Make sure that pads / brushes are installed!!
11
in MFD to select the brush attachment icon
10
1
9
13
14
1
4
and actuate driving direction from button
7
and squeegee 8, suction turbine swithes on.
3
11
4
5
11
to adjust
12
and press the
6
3
5.
14
Advertisement
Table of Contents

Related Manuals for HAKO Scrubmaster B175 R


Summary of Contents for HAKO Scrubmaster B175 R
- Page 1 Hako Scrubmaster B175 R OPERATION Unplug the charging cable and put it in its box Fill the clear water tank from opening 2. ( max 50° C ). Multifunction display (MFD) shows the water level at 20%:n intervals. Switch the machine on by the key switch...
- Page 2 Hako Scrubmaster B175R MAINTENANCE AND CARE: Daily maintenance: Weekly maintenance: Empty clear water tank from hose Check and clean brush head and Empty soiled water tank from hose wipers sealing strips and turn them or clean soiled water tank 3.
Need help?
Do you have a question about the Scrubmaster B175 R and is the answer not in the manual?
Questions and answers