VERITAS 5250 Hardware Service Procedure
Hide thumbs
Also See for 5250:
- Hardware installation manual (213 pages) ,
- Product description manual (78 pages) ,
- Hardware service procedure (3 pages)
Advertisement
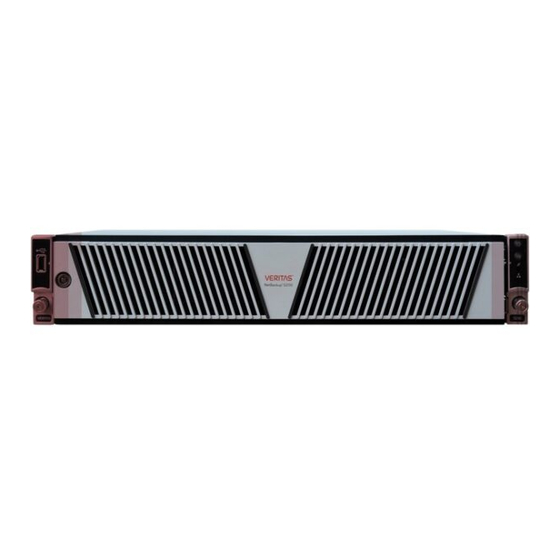
Veritas Appliance
Hardware Service Procedure
Replacing a disk drive: Veritas appliance
Document Number: 307
Version: 1.0 (05/04/2020)
Purpose
This document describes the process for replacing a hard disk drive in a Veritas appliance.
Affected appliance models
•
5250 Appliance
Electrical Safety
The static discharged by human bodies can damage static-sensitive components on the boards.
When installing and maintaining the equipment, observe appropriate electrostatic safety precautions
to prevent personnel injuries or device damage.
When operating a device in an electrostatic sensitive area, you must take electrostatic-discharge
(ESD)-preventive measures. These include wearing ESD-preventive gloves, an ESD-preventive wrist
strap, and ESD-preventive clothes to avoid personnel injury or device damage.
To prevent damage to the device, pay attention to the following during operations:
•
Do not touch devices with bare hands because ESD from the human body may damage the
electrostatically sensitive elements on a board.
•
When dealing with the server or any of the internal components, wear an ESD-preventive wrist
strap, ESD-preventive gloves, and ESD-preventive suit.
Overview of the disk drive replacement process
This section describes how to replace the disk drive in a 5250 Appliance.
The 5250 Appliance operating system is installed on two internal RAID 1 (mirrored) 1TB disk drives.
The operating system disks are located in drive bay slots 0 and 1. The appliance also uses two internal
RAID 1 (mirrored) 1TB disk drives to store appliance software-generated log files. The log file disks
are located in slots 2 and 3. Slots 4 through 11 contain internal storage disk drives. These drives can
be of 2TB or 8TB capacity.
1
Advertisement
Table of Contents

Related Manuals for VERITAS 5250


Summary of Contents for VERITAS 5250
- Page 1 This section describes how to replace the disk drive in a 5250 Appliance. The 5250 Appliance operating system is installed on two internal RAID 1 (mirrored) 1TB disk drives. The operating system disks are located in drive bay slots 0 and 1. The appliance also uses two internal RAID 1 (mirrored) 1TB disk drives to store appliance software-generated log files.
- Page 2 HSP 307: Replacing a disk drive in a Veritas appliance The drive replacement can be completed with the appliance powered on and installed in the rack. Note: Do not mix disk drive sizes. Replacement drives need to match the size of the drives they are replacing.
- Page 3 Warning: The Drive Status LED must be solid amber. Solid amber indicates that the disk drive has failed. If the Drive Status LED is not solid amber, contact the Veritas Field Service Coordinators before you proceed.
- Page 4 HSP 307: Replacing a disk drive in a Veritas appliance Pull the lever open completely but do not slide the drive out of the slot. Let the drive motor stop spinning, which takes about 30 seconds. Slide the drive carrier out of the slot.
Need help?
Do you have a question about the 5250 and is the answer not in the manual?
Questions and answers