Table of Contents
Advertisement
Quick Links
Page
Contents
2
1.
3
2.
4
3.
4
4
5
5
7
4.
7
8
9
11
13
14
15
5.
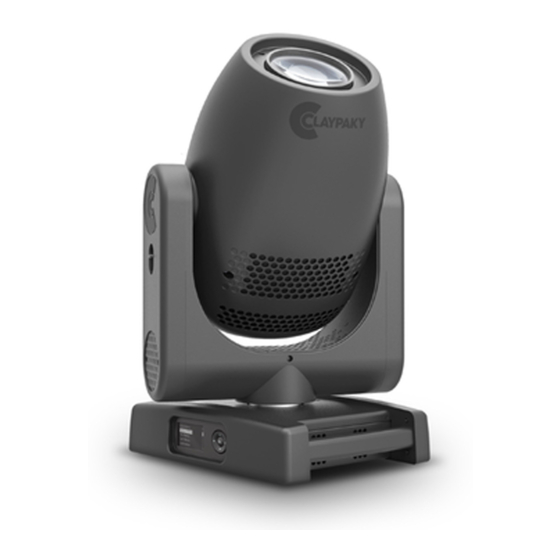
AXCOR SPOT 400
AXCOR SPOT 400 HC
INSTRUCTION MANUAL
INDEX
Congratulations on choosing a Claypaky product
We thank you for your custom.
Please note that this product, as all the others in the
rich Claypaky range, has been designed and made with
total quality to ensure excellent performance and best
meet your expectations and requirements.
C61770
C61771
Advertisement
Table of Contents

Subscribe to Our Youtube Channel
Related Manuals for Claypaky AXCOR SPOT 400


Summary of Contents for Claypaky AXCOR SPOT 400
-
Page 1: Table Of Contents
We thank you for your custom. Safety information Please note that this product, as all the others in the rich Claypaky range, has been designed and made with Unpacking and preparation total quality to ensure excellent performance and best Installation and start-up meet your expectations and requirements. -
Page 2: Safety Information
1. SAFETY INFORMATION SAFETY INFORMATION IMPORTANT: Claypaky recommends you carefully read and keep the safety information on this product, also available in digital format at the following link: www.claypaky.com Ref: FIS00T - Safety Information Axcor 400 series INFORMAZIONI DI SICUREZZA... -
Page 3: Unpacking And Preparation
2. UNPACKING AND PREPARATION 2 x 183102/805 Packing contents - Fig. 1 UNLOCKED LOCKED LOCKED UNLOCKED PAN Mechanism Lock and Release (every 90°) - Fig. 2 TILT Mechanism Lock and Release (every 45°) - Fig. 3 AXCOR SPOT 400 400 HC... -
Page 4: Installation And Start-Up
3.2 Connecting to manis supply DMX in DMX out Ethernet Fuse Power in LCD Display Functional buttons (NC5MAV, (NC5MAV, (NAC3MPX, (RIX8FA3VB, Holder Neutrik) Neutrik) Neutrik) Amphenol) Control Panel - Fig. 5 Connecting and disconnecting power cable - Fig. 6 AXCOR SPOT 400 400 HC... -
Page 5: Connecting The Control Signal Line: Dmx / Art-Net
During menu setting status, after a wait time (about 30 seconds) without any key having been pressed, the display automatically returns to rest status. It should be noted than when this condition occurs, any possible value that has been modified but not yet confirmed with the key will be cancelled. Continue AXCOR SPOT 400 400 HC... - Page 6 All that is needed is to press RIGHT to momentarily activate the display and thus access the settings. Once the required operations have been carried out, the display will switch off again after a wait time of 30 seconds. AXCOR SPOT 400 400 HC...
-
Page 7: Maintenance
1/4 Turn Locking and releasing Pan and Tilt movements - Refer to the instructions in the UNPACKING AND PREPARATION section. Opening the head covers - Fig. 10. Closing the head covers - Fig. 11. Continue AXCOR SPOT 400 400 HC... -
Page 8: Periodical Cleaning
• General cleaning of internal parts. • Restoring lubrication of all parts subject to friction, using lubricants specifically supplied by Claypaky. • General visual check of the internal components, cabling, mechanical parts, etc. -
Page 9: Effects Module Removal
Insertion of the effect modules: Repeat the operations indicated in Fig. 13 and 14 in reverse order. NOTE: - Do not disconnect wiring harnesses when the fixtures is switched-on, to avoid to damage electronic boards. - Do not switch-on the fixtures with wiring harness disconnected. Continue AXCOR SPOT 400 400 HC... - Page 10 Insertion of the effect modules: Repeat the operations indicated in Fig. 13 and 14 in reverse order. NOTE: - Do not disconnect wiring harnesses when the fixtures is switched-on, to avoid to damage electronic boards. - Do not switch-on the fixtures with wiring harness disconnected. AXCOR SPOT 400 400 HC...
-
Page 11: Cleaning Of The Filters
4.4 - Cleaning of the filters 1/4 Turn Cleaning of the filters - Fig. 15. AXCOR SPOT 400 400 HC... - Page 12 1/4 Turn Cleaning of the filters - Fig. 16. AXCOR SPOT 400 400 HC...
-
Page 13: Rotating Gobos
- The original gobos have a special coating designed specifically to resist to the high temperatures; - The rotating gobo wheel only use dichroic glass gobos (it is not possible to use metal gobos); - For more information contact Claypaky; COATED GLASS GOBOS TYPE 1... -
Page 14: Battery Removal
4.6 Battery removal Battery removal - Fig. 21 This product contains a rechargeable battery. To preserve the environment, please dispose the battery at the end of its life according to the regulation in force. AXCOR SPOT 400 400 HC... -
Page 15: Specifications
Automatic break in power supply in case of - CRI: at least 70, CT 6500K (Axcor Spot 400) DMX signal connection 5 poles XLR input and overheating - CRI: at least 90, CT 5600K (Axcor Spot 400 HC) output Forced ventilation with axial fans Ethernet Input... - Page 16 Fault in the electronic circuits. Call an authorised technician. Lenses broken Call an authorised technician. Dust or grease deposited. Clean (see instructions). Clay Paky - Via Pastrengo, 3/b - 24068 Seriate (BG) Italy - Tel. +39-035-654311 - Fax +39-035-301876 - www.claypaky.com S.p.A.
Need help?
Do you have a question about the AXCOR SPOT 400 and is the answer not in the manual?
Questions and answers