
Related Manuals for Speco Intensifier O2iD8M


Summary of Contents for Speco Intensifier O2iD8M
- Page 1 Lens Intensifier® IP Dome Camera with Motorized QUICK INSTALLATION GUIDE O2iD8M Please read this manual carefully before installation and operation of the product.
- Page 2 Thank you for purchasing this product. This guide is designed to be a reference tool for the product. Please read it carefully before operating the product and retain it for future reference. Should you require any technical assistance, please contact Speco Technologies Technical Support. CAUTION...
-
Page 3: Limitation Of Liability
supply and have it checked by your authorized dealer before reusing. Avoid installing the camera at extremely hot or cold places. If you are not a certified person, never try to dismantle the camera. To avoid electric shock, never remove the screws or covers. There are no parts inside that need maintenance by the user. -
Page 4: Specification
Triple Streaming of H.265, H.264 and M-JPEG Supports image resolutions UHD-1 (3840 x 2160) Integrated motion detection with pre- and post-alarm image / video buffering Supports CBR (Constant Bit Rate) and VBR (Variable Bit Rate) modes ... -
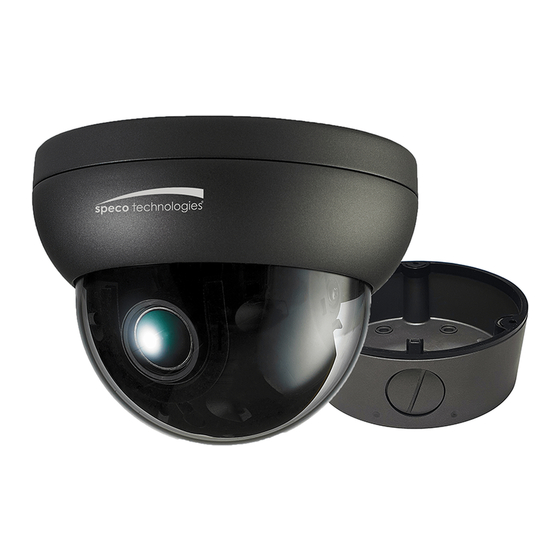
Page 5: Name And Function Of Each Part
Integration Alarm Trigger Motion detection, External Input (NO / NC Type) Video Buffer 5MB pre-alarm and post-alarm-180sec Firmware Upgrade Remote upgrade via network CGI Interface document Reset Bottom 1 x Factory Reset Button Power Source DC 12V / 1.5A, PoE (Power over Ethernet) : 802.3af Power Max. - Page 6 IP Camera x 1 Installation Guide x 1 Drilling Template x 1 L-Wrench x 1 Tapping Screws (Ø4 x 30) x 3 Plastic Anchor x 3 CD x 1 Junction Box Tapping Screws (Ø4 x 30) x 4 Plastic Anchor x 4 Silicone Template x 1 Junction Box x 1 Screw PH (M4 x 12) x 3...
-
Page 7: Name And Function
2.2 Name and Function ITEM DESCRIPTION Power Connector DC12V Network and POE POE (Power Over Ethernet) and LAN cable Connector Sensor In / Alarm Out Sensor In / Alarm out Audio-In Audio in (Red) Audio-Out Audio Out (White) IR LED Infrared LED Lens 2.7 ~ 12mm Motorized Megapixel Lens... -
Page 8: Installation Overview
3. INSTALLATION 3.1 Installation overview Ceiling Ceiling Tile Drilling Template Plastic Anchor x 3 Camera Ass'y Tapping Screw (4 x 30) x 3 L-Wrench Top Cover Ass'y ① Paste a Drilling Template on the ceiling or wall and drill screw points which will be dome for installation. -
Page 9: 3-Axis Adjustment
Ceiling_Junction Box Ceiling Tile Drilling Template (Silicone) Plastic Anchor x 4 Junction box Tapping Screw (4 x 30) x 4 Camera Ass'y PH (M4 x 12) x 3 L-Wrench Top cover Ass'y 3.2 3-Axis Adjustment Tool-free 3-Axis mounting mechanism Perfect Tri-axis! Tilt 85°... - Page 10 Pan 345° 3.3 INSTALLATION EXAMPLE 3.3.1 Installation Example LAN Switch Router Internet Remote Access Local Access E-Mail / FTP 3.3.2 Connecting Network Open up IP Scanner. IP Scanner can search for the device on the local network. Please note that only devices that are on the same subnet can be discovered. The device is set to DHCP mode by default.
- Page 11 3.3.3 Accessing the Camera or video server’s Homepage 1) Open the browser and input network camera address in the address bar or double click the device in IP Scanner. Input your IP address here 2) Please input your user name and password when prompted. 3) Default user name is admin and password is 1234.
-
Page 12: Dimension (Mm)
4. DIMENSION (mm) Ceiling Ceiling_Junction Box...
Need help?
Do you have a question about the Intensifier O2iD8M and is the answer not in the manual?
Questions and answers