CDVI GALEOR Installation Manual
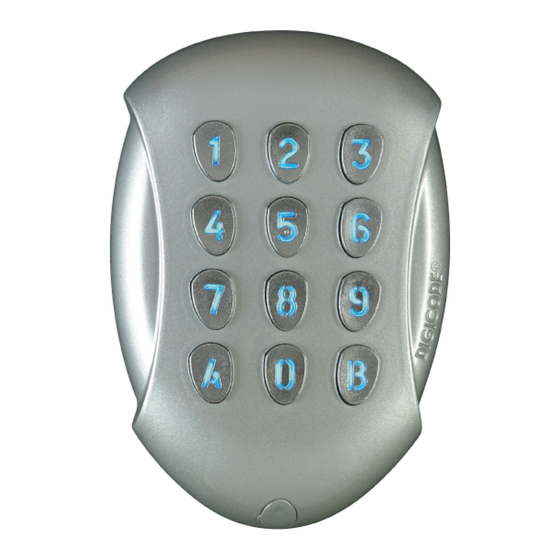
Illuminated rf keypad
Hide thumbs
Also See for GALEOR:
- Manual (20 pages) ,
- Installation manual (17 pages) ,
- Installation manual (17 pages)

Related Manuals for CDVI GALEOR


Summary of Contents for CDVI GALEOR
- Page 1 DEUTSCH ENGLISH GALEOR Funktastatur hintergrundbeleuchtet Illuminated RF keypad ® Reihe: Digicode Range: Digicode ® INSTALLATIONSANLEITUNG INSTALLATION MANUAL Group Products...
-
Page 2: Mitgeliefertes Zubehör
- 0,8 uA ruhend. 2] ERINNERUNGEN UND EMPFEHLUNGEN Montage Code-Zusammenstellung Um die Befestigung der GALEOR zu optimieren Aus Sicherheitsgründen, achten Sie, den Mastercode und die Ausreissversuche zu verhindern, bevorzu- mit demjenigen Ihrer Auswahl zu ändern. Während gen Sie ebene Oberfl ächen. -
Page 3: Montage
Löcher. Kleben Sie die Dichtung auf die Rückseite der Sockel zur GALEOR fest (wichtig). Befestigen Sie die Rückseite der GALEOR auf den von Ihnen ausgewählten Träger mit den Senkschrauben. Entfernen Sie die Schutzabdeckung der Batterie und befestigen Sie die GALEOR auf ihren Träger von oben mit dem Oberhaken. - Page 4 INSTALLATIONSANLEITUNG GALEOR Funktastatur hintergrundbeleuchtet 6] PROGRAMMIERUNG STANDARDWERTE DER GALEOR: PIEPTÖNE: - Kanalfehler - Ohne Codes 1 kurzer Piepton = Unterspannungsetzen - Codefehler (z.B. schon gespeicherter - Summer aktiviert (Batterieeinsatz) Code) - Beleuchtungsverzögerung: 3 Sek 1 langer Piepton: - Funksendung-Sicherheitsverzögerung: - Eintritt ins Menü...
- Page 5 INSTALLATIONSANLEITUNG GALEOR Funktastatur hintergrundbeleuchtet Tippen Sie den ERINNERUNG: MASTERCODE Wenn die Tastatur während 1 Sek beim ersten Kontakt blinkt, zweimal. prüfen Sie die Batterie. Ausgeschaltete Tasten-Hintergrungbeleuchtung, ausser fest eingeschalteter Taste 5 RŰCKSETZUNG Einen Rücksetzung RŰCKSETZUNG Mit oder ohne Benutzercode des Mastercodes...
- Page 6 Garantie» für Ihr(e) Produkt (e) zu profi tieren, füllen Sie bitte die in der Produktverpackung einliegende Registrierungs-Karte aus und senden Sie sie per E-mail oder per Post an die Adresse der näheren CDVI Stelle oder registrieren Sie sich unter www.cdvigroup.com oder auf die Rückseite der Installationsanleitung.
-
Page 7: Mounting Kit
Encoding: Keeloq hopping code ® Certifi cation CE Dimensions (L x W x D): GALEOR = 110 x 75 x 15mm, -25°C a +70°C Supply: Lithium battery 3,6V - LS14500. Current consumption: Certifi cation FCC CFR 47 part 15 compliance - 28 mA in transmission, - 0,8uA in sleep-mode. - Page 8 INSTALLATION MANUAL GALEOR Illuminated RF Keypad 4] PROGRAMMING GALEOR FACTORY SETTINGS : AUDIBLE FEEDBACKS : USING RULES AND USER CODES: - No user codes. - All the buttons can be used to 1 beep : Power-up ( battery insertion )
- Page 9 INSTALLATION MANUAL GALEOR Illuminated RF Keypad REMINDER: Type 2 times the if the keypad blinks during 1 sec. MASTER CODE at the fi rst touch, check the battery. Buttons backlit switch off except button 5 FACTORY RECOVER Master code reset...
- Page 10 35 MM hole depth) and the hole wiring access. Insert the 2 plastic anchors in the holes. Stick the foam to sealed The GALEOR on the back side of the base (Important). Place the back plate of the GALEOR and screw on the wall using the supplied (M4x30) mounting screws.
- Page 11 “Limited Lifetime Warranty”, complete the enclosed registration card and return it, either by e-mail or post, to the relevant CDVI address or completion of the on line registration at www.cdvigroup.com. Repair or replacement of the defective product is the exclusive remedy.
- Page 12 Reference : G0301FR0420V01 Extranet : EXE-CDVI_IM GALEOR CMYK A5 EN-DE 01 Creator of electronic access solutions *G0301FR0420V01* CDVI Group FRANCE (Headquarter/Siège social) Phone: +33 (0)1 48 91 01 02 Fax: +33 (0)1 48 91 21 21 CDVI CDVI CDVI CDVI UK...
Need help?
Do you have a question about the GALEOR and is the answer not in the manual?
Questions and answers