Advertisement
Quick Links
If you have a problem, question, or request, call
your local dealer, or Steelcase Line 1 at
888.STEELCASE (888.783.3522)
for immediate action by people who want to help you.
(Outside the U.S.A., Canada, Mexico, Puerto Rico,
and the U.S. Virgin Islands, call: 1.616.247.2500)
Or visit our website: www.steelcase.com
© 2008 Steelcase Inc.
Grand Rapids, MI 49501
U.S.A.
Printed in U.S.A.
™
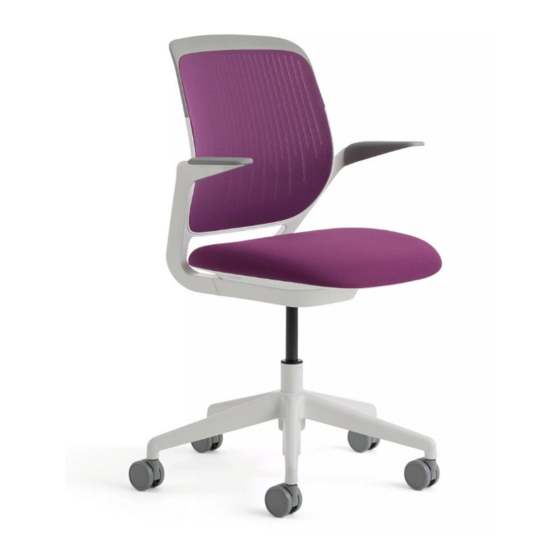
434 Cobi
Chair - Seat Shell Replacement
PROFILE OF HARDWARE
FOR CLARITY
#8-18 x 1/2" Pan Head
Tapping Screw
M6 x 45mm
Wafer Head Screw
Magnetic
Bit Holder
T-30
Large flat-bladed
screwdriver
T-20
screwdriver
Page 1 of 7
939543407 Rev B
Advertisement

Related Manuals for Steelcase Cobi 434


Summary of Contents for Steelcase Cobi 434
- Page 1 Wafer Head Screw Large flat-bladed screwdriver If you have a problem, question, or request, call your local dealer, or Steelcase Line 1 at 888.STEELCASE (888.783.3522) for immediate action by people who want to help you. T-20 (Outside the U.S.A., Canada, Mexico, Puerto Rico, screwdriver and the U.S.
- Page 2 Place the chair onto the floor as shown. Squeeze the outer seat shell to expose the seat screw. While squeezing the outer seat shell, remove the screw with a T-30 torx bit. OUTER SEAT SHELL Page 2 of 7 939543407 Rev B...
- Page 3 Place chair upright and insert a large flat-bladed screwdriver into the seat cushion (4a). Screwdriver must be inserted to the right of the hole where the bolt was removed in step 3 (4b). Insert the screwdriver inward until you locate the catch and then pry catch upward (4c). Grab the seat at the rear and pull sharply upward and forward while prying up on catch.
- Page 4 Remove ten (10) #8-18 x 1/2" pan head tapping Remove seat shell. screws from the seat shell. Page 4 of 7 939543407 Rev B...
- Page 5 Installation of the Replacement Seat Shell Lower replacement seat shell onto seat Secure replacement seat shell to underside of assembly. seat assembly using ten (10) #8-18 x 1/2" pan head tapping screws to a torque of 7-10 in-lbs. NOTE: Be sure to hand tighten these screws with a T-20 torx head screwdriver to avoid over-tightening and possible damage.
- Page 6 Place seat assembly upright as shown and Align underside of seat assembly with front of chair control lower pneumatic cable into adjustment bracket assembly. The tabs located on the front of the chair control and snap into place (3a). assembly must fit into the pockets of the seat assembly. Make sure pneumatic cable is housed into Swing seat assembly downward as shown.
- Page 7 Slide seat assembly as shown using inner legs to push seat cushion inward. Place chair onto the floor as shown. Pull back outer seat shell. While pulling back on outer seat shell, install M6 x 45mm wafer head screw and tighten to 15-30 in-lbs. DO NOT over tighten. IMPORTANT: Make sure to install this screw.
Need help?
Do you have a question about the Cobi 434 and is the answer not in the manual?
Questions and answers