Table of Contents
Advertisement
Quick Links
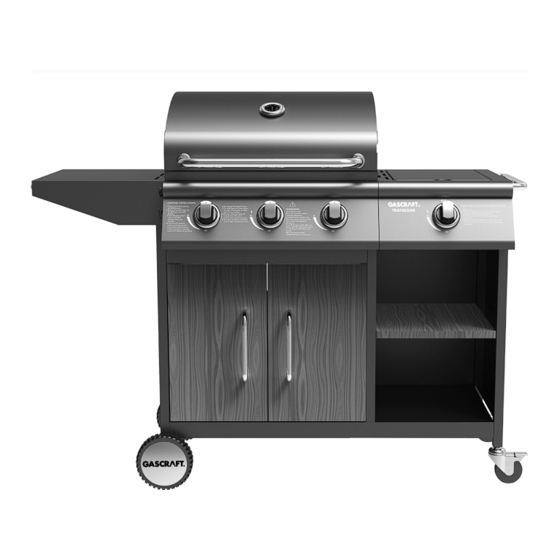
MEMPHIS
3 BURNER BBQ
WITH SIDE
BURNER
Photographs are not to scale.
Specifications subject to
change without prior notice.
IMPORTANT!
ASSEMBLER: These instructions must be left with the user of the BBQ
for their reference. They contain important safety information required
for continued safe use of the BBQ.
0359
Advertisement
Table of Contents

Related Manuals for gascraft MEMPHIS


Summary of Contents for gascraft MEMPHIS
- Page 1 MEMPHIS 3 BURNER BBQ WITH SIDE BURNER Photographs are not to scale. Specifications subject to change without prior notice. 0359 IMPORTANT! ASSEMBLER: These instructions must be left with the user of the BBQ for their reference. They contain important safety information required...
-
Page 3: Parts List
1. Parts List Quantity varies according to model purchased. Specifications subject to change without prior notice. For more details on hardware, please see the corresponding ‘Hardware Reference Diagram’. Description Figure Figure Description Warming Rack Bottom Tray Barbecue tray Wheel Cooking Grid Wheel Cap Flame Tamer Wheel Axle... -
Page 4: Parts Diagram
2. Parts Diagram... - Page 5 3. Assembly Instructions: STEP 1 M6X12 Screw 5Pcs 1Pcs M3X10 Screw 2Pcs 2Pcs STEP 2 Back Right Back Left Front Right Front Left M6X12 Screw 14Pcs...
- Page 6 STEP 3 M6X12 Screw 8Pcs STEP 4 M6X12 Screw 3Pcs...
- Page 7 STEP 5 M6X12 Screw 4Pcs STEP 6 M6X12 Screw 5Pcs...
- Page 8 STEP 7 M6X12 Screw 4Pcs STEP 8 M6X12 Screw 4Pcs...
- Page 9 STEP 9 M6X12 Screw 4Pcs STEP 10 M8 Nut 2Pcs...
- Page 10 STEP 11 M6X12 Screw 4Pcs STEP 12...
- Page 11 STEP 13 STEP 14 M6X12 Screw 3Pcs...
- Page 12 STEP 15 STEP 16 M6X12 Screw 2Pcs M4X10 Screw 4Pcs...
- Page 13 STEP 17 M6X12 Screw 8Pcs STEP 18 M4X10 Screw 2Pcs...
- Page 14 STEP 19 M4X10 Screw 2Pcs STEP 20 M4X10 Screw 2Pcs...
- Page 15 STEP 21 Side Shelf Axle 4Pcs STEP 22 Hook 3Pcs...
-
Page 16: Leak Testing
ASSEMBLY IS NOW COMPLETE. ALL JOINTS AND CONNECTIONS MUST NOW BE LEAK TESTED BEFORE USING THE BARBECUE. Leak test annually, and whenever the gas bottle is removed or replaced. 4. Leak Testing Always perform a leak test in a well-ventilated area. Step 1 - Confirm all control knobs are in the off position. -
Page 17: Gas, Regulator And Hose
and connections of the barbecue after Please consult your local gas dealer for the assembly. most suitable gas cylinders and regulators. Leak test annually, and whenever the 7. Installation gas cylinder is removed or replaced. Do not store flammable materials near 7.1. - Page 18 The regulator supplied with this BBQ is 3. If burner does not light after 5 clicks, turn equipped with a safety mechanism called OFF, wait minutes, repeat an Excess Flow Valve. To avoid tripping procedure. this device, which will prevent the full gas 4.
-
Page 19: Very Important
Side Burner Manual Lighting 8.9. Roasting Hood Cooking Instructions Barbecues equipped with a roasting hood If for some reason the ignitor fails to give the option to form an ‘oven’ for roasting produce a spark at the electrode, the side or baking food, such as joints of meat or burner can be manually lit. -
Page 20: Care And Maintenance
grilling, cooking sauces marinades sparingly and try to avoid very 8.13 End of Cooking Session cheap cuts of meat or meat products as After each cooking session, turn the these tend to have a high fat and water barbecue burners to the HI position and content. - Page 21 a rust inhibitor and painted with barbecue steel scraper or wire brush. Clean with hot paint or a heat resistant paint. soapy water and rinse well. A chrome cleaner may be used on chrome parts if required. To prevent rusting, wipe Drip Tray chrome plated warming racks etc, with After every use, empty and clean the drip...
- Page 22 outside. The gas bottle should always be with a clean cloth, to all exposed stored outside, in a dry well-ventilated area, Stainless Steel areas. This should then be away from any sources of heat or ignition. polished in and buffed off with another clean Do not let children tamper with the bottle.
- Page 24 GASCRAFT MEMPHIS 3B W/ SIDE BURNER Model No G9203AT-SB Gas Consumption MJ/h 46.08 MJ/h total Injector Size 0.85mm (main bnr) 0.85mm (side bnr) Gas Type: NZ LPG (I 30mbar) 3B/P 0359CL1116 Gas Pressure 2.75kPa Min/Max Supply Pressure 2.0-3.5kPa Max Test Pressure...
Need help?
Do you have a question about the MEMPHIS and is the answer not in the manual?
Questions and answers