Table of Contents
Advertisement
Quick Links
Advertisement
Table of Contents

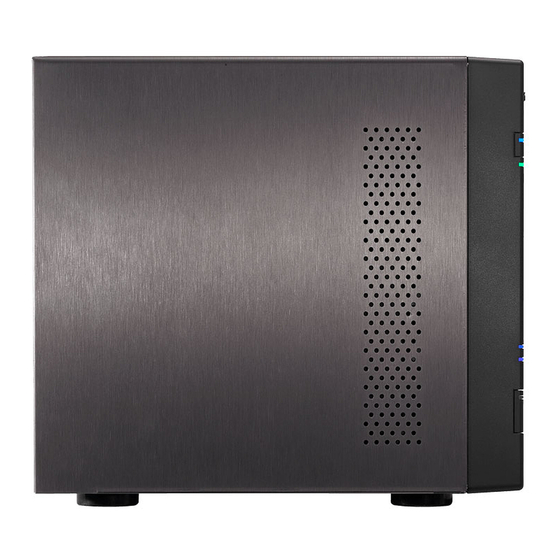
Summary of Contents for ASUSTOR Lockerstor 10 Pro
- Page 1 M.2 SSD Installation Guide For the ASUSTOR Lockerstor 10 Pro NAS Ver.1.0.3.1105...
- Page 2 2. Installation Guide ............................ 4 2.1. Removing the Cover ........................4 2.2. Installing M.2 SSDs ......................... 5 2.3. Replacing the Cover ........................6 3. Appendix ..............................8 3.1. Troubleshooting ..........................8 3.2. Contact ASUSTOR Technical Support .................... 8 Page 2 of 8...
- Page 3 ASUSTOR is not responsible for damage that occurs as a result of your failure to follow the instructions intended for your ASUSTOR product. ASUSTOR is not responsible for any product from which the serial number has been removed or that has been damaged or rendered defective (a) as a result of accident, misuse, abuse, contamination, improper or inadequate maintenance or calibration, or other external causes;...
- Page 4 M.2 SSD Installation Guide 2.1. Removing the Cover Shutdown the NAS by selecting [Shut down] from the ADM User Menu. Wait for unit to power off completely. Disconnect all cables and devices connected to the NAS including the power cable. ...
- Page 5 M.2 SSD Installation Guide Grip the cover from both sides with two hands and then gently push towards the rear of the NAS to remove it from the chassis. 2.2. Installing M.2 SSDs Upon opening the NAS, M.2 slots are found on the top of the NAS. Insert an SSD into an empty slot at a 45°...
- Page 6 M.2 SSD Installation Guide Adjust the standoff so that it matches the length of your SSD. Gently push the drive down as indicated by the arrow so that it is flush with the location of the standoff. Secure drive with included thumbscrew.
- Page 7 M.2 SSD Installation Guide Page 7 of 8...
- Page 8 4. If your NAS still does not operate normally, please remove newly installed SSDs, and then restart the NAS to see if it boots up normally. 5. If all previous steps have not solved your problem, please contact your local dealer or ASUSTOR customer service.


Need help?
Do you have a question about the Lockerstor 10 Pro and is the answer not in the manual?
Questions and answers