Overland Storage SnapServer XSD 40 Quick Start Manual
Chassis replacement instructions
Hide thumbs
Also See for SnapServer XSD 40:
- Configuration manual (16 pages) ,
- Remove & replace / add-on instructions (4 pages) ,
- Instructions (4 pages)
Table of Contents
Advertisement
Quick Links
Chassis Replacement Instructions
This document describes how to swap out the chassis of a
SnapServer XSD 40 from Overland Storage.
WARNING:
To reduce the risk of electric shock or damage to
equipment, always remove any power cords while working
with the unit.
AVERTISSEMENT:
Pour réduire le risque de choc électrique
ou endommagement de l'équipement, retirez toujours les
cordons électriques en travaillant avec l'appareil.
CAUTION:
While working with the unit, observe standard
Electrostatic Discharge (ESD) precautions to prevent damage
to micro-circuitry or static-sensitive devices.
Prepare the Unit
Power Off and Disconnect Cables
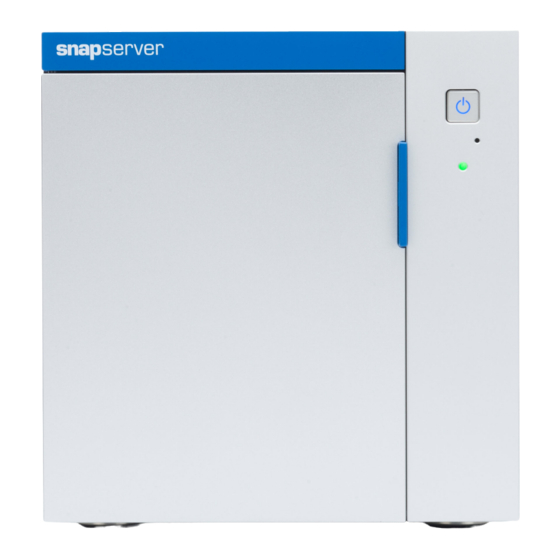
1. Briefly press the Power button on the front.
2. When all the front LEDs are off, disconnect the power
cord.
3. Disconnect all the cables from the unit.
Remove the Drives
NOTE: Do not remove the disk drives from their carriers. Doing so
voids the drive warranty.
1. Slide the release button to the right. The latch on the
front of the carrier will release and the handle will extend.
2. Using the handle, pull the carrier out.
3. Set the carrier on a secure surface.
4. Repeat
Steps 1–3
for each remaining carrier.
10400570-001
Power
Cables
©2014 Overland Storage, Inc.
SnapServer
Pull Carrier
XSD 40
®
Press Right
Page 1 of 4
Advertisement
Table of Contents

Related Manuals for Overland Storage SnapServer XSD 40


Summary of Contents for Overland Storage SnapServer XSD 40
- Page 1 ® Chassis Replacement Instructions This document describes how to swap out the chassis of a SnapServer XSD 40 from Overland Storage. WARNING: To reduce the risk of electric shock or damage to equipment, always remove any power cords while working with the unit.
- Page 2 • If there are two DIMMs installed, repeat Steps 2–3, to seat the second DIMM in the remaining slot. • If there is only one DIMM installed, go to “Reinstall the Side Panels.” 10400570-001 Page 2 of 4 ©2014 Overland Storage, Inc.
- Page 3 The panel will click into place. 4. Reinstall the thumb screw on the back of the unit to secure the panel. 5. If needed, repeat Steps 1–4 to reinstall the second panel. 10400570-001 Page 3 of 4 ©2014 Overland Storage, Inc.
- Page 4 Return Old Chassis to Overland 1. Place the old chassis in the anti-static bag and put it in the replacement part’s box. 2. Use an RMA to return the part to Overland Storage. For return shipping details and RMA number, go to: http://docs.overlandstorage.com/return-instructions http://support.overlandstorage.com...
Need help?
Do you have a question about the SnapServer XSD 40 and is the answer not in the manual?
Questions and answers