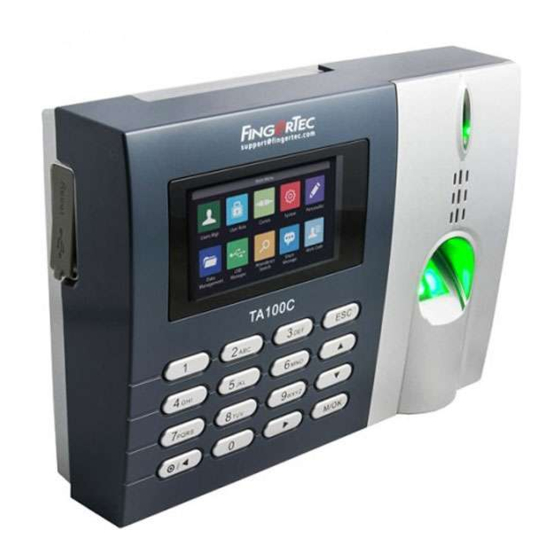
FingerTec TA100C Series Installation Diagram
Enclosure
Hide thumbs
Also See for TA100C Series:
- User manual (72 pages) ,
- Installation manual (2 pages) ,
- Quick start manual (28 pages)
Advertisement
ENCLOSURE
INSTALLATION
DIAGRAM
1. Position the back plate properly on top
1
of the mounting plate; tighten the bolts
and nuts to join these two plates
together securely.
2
2. Position the wall plate that has been
attached to the back plate, and tighten
the screws to secure them on the
enclosure.
3
3. Mount the enclosure on a wall or a
surface and tighten the screws to secure
its position.
4. Hang the terminal on the back plate,
4
tighten the 2 screws at the bottom of the
terminal.
5
5. Make sure that the enclosure has been
mounted firmly by tightening all the
screws.
Note:
Installation of enclosure with access control
models
Before you start with step no. 1 above, make sure
that all the terminal's wires are put through the
enclosure, back plate and wall plate, and all the
wires are connected to the terminal's ports
correctly.
Note:
The package does not include the screws
needed to secure the enclosure to a wall
w w w . f i n g e r t e c . c o m
w w w . f i n g e r t e c . c o m
2011 FingerTec Worldwide Sdn. Bhd. All rights reserved.
C
R2
•
INSTALLATION DIAGRAM
4
Terminal
AC900
•
INSTALLATION DIAGRAM
4
Terminal
i-Kiosk 100
•
INSTALLATION DIAGRAM
4
Terminal
Kadex
•
INSTALLATION DIAGRAM
4
Terminal
3
1
2
3
3
1
Back plate
5
5
3
1
2
3
3
1
Back plate
5
5
3
2
1
3
1
1
Back plate
3
3
2
1
1
1
3
3
Back plate
3
Enclosure
Wall plate
3
3
Enclosure
Wall plate
3
2
Enclosure
3
Wall plate
2
Enclosure
Wall plate
Advertisement
Table of Contents

Related Manuals for FingerTec TA100C Series


Summary of Contents for FingerTec TA100C Series
- Page 1 . f i n g e r t e c . c o m w w w . f i n g e r t e c . c o m 2011 FingerTec Worldwide Sdn. Bhd. All rights reserved.
- Page 2 4. Hang the terminal on the back plate, Terminal tighten the 2 screws at the bottom of the terminal. TA100C Series / TimeLine 100 • INSTALLATION DIAGRAM 5. Make sure that the enclosure has been mounted firmly by tightening all the screws.
Need help?
Do you have a question about the TA100C Series and is the answer not in the manual?
Questions and answers