Kraus KHU100-26 Installation Manual
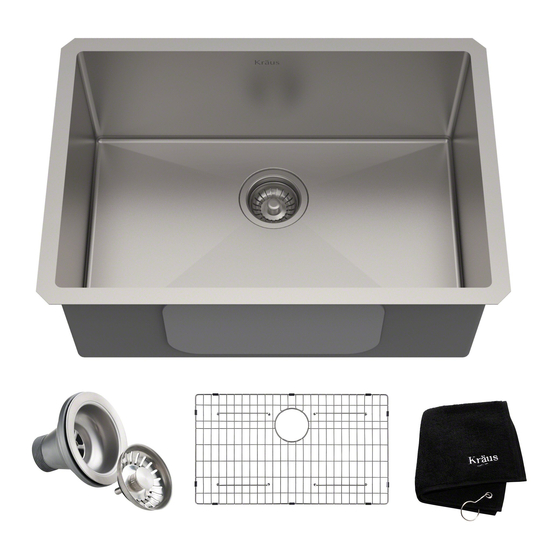
Handmade stainless steel undermount kitchen sink
Hide thumbs
Also See for KHU100-26:
- Installation manual (67 pages) ,
- Installation manual (13 pages) ,
- Installation manual (32 pages)
Advertisement
Quick Links
INSTALLATION GUIDE
Handmade Stainless Steel
Undermount Kitchen Sink
KHU100-26 / KHU100-28 / KHU100-30 / KHU100-32 /
KHU101-14 / KHU101-17 / KHU101-20 / KHU101-21 /
KHU101-22 / KHU101-23 / KHU102-33 / KHU103-32 /
KHU103-33 / KHU104-33 / KHU105-32 / KHU110-27 /
KHU111-24 / KHU111-25 / KHU121-23 / KHU122-23 /
www.kraususa.com I Toll Free: 1.800.775.0703 I © 2017 Kraus USA Inc. I REV. July 7, 2018
KHU123-32
Advertisement

Subscribe to Our Youtube Channel
Related Manuals for Kraus KHU100-26


Summary of Contents for Kraus KHU100-26
- Page 1 KHU101-22 / KHU101-23 / KHU102-33 / KHU103-32 / KHU103-33 / KHU104-33 / KHU105-32 / KHU110-27 / KHU111-24 / KHU111-25 / KHU121-23 / KHU122-23 / KHU123-32 www.kraususa.com I Toll Free: 1.800.775.0703 I © 2017 Kraus USA Inc. I REV. July 7, 2018...
- Page 2 Congratulations on the purchase of your new Kraus plumbing fixture! Please keep teh box and packaging materials until your product is completely installed. If you have any questions, require technical assistance, or have any problems with your product: DO NOT RETURN TO STORE Please contact our Customer Service Team 1-800-775-0703 / customerservice@kraususa.com...
-
Page 3: Prior To Installation
Toll-Free: 800-775-0703 or Customerservice@kraususa.com The step-by-step guidelines in the installation instructions are a general reference for installing a Kraus Sink. Should there be any discrepancies, Kraus cannot be held liable. It is recommended to install all Kraus products by hiring a licensed professional. -
Page 4: Tools You Will Need
Phillips Screwdriver Putty Knife Tape Measure Pencil Screwdriver NOTE: Specialized tools may be necessary to install Kraus Stainless Steel Undermount sinks with countertop materials other than wood, marble, or granite Parts List • Cut-Out Template • Mounting Hardware • Bottom Grids •... - Page 5 Dimensions Typical note: = Special Order 28” 28” 711mm 30” 30” 711mm 762mm 30” 30” 762mm 762mm 32” 32” 813mm 762mm 813mm KHU100-30 KHU100-32 30” x 18” x 10” 32” x 17” x 10” Min Cabinet Size: 33” Min Cabinet Size: 36” Matching Grid: KBG-100-30 Matching Grid: KBG-100-32 Drain Model #: BST-1...
- Page 6 Dimensions Typical note: = Special Order 21” 21” 20” 19” 533mm 533mm 508mm 483mm 23” 23” 22” 21” 584mm 584mm 559mm 533mm KHU101-21 KHU101-22 KHU101-23 21” x 18” x 10” 22” x 18” x 10” 23” x 18” x 10” Min Cabinet Size: 24”...
- Page 7 KHU104-33 KHU103-33 Dimensions 12-7/8” 16-7/8” 12-7/8” 16-7/8” 12-7/8” 16-7/8” 16-7/8” 12-7/8” 327mm 429mm 327mm 429mm 327mm 429mm 429mm 327mm 32”-3/4 32-3/4” 32-3/4” 32”-3/4 832mm 832mm 832mm 832mm KHU103-33 KHU104-33 KHU105-32 32 3/4” x 19” x 10” 32 3/4” x 19” x 10” Min Cabinet Size: 36”...
- Page 8 Dimensions Typical note: = Special Order 22” 23” 21” 21” 559mm 584mm 533mm 24” 25” 533mm 23” 23” 610mm 635mm 584mm 584mm KHU111-24 KHU111-25 KHU121-23 KHU123-32 24” x 18” x 10” 25” x 18” x 10” 23” x 18 3/4” x 10” Min Cabinet Size: 27”...
- Page 9 Use scissors to cut along the line of the paper template for your desired reveal type (Negative, Positive, or Flushed Reveal) 3/8“ Positive Reveal 1/8“ Negative Reveal KRAUS Recommended Installation Type 3/8“ Positive Reveal 3/8”POSITIVE 3/8” Positive Reveal 3/8“ Positive Reveal 1/8”NEGATIVE...
- Page 10 3. Trace Template • Trace template on countertop with a pencil Step3 Step3 4. Cut Countertop • Cut the opening in the countertop by carefully following the traced line NOTE: Please use the appropriate saw that best fits your countertop material Step7 Step8 Step9...
- Page 11 Determine location for mounting brackets; space 5. Set up Mounting Brackets 3/8”POSITIVE 1/8”NEGATIVE • Turn countertop over and align sink with countertop. Decide location for mounting brackets USHED/ZERO Centerline • Mounting holes should be ½” from edge of sink Step5 Step6 1/2"...
- Page 12 Step6 7. Install Anchors • Insert anchors into drilled holes and lightly tap with a hammer until flush Step7 8. Secure Sink to Countertop • Use a bead of silicone (or preferred adhesive) around the rim of the sink. Check the alignment of the sink to the cutout in the countertop. Place sink over cutout hole and press firmly...
-
Page 13: Attach Mounting Hardware
Step8 Step9 9. Attach Mounting Hardware • Attach mounting hardware to secure bowl. Remove excess sealant Step8 from inside lip Use acetone or • Allow sealant to set for 30 – 60 minutes NOTE: rubbing alcohol to remove any excess sealant Step9 10.
Need help?
Do you have a question about the KHU100-26 and is the answer not in the manual?
Questions and answers