Advertisement
Quick Links
Advertisement

Related Manuals for Haltech ic-7


Summary of Contents for Haltech ic-7
- Page 1 DISPLAY DASH QUICK START GUIDE...
- Page 2 IC-7 DISPLAY DASH OVERVIEW This quick start guide will walk you through the What’s in the box? installation of a Haltech IC-7 Display Dash into • 1 x HT-070001 USB Cable 2.0M • 1 x Haltech IC-7 Display Dash a vehicle already fitted with a Haltech ECU.
-
Page 3: Front View
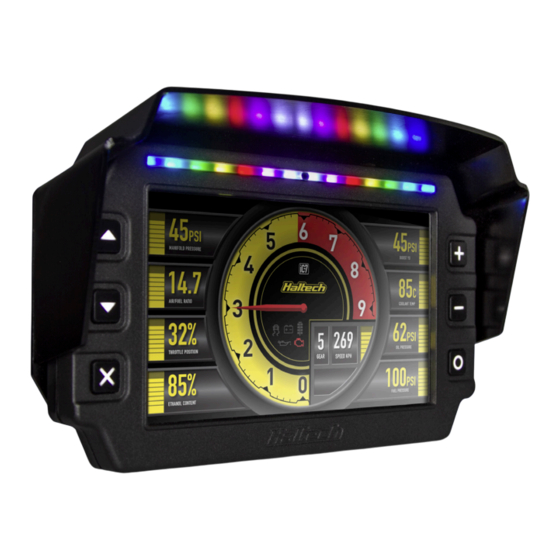
IC-7 DISPLAY DASH OVERVIEW FRONT VIEW 1 Display Screen 2 Control Buttons 3 Shift / Alarm Light Panel 4 Ambient Light Sensor REAR VIEW 5 Comms Connector 6 Auxiliary Connector 7 Mounting Screw Holes... - Page 4 There are five brightness settings. On minimum be progremmed for any channel in the IC-7. 2. Pre-set your alarm to turn off automatically brightness setting, the display is at its minimum when the alarm condition is no longer active There are 14 lights in the sequence.
- Page 5 70.79 28.75 Ă 8.30 Through Hole...
- Page 6 37.70 141.57 70.79...
- Page 7 37.70 M5 - Max thread depth 6mm 70.79...
- Page 8 70.79 28.75...
- Page 9 Double click on the USB drive. 3. Double click on the installer icon you see in the root directory of the USB drive. 4. Once the Haltech IC-7 software is installed, First Start Up Haltech IC-7 Software run the software.
- Page 10 Haltech CAN bus already: Connect the DTM-4 into the Auxiliary CAN Bus Port as shown 1. Find a suitable place to mount your IC-7 Display Dash. A pull-out mechanical template is provided in the centre of this booklet if holes need to be cut in an existing panel.
- Page 11 You will need to use an 8-pin Tyco to DTM-4 cable to connect all Platinum Series ECUs to this device. This cable is supplied with the ECU. If you already have a Platinum Series ECU and are adding the IC-7 display dash to your system this cable can be purchased separately (HT-130040).
- Page 12 Haltech Australia Haltech North America Haltech UK facebook.com/HaltechEngineManagement 17 Durian Place, Wetherill Park 750 Miles Point Way, 4 Wharton Street Industrial Estate, NSW 2164 Australia Lexington, KY 40510 USA Wharton Street, Birmingham B7 5TR youtube.com/haltechecu Phone: +61 2 9729 0999...
Need help?
Do you have a question about the ic-7 and is the answer not in the manual?
Questions and answers