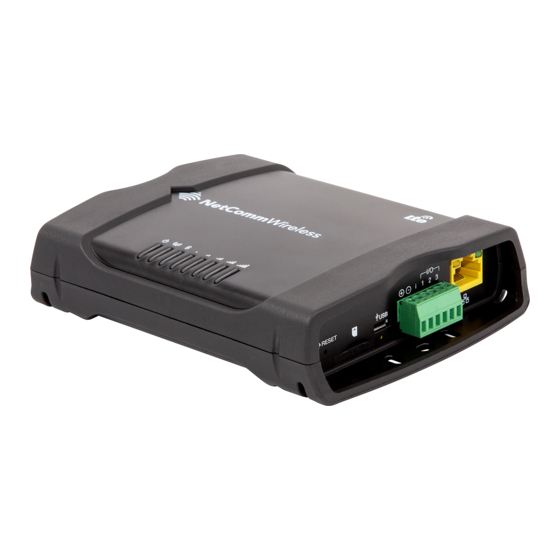
NetComm NTC-220 Series Firmware Upgrade Manual
Hide thumbs
Also See for NTC-220 Series:
- User manual (193 pages) ,
- Connecting manual (24 pages) ,
- Firmware upgrade manual (10 pages)
Table of Contents
Advertisement
Advertisement
Table of Contents

Subscribe to Our Youtube Channel
Summary of Contents for NetComm NTC-220 Series
- Page 1 Firmware Upgrade Guide NTC-220 Series Router Doc No. FI01138...
-
Page 2: Table Of Contents
Copyright© 2019 NetComm Wireless Limited. All rights reserved. The information contained herein is proprietary to NetComm Wireless. No part of this document may be translated, transcribed, reproduced, in any form, or by any means without prior written consent of NetComm Wireless. -
Page 3: Overview
Prerequisites Before continuing with the installation of your NTC-220 series router, please confirm that you have the following: An electronic computing device with a working Ethernet network adapter and a web browser such as Internet Explorer®, Mozilla Firefox® or Google Chrome™. -
Page 4: Upgrading The Firmware
Ethernet port of your computer. Connect the power adapter to the DC power jack of the NTC-220 Series Router and plug it into an available wall socket. Wait approximately 1 minute for the router to start up. - Page 5 Password field, then click the Log in button. The Status page will display. NTC-220 Series Router – Firmware Upgrade Guide 5 of 10 FI01138 v. 1.0 April 2019 © NetComm Wireless 2019...
-
Page 6: Check And Download Most Recent Firmware
When the Status page is displayed, go to the System information section and note the Firmware version in the Device version section: Open a new tab in your browser and go to the NetComm support website’s NTC-220 series page: https://support.netcommwireless.com/product/ntc-220-series Choose your model from the page and select it to open its support information page Click its Firmware link to jump to details of the latest firmware release. -
Page 7: Back Up Current Settings (Optional)
Back up current settings (optional) NTC-220 series routers and their firmware upgrade files are designed to retain your existing settings throughout the upgrade process. Strictly speaking you do not need to back up your current settings prior to the firmware upgrade. - Page 8 Click the Choose a file button and select the ntc_220_x.x.x.x.cdi file that you had previously downloaded from the NetComm support website, refer to steps 5 and 6 of the Check and download most recent firmware section of this guide, above.
-
Page 9: Restore Your Settings (Optional)
This section provides you with instructions to restore the saved configuration. As mentioned in the Back up current settings section, NTC-220 series routers and their firmware upgrade files are designed to retain your existing settings throughout the upgrade process. Unless something unusual happened during the firmware update process, for example a power failure during the process, all your previous settings, including your login password, will be preserved. -
Page 10: Confirm Firmware Upgrade
Log in button. The Status page will display. go to the System information section and note the Firmware version in the Device version section: NTC-220 Series Router – Firmware Upgrade Guide 10 of 10 FI01138 v. 1.0 April 2019 © NetComm Wireless 2019...


Need help?
Do you have a question about the NTC-220 Series and is the answer not in the manual?
Questions and answers