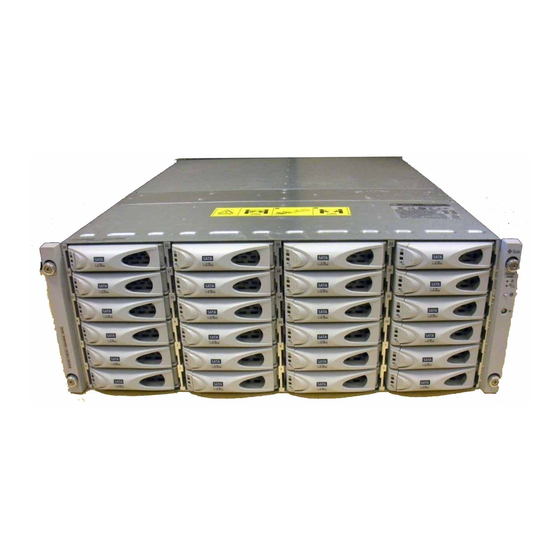
Sun Microsystems Storage J4400 Array Replacement Manual
Power supply replacement
Hide thumbs
Also See for Storage J4400 Array:
- System overview manual (112 pages) ,
- Site preparation manual (36 pages) ,
- Replacement manual (21 pages)
Summary of Contents for Sun Microsystems Storage J4400 Array
- Page 1 Sun Storage J4400 Array Power Supply Replacement Guide Sun Microsystems, Inc. www.sun.com Part No. 820-3228-10 March 2008, Revision A Submit comments about this document at: http://www.sun.com/hwdocs/feedback...
- Page 2 Copyright 2008 Sun Microsystems, Inc., 4150 Network Circle, Santa Clara, Californie 95054, Etats-Unis. Tous droits réservés. Sun Microsystems, Inc. a les droits de propriété intellectuels relatants à la technologie qui est décrit dans ce document. En particulier, et sans la limitation, ces droits de propriété...
-
Page 3: Table Of Contents
Contents Removing and Replacing a Power Supply 1 ESD Precautions 1 Power Supply Components 2 Removing and Replacing a Power Supply 4 ▼ Removing a Power Supply 4 ▼ Replacing a Power Supply 5 ▼ Verify and Complete the Power Supply Replacement 6 Related Documentation 7 Service Contact Information 8 Contents... - Page 4 Sun Storage J4400 Array Power Supply Replacement Guide • March 2008...
-
Page 5: Removing And Replacing A Power Supply
Removing and Replacing a Power Supply This document describes replacement procedures for the power supply customer replaceable unit (CRU) installed in the Sun Storage J4400 Array. This document assumes you have: Identified the tray containing the failed power supply. ■... -
Page 6: Power Supply Components
0 (left) and 1 (right) as viewed from FIGURE 2 the back of the disk tray. identifies the power supply components. FIGURE 2 Location of Power Supplies 0 and 1 (Tray Back View) FIGURE 1 Sun Storage J4400 Array Power Supply Replacement Guide • March 2008... - Page 7 Power Supply LEDs and Components (Tray Back View) FIGURE 2 Figure Legend Fan fault LED AC power status LED DC power status LED Power fault LED Power supply on/off switch Power cord tie strap Power plug receptacle Right ejection arm and captive screw latch The J4400 Power Supply serial number is located on the top of the module.
-
Page 8: Removing And Replacing A Power Supply
(see FIGURE 3 Note – You might need a #2 Phillips screwdriver to loosen or tighten captive screws on the ejection arms. Sun Storage J4400 Array Power Supply Replacement Guide • March 2008... -
Page 9: Replacing A Power Supply
Removing a Power Supply FIGURE 3 6. Pull the power supply out of the tray. Caution – Be careful to not damage the circuit board connector extending from the back of the power supply. Caution – For products with multiple power cords, all power cords must be disconnected to completely remove power from the system. -
Page 10: Verify And Complete The Power Supply Replacement
Place the power supply on/off switch to the “I” position and verify the Power status LED is steady green and the Power fault LED and the Fan fault LED are off (see FIGURE 2 Sun Storage J4400 Array Power Supply Replacement Guide • March 2008... -
Page 11: Related Documentation
Related Documentation For additional information about the Sun Storage J4400 Array, see the following product documentation: Application Title Part Number Regulatory and safety Sun Storage Regulatory and Safety 96272, Revision A information Compliance Manual Multilanguage safety Important Safety Information for Sun... -
Page 12: Service Contact Information
Sun Storage J4200/J4400 Array Rail Kit 820-3764-nn procedures Installation Guide Service Contact Information If you need help installing or using this product in the United States, call 1-800-USA-4SUN(872-4786), or go to: http://www.sun.com/service/contacting/index.xml Sun Storage J4400 Array Power Supply Replacement Guide • March 2008...


Need help?
Do you have a question about the Storage J4400 Array and is the answer not in the manual?
Questions and answers