Ergotron WorkFit-A Manual
Sit-stand height adjustable workstation
Hide thumbs
Also See for WorkFit-A:
- Assembly instructions manual (11 pages) ,
- User manual (13 pages) ,
- Assembly instructions manual (14 pages)
Advertisement
Quick Links
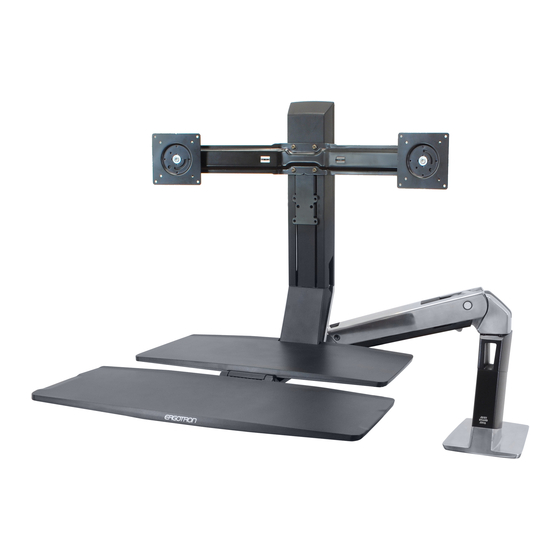
Intended for use with Apple® 21.5" iMac and 27" iMac (late 2012 and newer).
Maximum total weight (including iMac, keyboard and mouse) not to exceed 25 lbs (11.34 kg)
For local customer care phone numbers visit: http://contact.ergotron.com
888-45-319-G-01 rev. C • 09/13
Reduce.Reuse.Recycle
1 of 12
Advertisement

Related Manuals for Ergotron WorkFit-A


Summary of Contents for Ergotron WorkFit-A
- Page 1 Intended for use with Apple® 21.5” iMac and 27” iMac (late 2012 and newer). Maximum total weight (including iMac, keyboard and mouse) not to exceed 25 lbs (11.34 kg) For local customer care phone numbers visit: http://contact.ergotron.com Reduce.Reuse.Recycle 888-45-319-G-01 rev. C • 09/13...
-
Page 2: Tools Needed
Important! You will need to adjust this product after installation is complete. Make sure all your equipment is properly installed on the product before attempting adjustments. This product should move smoothly and easily through the full range of motion and stay where you set it. If movements are too easy or diffi cult or if product does not stay in desired positions, follow the adjustment instructions to create smooth and easy movements. - Page 3 Arm Extension and Desk Size: The keyboard tray is designed to extend over the edge of your desk. You can expand the extension of the arm if you need to based on your desk size. To determine if you need to expand your arm extension, refer to the 4 desk dimensions below: 1.
- Page 4 Warning: Because mounting surface materials can Mount arm to desk. vary widely, it is imperative that you make sure mounting surface is strong enough to handle mounted product and equipment. Tighten the bolts with the provided 8 mm wrench. 8 mm Clamp confi gurations for diff erent desk thickness 4 mm 0.78"-1.78"...
- Page 5 Attach the support bracket to the arm. A tab on the support bracket fi ts into a slot on the arm plate. Tilt the top of the support bracket down and slide forward until the tab meets the slot. Insert the four provided M6 x 14mm Phillips screws into the platform and tighten with a Phillips screwdriver.
- Page 6 Attach the keyboard tray to the support bracket. Slide the keyboard tray onto the support bracket until it “clicks” into place. Place your display with stand on top of the support bracket. NOTE: the front end of the display stand should slide under the plastic clip.
- Page 7 Set your keyboard and mouse on top of the keyboard tray. Route the keyboard and mouse cables through the slots and over the support bracket platform. NOTE: pull a suffi cient length of cable to reach the back of the display since it will be difi cult to adjust after the work- surface is attached in the next step! Tuck cables into slot...
- Page 8 Attach the worksurface to the support bracket. Slide the worksurface down and back onto the support bracket. IMPORTANT: Make sure the front tabs of the worksurface are properly engaged! Bottom view of worksurface showing tabs. Insert the provided M5 x 16mm Phillips screws and tighten with a Phillips screwdriver. M5 x 16mm CAUTION: Do not strip out screws when tightening! 888-45-319-G-01 rev.
- Page 9 Route display cables and secure with cable ties. 888-45-319-G-01 rev. C • 09/13 9 of 12...
- Page 10 Adjustment Step Important! You will need to adjust this product after installation is complete. Make sure all your equipment is properly installed on the product before attempting adjustments. This product should move smoothly and easily through the full range of motion and stay where you set it. If movements are too easy or diffi cult or if product does not stay in desired positions, follow the adjustment instructions to create smooth and easy movements.
- Page 11 Side-to-side Adjustment (Optional) 1. Turn the worksurface side to side to test tension. 2. If adjustment is needed, remove the cap below the worksurface. 3. Use a 13mm wrench to adjust the tension. 4. Replace the cap when adjustment is complete. 13mm Increase Lift Strength If the mounted weight is too heavy or this product does not stay up...
- Page 12 3. Use the provided 8mm wrench to adjust the friction. 4. Replace the cap when adjustment is complete. 8 mm NOTE: When contacting Ergotron about Warranty fi nd ID Label here. Let Your Workstation Work For YOU! Height : Position top of screen slightly below eye level.
Need help?
Do you have a question about the WorkFit-A and is the answer not in the manual?
Questions and answers