Ergotron WorkFit-S User Manual
With worksurface
Hide thumbs
Also See for WorkFit-S:
- User manual (20 pages) ,
- Installation manual (11 pages) ,
- Assembly instructions manual (6 pages)
Advertisement
Quick Links
Download this manual
See also:
Installation Manual
User Guide
Guía del usuario
Manuel de l'utilisateur
www.ergotron.com |
USA: 1-800-888-8458
555-33-008-W-00 rev A • 01/19
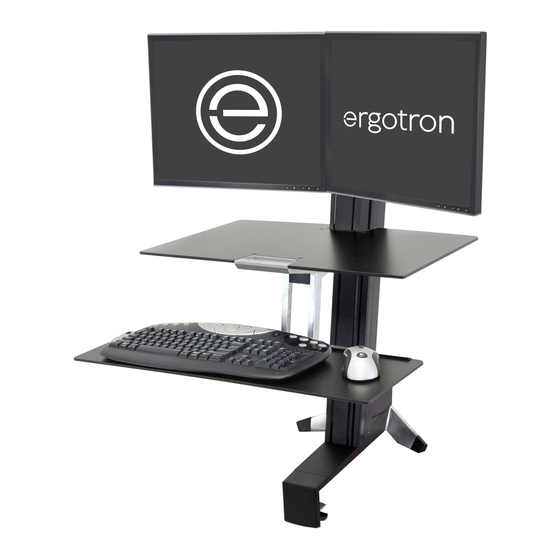
WorkFit-S, Dual
Workstation with worksurface
|
Europe: +31 (0)33-45 45 600
Includes
Constant Force
Technology
Gebruikersgids
ユーザーガイド
用户指南
|
China: 400-120-3051
™
Benutzerhandbuch
Guida per l'utente
Användarhandbok
|
Japan: japansupport@ergotron.com
1 of 20
Advertisement


Need help?
Do you have a question about the WorkFit-S and is the answer not in the manual?
Questions and answers