Advertisement
Table of Contents
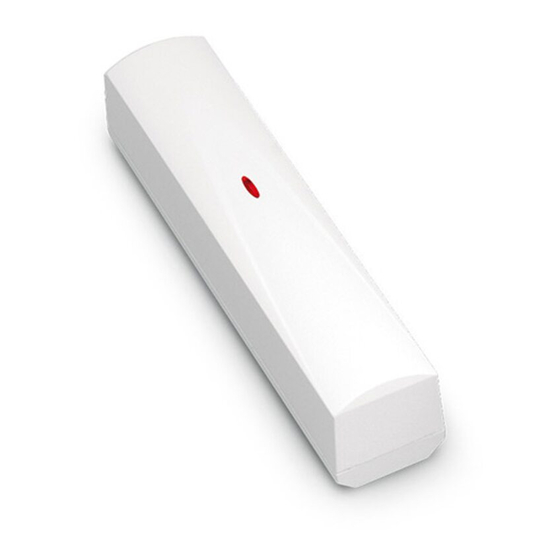
VERSA-MCU
MICRA wireless system controller
The device should be installed by qualified personnel.
Before installation, please read the full manual thoroughly.
Changes, modifications or repairs not authorized by the manufacturer shall void
your rights under the warranty.
Disconnect power before making any electrical connections.
The device should be installed indoors, in spaces with normal air humidity. When choosing
the installation location, remember that thick masonry walls, metal partitions etc. reduce the
radio signal range. Installing the device in close vicinity of electrical systems is not
recommended, since it can affect the range of radio signal.
Run the cables to be used for making connection to the location where the device will be
installed. Use an unshielded non-twisted cable. The cabling should not be run in close vicinity
of low-voltage electrical system wires, and especially of power cables for high-power
equipment (such as electric motors).
1. Open the controller enclosure (Fig. 1).
2. Place the enclosure base against the wall and mark location of the mounting holes.
3. Drill holes for wall plugs (anchors) in the wall.
4. Make the cable entry opening at the base.
5. Run the wires through the prepared opening.
6. Using wall plugs and screws, secure the enclosure base to the wall (Fig. 2). The wall
plugs delivered with the device are intended for concrete, brick, etc. For other types of
surface (drywall, styrofoam), use the appropriately selected wall plugs.
7. Connect the CLK, DAT and COM terminals to the corresponding terminals of the control
panel communication bus (Fig. 3).
8. Connect the power wires to the +12V and COM terminals. If the distance to the control
panel is less than 300 meters, the controller can be supplied directly from the control
panel (Fig. 3). If the distance to the control panel is higher, the controller must be supplied
from another power source, which is located at a closer distance (a power supply or an
expander with power supply).
9. Close the enclosure.
10. Power up the controller.
11. Start the identification function in the control panel (see the control panel installer
manual). The controller will be identified as two devices: INT-RX (address 7) and
VERSA-MCU (address 8).
Quick installation guide
Full manual is available on
www.satel.eu
versa-mcu_sii_en 06/20
Advertisement
Table of Contents

Related Manuals for Satel MICRA VERSA-MCU


Summary of Contents for Satel MICRA VERSA-MCU
- Page 1 VERSA-MCU MICRA wireless system controller versa-mcu_sii_en 06/20 Quick installation guide www.satel.eu Full manual is available on The device should be installed by qualified personnel. Before installation, please read the full manual thoroughly. Changes, modifications or repairs not authorized by the manufacturer shall void your rights under the warranty.
- Page 2 VERSA-MCU SATEL Hereby, SATEL sp. z o.o. declares that the radio equipment type VERSA-MCU is in compliance with Directive 2014/53/EU. The full text of the EU declaration of conformity is available at the following internet address: www.satel.eu/ce SATEL sp. z o.o. • ul. Budowlanych 66 • 80-298 Gdańsk • POLAND tel.
Need help?
Do you have a question about the MICRA VERSA-MCU and is the answer not in the manual?
Questions and answers