
Related Manuals for Satel MTX-300


Summary of Contents for Satel MTX-300
- Page 1 1471 mtx-300_en 03/16 433 MHz WIRELESS SYSTEM CONTROLLER MTX-300 Firmware version 1.00 SATEL sp. z o.o. • ul. Budowlanych 66 • 80-298 Gdańsk • POLAND tel. +48 58 320 94 00 www.satel.eu...
- Page 2 Changes, modifications or repairs not authorized by the manufacturer shall void your rights under the warranty. SATEL's goal is to continually upgrade the quality of its products, which may result in some changes of their technical specifications and firmware. The current information on the introduced modifications is available on our website.
-
Page 3: Table Of Contents
CONTENTS Introduction........................3 Features ........................... 3 Electronics board ......................4 Installing the controller......................5 Installing wireless devices ....................6 Programming the controller ....................6 Service code......................6 Programming using buttons..................7 6.2.1 Entering service mode....................7 6.2.2 Button functions......................7 6.2.3 Exiting service mode or function..................7 6.2.4 List of service functions .................... - Page 4 MTX-300 SATEL 7.1.2 Exiting diagnostic menu ....................21 7.1.3 List of diagnostic functions ................... 21 MTX soft program ....................22 7.2.1 “Diagnostics” tab ......................22 Default factory settings ....................22 Restoring default settings ..................23 8.1.1 Using buttons ....................... 23 8.1.2 Using MTX soft program ....................23...
-
Page 5: Introduction
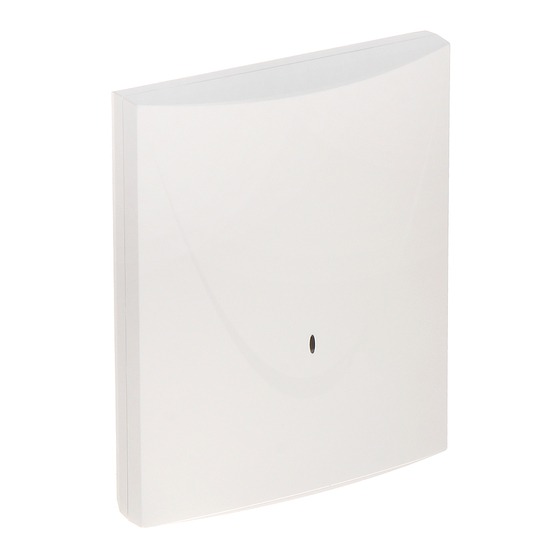
MTX-300 1. Introduction The MTX-300 controller can be used for expansion of an alarm system or an automation system by adding wireless devices and keyfob control capability. The controller interacts with the alarm system or automation system by means of outputs and inputs/zones. -
Page 6: Electronics Board
LED indicating the status of OTMP relay output (LED is ON when relay contacts are shorted). RS-232 port (TTL standard) for programming of the controller and updating of controller firmware. To connect the controller to a computer, you can use the USB-RS converter, which is offered by SATEL. -
Page 7: Installing The Controller
SATEL MTX-300 tamper switch. bi-color LED to indicate the following states: steady on green – the controller and wireless devices running normally (a red flash indicates that transmission has been received from a wireless device), flashing green – service mode is on or connection with MTX... -
Page 8: Installing Wireless Devices
MTX-300 SATEL 4. Run the cables through the opening made. Nominal cross-section area of the power conductors shall be ≥0.5 mm 5. Using wall plugs (screw anchors) and screws, secure the enclosure base to the wall. Use the wall plugs (screw anchors) suitable for the specific mounting surface (concrete wall, drywall, etc.). -
Page 9: Programming Using Buttons
SATEL MTX-300 Programming using buttons Fig. 2. Symbols of controller buttons which are used in this manual. 6.2.1 Entering service mode 1. Press simultaneously the buttons (see Fig. 2) and hold them down for about 4 seconds, until flashing digit 1 appears in the first position on the display. - Page 10 MTX-300 SATEL message will be displayed after running the function and you will be taken back to the main menu. adding keyfobs, detectors and sirens add keyfob, detector, siren exit function configuring keyfobs [+number] select keyfob check serial number of keyfob...
- Page 11 SATEL MTX-300 configure siren select inputs which trigger signaling (information on which inputs trigger signaling is displayed after dot) enable/disable presence control (information on whether function is enabled or not is shown after dot) exit function delete siren exit function...
-
Page 12: Programming Using Mtx Soft Program
Programming using MTX soft program 6.3.1 Establishing connection 1. Connect the controller RS-232 (TTL) port with the computer using the USB-RS converter offered by SATEL. 2. Run the MTX program. SOFT 3. In the “Times/outputs” tab, “Service code” field, enter the code programmed in the controller (you do not need to enter the factory default code). -
Page 13: Program Description
SATEL MTX-300 6.3.2 Program description Fig. 3. Window of MTX program. SOFT Buttons click to open controller data file click to write controller data to file click to read controller data click to write data to controller (after making any changes e.g. after adding device, configuring device etc.) - Page 14 MTX-300 SATEL Status information Fig. 4. Status information presented in MTX program. SOFT controller serial number and firmware version. current supply voltage and status of tamper switch. input status: green – normal, red – violation. siren status: gray – not added, green –...
- Page 15 SATEL MTX-300 Fig. 5. “Detectors” tab. Fig. 6. “Keyfobs” tab.
-
Page 16: Description Of Parameters And Options
MTX-300 SATEL Fig. 7. “Inputs/sirens” tab. Description of parameters and options Output cutoff time – time during which the relay output will be on. You can program 8 different cutoff times ranging from 1 second to 99 minutes 59 seconds [minutes:seconds]. -
Page 17: Description Of Signaling
SATEL MTX-300 Description of signaling 6.5.1 Acoustic signaling Sound A – two sound frequencies (1450 Hz/2100 Hz) alternating within 1 second Sound B – sound with rising frequency (from 1450 Hz to 2100 Hz) within 1 second Sound C – sound with falling frequency (from 2100 Hz to 1450 Hz) within 1 second Sound D –... -
Page 18: Configuring Keyfobs
MTX-300 SATEL 2. Press the keyfob button or open the tamper switch in detector or siren. Information on the device from which transmission has been received will be displayed: device type and its serial number. If transmission is received from an already registered device, suitable information will be displayed. -
Page 19: Configuring Detectors
SATEL MTX-300 be saved because the limit of additional assignments has been used up. Restarting function will allow to configure the keyfob settings anew. Indicating keyfob whose operation is to be copied by the keyfob 1. Run the function. 2. Select the keyfob you want to configure and press the button. -
Page 20: Configuring Sirens
MTX-300 SATEL 7. Define whether detector presence is to be monitored ( - yes, - no) and press button. 6.8.2 Using MTX soft program 1. Click on the “Detectors” tab. 2. Click on the detector you want to configure. 3. Click on the button, “Output”... -
Page 21: Using Controller Buttons
SATEL MTX-300 6.10.1 Using controller buttons 1. Run the function. 2. Run the function. 3. Select the signaling type to be triggered by input IN1. Available settings are presented by means of two characters. The first character: - no optical signaling ,... -
Page 22: Deleting Detector
MTX-300 SATEL 3. Click on the “Remove keyfob” button. The “Confirm” window will open. 4. Click on the “Yes” button. The keyfob will be deleted. 6.12 Deleting detector 6.12.1 Using controller buttons 1. Run the function. 2. Select the detector you want to delete and press the button. -
Page 23: Exiting Diagnostic Menu
SATEL MTX-300 You can also enter the diagnostic menu from the service menu ( function). The controller remains then in the service mode, i.e. you cannot trigger signaling using inputs and tamper alarm signaling in sirens is blocked. 7.1.2 Exiting diagnostic menu 1. -
Page 24: Mtx Soft Program
“Status information” p. 12), and some in the “Diagnostics” tab. 7.2.1 “Diagnostics” tab The following information is displayed in the table: Type – device type: MTX-300, keyfob, detector or siren. No. – number of device on the list of devices of given type. Name – name of device. -
Page 25: Restoring Default Settings
SATEL MTX-300 Configuration of all inputs and outputs: NO 1. output cutoff time: 3 minutes 2. output cutoff time: 6 minutes 3. output cutoff time: 10 minutes 4. output cutoff time: 15 minutes 5. output cutoff time: 30 minutes 6. output cutoff time: 45 minutes 7. - Page 26 MTX-300 SATEL Weight..........................210 g...
Need help?
Do you have a question about the MTX-300 and is the answer not in the manual?
Questions and answers