Advertisement
Advertisement
Table of Contents

Related Manuals for FALMEC gruppo incasso SLIM/L Series


Summary of Contents for FALMEC gruppo incasso SLIM/L Series
- Page 1 gruppo incasso SLIM/L LIBRETTO ISTRUZIONI INSTRUCTIONS BOOKLET GEBRAUCHSANWEISUNG MODE D'EMPLOI MANUAL DE INSTRUCCIONES ИНСТРУКЦИИ INSTRUKCJA OBSŁUGI HANDLEIDING MANUAL DE INSTRUÇÕES BRUGSANIVSNINGER INSTRUKTIONSBOK OHJEKIRJA BRUKSANVISNING...
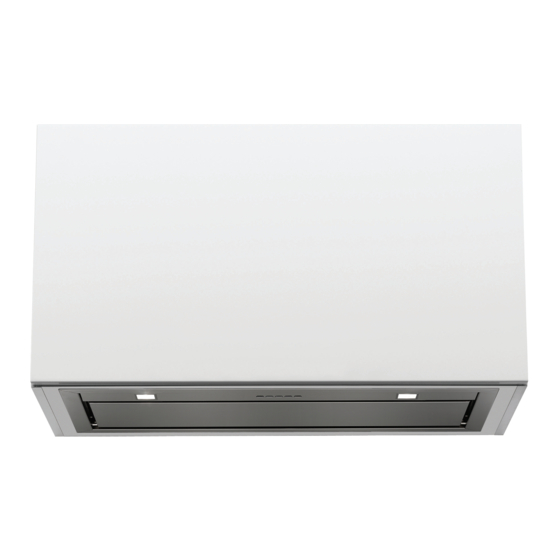
- Page 2 Gruppo incasso Slim/L Gruppo incasso 70: 12 kg Gruppo incasso 50: 10 kg 739 / 494 502 / 257 776 / 531 751 / 506 IT - MISURE FORO PER INCASSO EN - HOLE MEASUREMENTS FOR INSTALLATION DE - LOCHABMESSUNGEN FÜR EINBAU FR - MESURES DU TROU POUR ENCASTREMENT ES - MEDIDAS DEL ORIFICIO PARA EMPOTRADO RU - РАЗМЕРЫ...
- Page 3 IT - Misure installazione (1), foratura pensile (2), inserimento cappa (3), ssaggio al pensile (4) EN - Installation measurements (1), wall unit hole (2), hood installation (3), tting to the wall unit (4) DE - Installationsabmessungen (1), Bohrung Hängekasten (2), Einfügen der Abzugshaube (3), Befestigung am Hängekasten (4) FR - Mesures pour installation (1), perçage meuble (2), mise en place de la hotte (3), xation au meuble (4)
- Page 4 IT - Installazione valvola di non ritorno (5), tubo di aspirazione (6) e collegamento elettrico (7) EN - Installation of check valve (5), suction pipe (6) and electrical connection (7) DE - Installation des Rückschlagventils (5), des Absaug- rohrs (6) und der elektrischen Verbindung (7) FR - Installation clapet de non retour (5), tuyau d'aspiration (6) et branchement électrique (7) ES - Instalación de la válvula de no-retorno (5),...
- Page 5 IT - Montaggio ltro carbone attivo di serie: rimuovere pannello (8), ri- muovere ltri metallici (9), montare ltri carbone attivo (10). EN - Assembling standard active carbon lter: remove panel (8), remove metal lters (9), assemble active carbon lters (10). DE - Montage des standardmäßigen Aktivkohle lters: Platte entfernen (8), Metall lter entfernen (9), Aktivkohle lter montieren (10).
- Page 6 IT - Procedura di disinstallazione: rimuovere pannello (11), rimuovere ltri metallici (12), svitare viti di tenuta(13), sbloccare gruppo incasso (14). EN - How to uninstall: remove panel (11), remove metal lters (12), unscrew xing screws (13), release built-in unit (14). DE - Demontage-Methode: Platte entfernen (11), Metall- lter entfernen (12), Dichtungsschrauben lösen (13), Einbaugruppe freigeben(14).
-
Page 7: Safety Instructions And Warnings
SAFETY INSTRUCTIONS If the equipment is sold or transferred to another person, make sure that the booklet is also supplied so that the new user can be made aware of the hood's operation and relative AND WARNINGS warnings. After the stainless steel hood has been installed, it will need to be cleaned to remove any residues remaining from the protection adhesive as well as any grease and oil stains which, if Installation operations are to be carried out by skilled and quali ed in- not removed, can cause irreversible damage to the hood surface. -
Page 8: Operation
ELECTRICAL CONNECTION WHICH SPEED IS TO BE SELECTED? 1st speed: maintains the circulation of clean air with low electricity consumption. (only intended for quali ed personnel) 2nd speed: normal conditions of use. 3rd speed: presence of strong odours and vapours. Disconnect the equipment from electrical mains power supply before carry- 4th speed: rapid disposal of odours and vapours. -
Page 9: Maintenance
CLEANING OF INTERNAL SURFACES ACTIVATION PROCEDURE Before using the radio control, follow the procedure below on the hood pushbutton panel: Do not clean electrical parts, or parts related to the motor inside the hood, • Press LIGHT ( ) and TIMER ( ) simultaneously until all LEDs start flashing.
Need help?
Do you have a question about the gruppo incasso SLIM/L Series and is the answer not in the manual?
Questions and answers