
Related Manuals for Offices To Go OTGHABASE2


Summary of Contents for Offices To Go OTGHABASE2
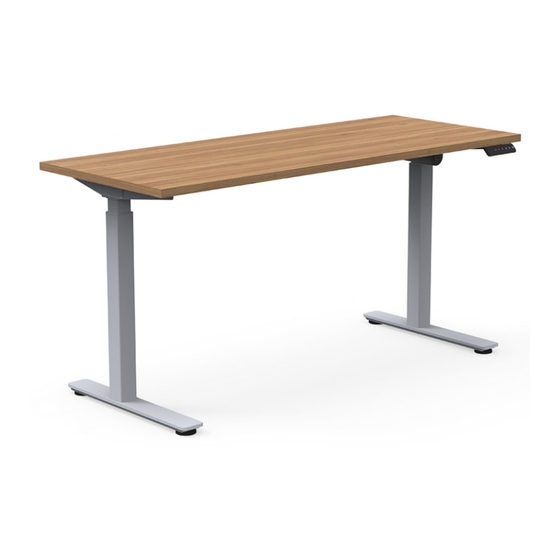
- Page 1 HEIGHT ADJUSTABLE TABLES ASSEMBLY INSTRUCTIONS OTGHABASE2 OTGHABASE2 www.officestogo.com revised 010720...
- Page 2 HEIGHT ADJUSTABLE TABLES ASSEMBLY INSTRUCTIONS EXPLODED VIEW HARDWARE LIST F x 6+2 A x 8+2 B x 10+2 C x 2+2 D x 8+2 E x 8+2 (ST3x19) (M8x20) (M6x8) (M6x12) (M6x10) (ST4.8x20) (packed with handset and power supply) G x 2 H x 1 (4mm) I x 1 (5mm) J x 1...
- Page 3 HEIGHT ADJUSTABLE TABLES ASSEMBLY INSTRUCTIONS STEP 1 - Assemble Cross Rail • Do not tighten these screws until after Step 4. • Leave screws loose enough to easily slide brackets along slot. STEP 2 - Affix Motor • Affix motor unit to right leg (item 8).
- Page 4 HEIGHT ADJUSTABLE TABLES ASSEMBLY INSTRUCTIONS STEP 3 - Assemble legs and crossrail • Connect cross rails to legs, leave screws from Step 1 loose. STEP 4 - Connect Hex Rods • Insert hex rod into motor (Item 12) and slide tube over the hex rod in left leg (Item 2).
- Page 5 HEIGHT ADJUSTABLE TABLES ASSEMBLY INSTRUCTIONS STEP 5 - Assemble end brackets and insert spacers • Plastic spacers (Item K) should be placed evenly on the center portion of the crossrail. • Tighten all screws securely. STEP 6 - Assemble Table Top •...
- Page 6 HEIGHT ADJUSTABLE TABLES ASSEMBLY INSTRUCTIONS STEP 7 - Assemble Power Supply and Handset • Tighten screws securely. www.officestogo.com revised 010720...
Need help?
Do you have a question about the OTGHABASE2 and is the answer not in the manual?
Questions and answers