Advertisement
Quick Links
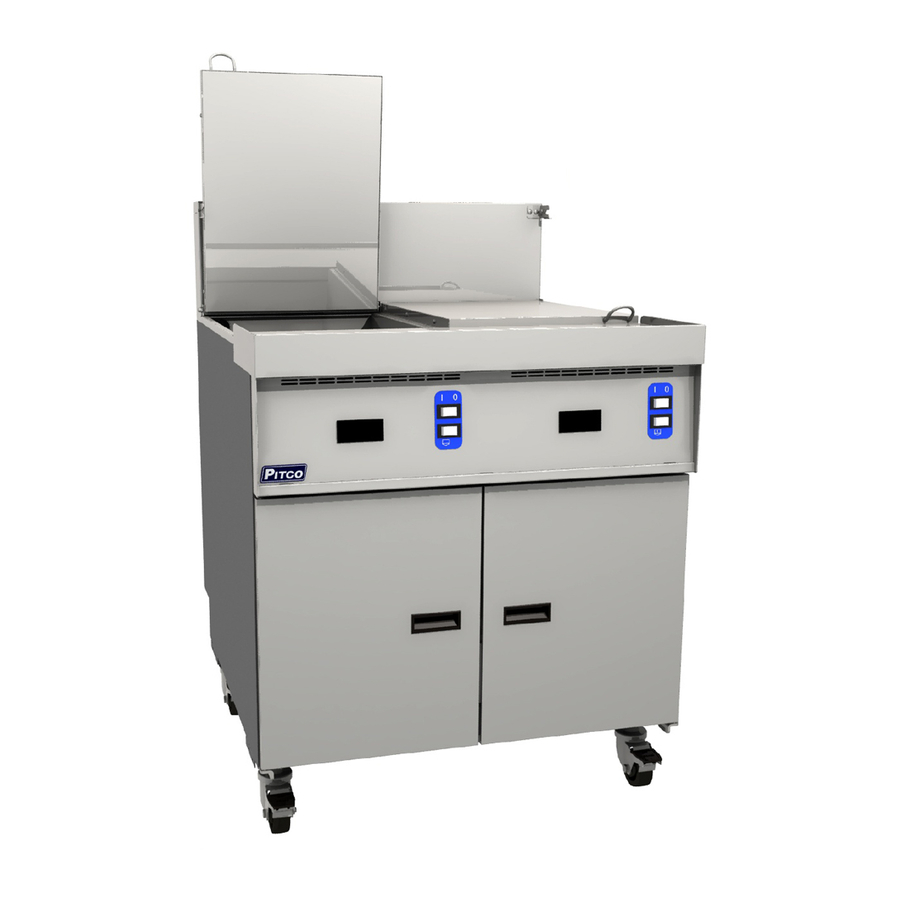
TB-SRTG14-2 GAS SPRING TANK COVER UPGRADE INSTRUCTIONS
1
Tools Required:
Flat Blade Screwdriver
Phillips Screwdriver
Two 7/16" Wrenches
Two 9/16" Wrenches
5/16" wrench or nut
driver
2
Kit Contents (B8704201-CL):
NO.
PART NO.
1
A2110502-C
TANK COVER, MOUNTING BRACKET
2
A2110102-C
3
A2110104-C
4
B2102901-C
GAS SPRING WITH FITTINGS
5
A2109602
TANK COVER, HINGE ROD TB-SRTG14-2
6
60135801
STOPPER, RUBBER .750 OD X .563
7
60047805
PIN, CLEVIS 6MM X 13.5MM, E-RING STYLE SST
8
60135405
RING, RETAINING EXTERNAL E-STYLE 6MM
9
60022904
10
PP10698
SCREW, 10-24 X 5/8 ROUND HD PHILLIPS SST
08/21/09
1/8" Hex Key
Cordless Drill
5/16" Hex Bit
5/16" Drill Bit
5/32" Drill Bit
Blow Torch
DESCRIPTION
SUPPORT BRACKET LH
SUPPORT BRACKET RH
WASHER, FLAT M6 SST
QTY
NO.
PART NO.
2
11
60158901
1
12
60049302
1
13
PP11115
2
14
A2109904-C
1
15
A2109902-C
2
16
60088006
4
17
60125805
6
18
B3305402-C
4
19
A2110402-C
4
L80-069 REV 0
DESCRIPTION
NUT, ACORN .312-18 SST
SCREW, 10-16 X 3/4 HEX SELF DRILLER SST
LOCTITE 271
GAS SPRING MOUNTING BRACKET RH
GAS SPRING MOUNTING BRACKET LH
SCREW, 10-32 X .500 HEX HEAD SST
SCREW, 10-24 X 1/2 THRUSS HD SST
TANK, DRAIN SCREEN WELDMENT
TANK COVER, INSULATED GS SUPPORT
QTY
2
20
1
1
1
2
6
2
2
Page 1 of 4
Advertisement

Related Manuals for Pitco TB-SRTG14-2


Summary of Contents for Pitco TB-SRTG14-2
- Page 1 TB-SRTG14-2 GAS SPRING TANK COVER UPGRADE INSTRUCTIONS Tools Required: Flat Blade Screwdriver 1/8” Hex Key Phillips Screwdriver Cordless Drill Two 7/16” Wrenches 5/16” Hex Bit Two 9/16” Wrenches 5/16” Drill Bit 5/16” wrench or nut 5/32” Drill Bit driver Blow Torch Kit Contents (B8704201-CL): PART NO.
- Page 2 TB-SRTG14-2 GAS SPRING TANK COVER UPGRADE INSTRUCTIONS Disconnect Appliance Remove all sources of power to the appliance. WARNING The power supply MUST be disconnected Shut off the water supply and drain the appliance. before performing this procedure. WARNING Turn the gas supply OFF and disconnect the appliance Ensure that the gas supply to this appliance is from the gas connection.
- Page 3 TB-SRTG14-2 GAS SPRING TANK COVER UPGRADE INSTRUCTIONS Tank Cover Spring Bracket Installation Using a 1/8” hex key, remove the shoulder screw from both tank covers. Using a 5/16” wrench, move the hex head bolt from one side of the tank cover to the opposite side. The new bolt location should be the same as where the shoulder screw was located.
- Page 4 TB-SRTG14-2 GAS SPRING TANK COVER UPGRADE INSTRUCTIONS Tank Cover Reinstallation Place both tank covers onto the appliance in the down position. Slide the new hinge rod through the holes in the hinge brackets and both tank covers. Apply Loctite to both threaded ends of the hinge rod. Then use two 9/16” wrenches to secure the new acorn nuts onto the hinge rod.
Need help?
Do you have a question about the TB-SRTG14-2 and is the answer not in the manual?
Questions and answers