Table of Contents
Advertisement
Quick Links
Piezo Replacement Instructions
These instructions describe the procedure for exchanging standard temperature (-4ºF to
176ºF/-20ºC to 80ºC) piezo module assemblies on the Flowserve Logix 3200IQ positioner
with low temperature (-40ºF to 176ºF/-40ºC to 80ºC) assemblies. These instructions
supplement the 3200IQ Installation, Operating, and Maintenance (IOM) Instructions (FCD
LGAIM0058-00).
1.
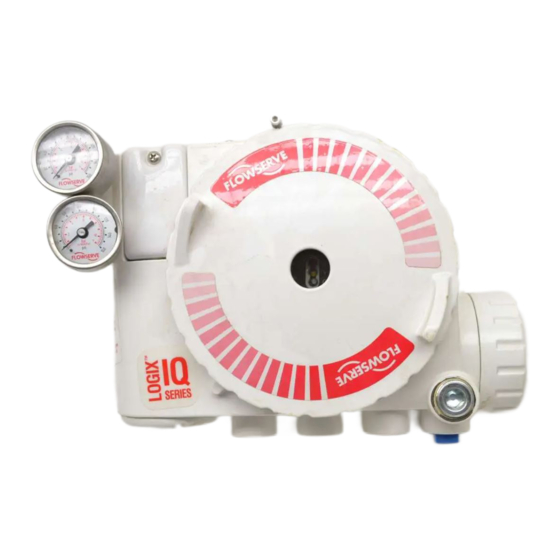
Remove main housing cover and driver
module cover by unscrewing the covers.
WARNING: To prevent ignition of
hazardous atmospheres, disconnect supply
circuit before opening. Keep assembly
tightly closed when in operation.
2.
Remove the plastic main control board (PCB)
cover by removing two (2) short cover screws,
and one (1) long cover screw.
3.
Unplug the red and black 2 -wire piezo connector.
DRIVER
MODULE
COVER
MAIN
HOUSING
COVER
1 of 5
Advertisement
Table of Contents

Related Manuals for Flowserve Logix 3200IQ


Summary of Contents for Flowserve Logix 3200IQ
- Page 1 Piezo Replacement Instructions These instructions describe the procedure for exchanging standard temperature (-4ºF to 176ºF/-20ºC to 80ºC) piezo module assemblies on the Flowserve Logix 3200IQ positioner with low temperature (-40ºF to 176ºF/-40ºC to 80ºC) assemblies. These instructions supplement the 3200IQ Installation, Operating, and Maintenance (IOM) Instructions (FCD LGAIM0058-00).
- Page 2 Disconnect the flexible tubing from the barbed fitting on the driver module assembly by hand. Pull the red and black 2-wire piezo connector through bottom of driver module housing. LAST Loosen and remove the 9/64” Allen screws A and B. Important: Loosen the screw opposite the wire entry last.
- Page 3 Remove the piezo assembly. Verify that the O-Ring is installed in base of driver module housing (O-Ring may be stuck to the bottom of the piezo assembly that was just removed). A new O-Ring is included in the low temperature assembly kit, in the event that the original is lost or damaged during disassembly.
- Page 4 FIRST Attach the new piezo assembly to base of modulator, installing and tightening the 9/64” Allen screw opposite the wiring entry first, and then installing and tightening Allen screws A and B. All Allen screws should be installed hand tight. Reconnect the flexible tubing to the barbed fitting by hand.
- Page 5 Insert and attach the p lastic main PCB cover by installing and tightening the two (2) short cover screws, and one (1) long cover screw. Exercise care to insure that the LED’s are properly aligned so they aren’t bent or damaged by the cover as it is being installed.
Need help?
Do you have a question about the Logix 3200IQ and is the answer not in the manual?
Questions and answers