Table of Contents
Advertisement
Quick Links
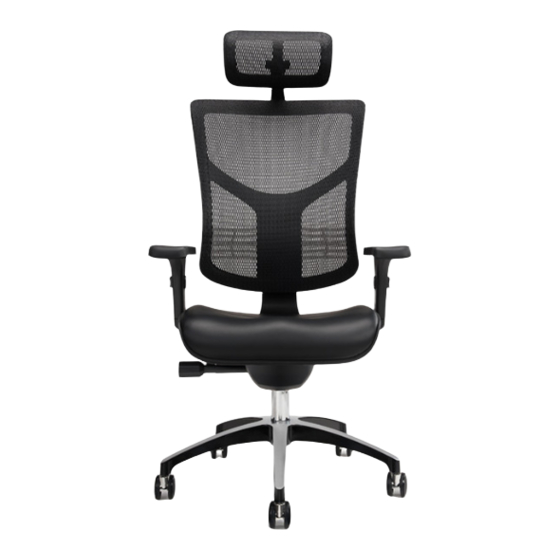
J3 Ergonomic Chair
SKU: CHR456
Package Contents
Casters
Base
(qty 5)
© UPLIFT Desk • 800-349-3839 • info@upliftdesk.com • upliftdesk.com
Cylinder
Arms
(L, R)
Headrest
Back
Seat
Step 1
Place the Seat upside down on the edge of a stable surface like
a desk or a table. Slide the Back in place and line up the holes for
the Back and the Seat. Have a friend help keep it steady while
you attach the Back to the Seat and screw into place using three
Back screws and the T-Handle Allen wrench.
Note: When inserting the screws, tighten for only a few turns
each. Allow there to be some give as you insert each screw into
place. Once all three screws are threaded, tighten them all.
Step 2
Take your chair assembly off the table and lay it on its side on the
floor. Insert an Arm into the Seat and screw into place using three
Arm screws and the T-Handle Allen wrench.
Flip chair assembly onto the other side and repeat for the other Arm.
Step 3
With the Base turned upside down, insert the Caster stems into the
holes on the Base, and press them firmly to secure them in place.
Flip the Base, so the Casters are on the floor, and insert the Cylinder
into the Base in the orientation shown with the smaller diameter
end up. Be cautious around the small end of the Cylinder to avoid
getting grease on you or your clothes.
Step 4
Flip the chair assembly from Step 2 right-side up, and lower it
onto the Cylinder. Press down on the seat (or sit on it) to secure
it in place on the Cylinder.
Step 5
Attach the Headrest to the Back using two Headrest screws and
the L-shape Allen wrench.
Note: If you are having difficulty aligning the Headrest and Back
screw holes, it may help to tilt the chair forward. Lean it on a ta-
ble or roll up a towel under the Arms to prop the chair forward,
to more easily line up the holes on the Headrest with the holes
on the chair's Back.
Once screwed in, place the Screw cover in the spot located at
the top of the chair, covering the screws.
Arm screw
(qty 6)
Back screw
(qty 3)
Headrest screw
(qty 2)
Allen wrench
(T-handle)
Allen wrench
(L-shape)
Screw cover
Advertisement
Table of Contents

Subscribe to Our Youtube Channel
Related Manuals for Uplift Desk J3 CHR456


Summary of Contents for Uplift Desk J3 CHR456
- Page 1 Headrest with the holes on the chair’s Back. Once screwed in, place the Screw cover in the spot located at the top of the chair, covering the screws. © UPLIFT Desk • 800-349-3839 • info@upliftdesk.com • upliftdesk.com...
- Page 2 © on the UPLIFT Desk website: upliftdesk.com. Excerpts or copies may not be forwarded to third parties or used in any other published form without the prior written consent of UPLIFT Desk. These instructions are subject to United States copyright law.
Need help?
Do you have a question about the J3 CHR456 and is the answer not in the manual?
Questions and answers