
Related Manuals for Gabarron Elnur ECOMBI SSH Series


Summary of Contents for Gabarron Elnur ECOMBI SSH Series
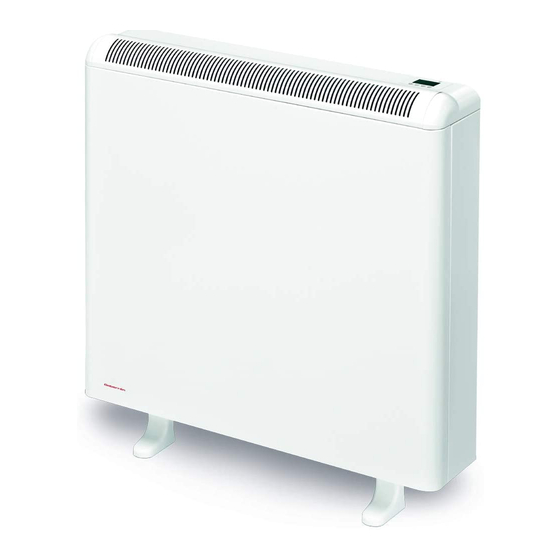
- Page 1 Installation Instructions ECOMBI SSH Digital Smart Storage Heaters ECOSSH158 | ECOSSH208 | ECOSSH308 | ECOSSH408 Please read these instructions carefully before installing or using this appliance for the first time.
- Page 2 1. IMPORTANT INFORMATION When using electrical appliances, basic precautions should always be followed to reduce the risk of fire, electric shock, and injury, including the following: • Keep combustible materials, such as furniture, pillows, bedding, papers, clothes, etc. and curtains at least a foot (30cm) from the front, sides and rear of the heater.
-
Page 3: Installation Instructions
2. INSTALLATION INSTRUCTIONS The symbols used in the text are explained below: WARNING This indication shows the possibility of causing death from electric shock. WARNING This indication shows the possibility of causing death or serious injury. CAUTION This indication shows the possibility of causing injury or damage to properties only. - Page 4 Turn the carton upside down to allow the heater to stand on its feet and remove the carton. Check that it is the correct model and that it is in good conditions. Check that all parts have been delivered and are intact. - 1 Ecombi SSH heater casing.
- Page 5 Disconnect the aluminium heating element by removing the FAST-ON terminal on each end of the element. WARNING: Steel edges can cut. Next unscrew the inner panel and remove it. CAUTION: In the interior part of this inner panel there is a very delicate thermal insulation MICROTHERM panel.
- Page 6 Do not disconnect the electrical heating elements. Remove the packing cardboard. Lift and tilt the elements outwards being careful not to damage the insulation on the bottom of the heater. Place the storage bricks carefully, with the flat side facing the back of the heater. Arrange two row levels of bricks.
- Page 7 Replace the inner front panel. If the bricks have been fitted correctly you will have no difficulty in replacing the panel. Make sure the bottom edge of the inner panel is inside the front lip of the heater. Please see below: Right Position Wrong Position 12.
- Page 8 3. OPERATING INSTRUCTIONS 3.1 General information CAUTION: DO NOT USE THIS HEATER TO DRY CLOTHES. Do not cover this heater at any time. Connection/Disconnection Power switch. All models are equipped with a switch on the back side panel. It is used to Turn On and Turn Off the ECOMBI SSH. Keyboard: G-Control Hub Current set point in...
- Page 9 3.2. Quick Start Ecombi SSH quick start only requires 2 easy settings: TIME AND CHARGE SETTING - Use buttons to move forward Charging Hours: By default, Ecombi SSH off- and backward until the parameter to be peak period is set from 00:00 to 07:00. In case modified is displayed.
- Page 10 OPERATION MODE SETTING & TEMPERATURE SET POINT 4. Once selected, adjust the desired set-point With backlight on, keep pressed button for 5 seconds until the message “Func.” is displayed temperature using . Automatically, blinking to access the general configuration menu. Ecombi SSH will manage and adjust daily its charging level to provide the selected temperature button when the message “Func.”...
- Page 11 3.3. DEFAULT SETTINGS & UNIT RESET To reset the unit to factory default settings, hold simultaneously until the message “SrES” is displayed. Confirm the reset with Default Values Sun: Comfort temperature º Moon: Economic temperature º Frost: protection temperature º UP01: Initial % of storage charge 100% UP02: Starting time off peak period 1...
- Page 12 4. REMOTE OPERATION USING THE WIFI G-CONTROL HUB It is possible to control the full operation of the Ecombi SSH remotely with the Elnur-Gabarron app or web-app. The unit must be connected to a G-Control Hub connected to the Internet to use this feature.
-
Page 13: Troubleshooting
5. TROUBLESHOOTING ECOMBI SSH does not heat. Please check it is connected and switched on. ECOMBI SSH does not reach set up Make sure that adequate temperature is selected. temperature Make sure the storage heater is sized correctly for heat loss. “Err”... -
Page 14: Cleaning Maintenance Instructions
6. CLEANING MAINTENANCE 7. MAIN COMPONENTS LIST INSTRUCTIONS Before cleaning, make sure the power has been Storage Heating Element Ref. 15190091 (All except ECOSSH158) turned off at the circuit breaker panel and that the heating element of the heater is cool. Storage Heating Element (ECOSSH158) Ref. - Page 15 BALANCING ELEMENT LIMITER CUT OUT MANUALLY LIMITER BALANCING ELEMENT LIMITER CUT OUT MANUALLY LIMITER Elnur powered by Gabarrón | ECOMBI SSH | Installation Guide...
-
Page 16: Technical Features
BALANCING ELEMENT LIMITER CUT OUT MANUALLY LIMITER 9. TECHNICAL FEATURES Model ECOSSH158 ECOSSH208 ECOSSH308 ECOSSH408 Connection 220 - 240V ~ 220 - 240V ~ 220 - 240V ~ 220 - 240V ~ Balancing Element Output 450/490W 600/653W 900/980W 1200/1307W Storage Heater Output 975/1062W 1300/1415W 1950/2123W... -
Page 17: Product Fiche
PRODUCT FICHE MODEL(S): GABARRON ECOSSH158, ECOSSH208, ECOSSH308, ECOSSH408 Value Item Symbol ECOSSH 158 ECOSSH 208 ECOSSH 308 ECOSSH 408 Unit Heat Output Nominal heat output 0.55 0.75 1.125 Minimum heat output N.A. N.A. N.A. N.A. Maximum continuous heat output 0.55 0.75... - Page 18 Supplier: The symbol on the product or in its packaging indicates that this ELNUR UK Ltd. product may not be treated as household waste. Instead it shall Unit 1, Brown Street North be handed over to the applicable collection point for the recycling Leigh, Lancashire, WN7 1BU.
Need help?
Do you have a question about the Elnur ECOMBI SSH Series and is the answer not in the manual?
Questions and answers